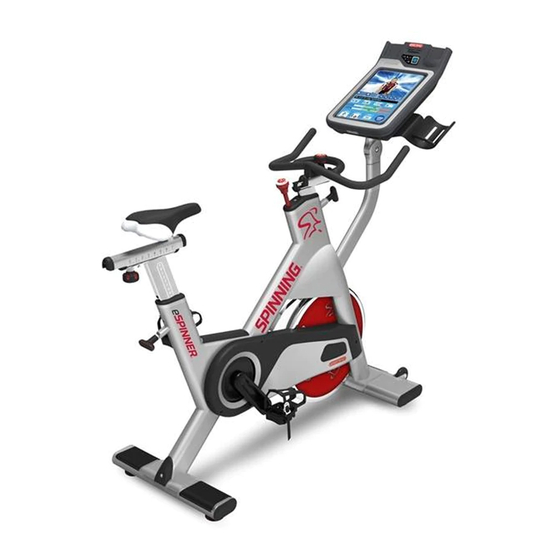
Star Trac eSpinner Parts Replacement
Display cables replacement: power, coax, rpm
Hide thumbs
Also See for eSpinner:
- Installation and operation manual (58 pages) ,
- Installation instructions manual (30 pages) ,
- Troubleshooting manual (11 pages)
Advertisement
Quick Links
Display Cables Replacement: Power, Coax, RPM
Required tools/parts:
3/16 Allen key
•
Philips-head screwdriver
•
Power Cable (PN: 740-6971)
•
Coax Cable (PN: 740-6976)
•
RPM Cable (PN: 740-6964)
•
1. Turn the unit off.
2. Lift the display all the way to the top position and remove the 2 screws that hold the sleeve inside the frame.
STAR TRAC FITNESS
Part Replacement
eSpinner
1 of 16
637-1404 Rev: B
Advertisement

Related Manuals for Star Trac eSpinner


Summary of Contents for Star Trac eSpinner
- Page 1 RPM Cable (PN: 740-6964) • 1. Turn the unit off. 2. Lift the display all the way to the top position and remove the 2 screws that hold the sleeve inside the frame. STAR TRAC FITNESS 1 of 16 637-1404 Rev: B...
- Page 2 Note: It is recommended to have another person help to hold the display. The screen is awkward and may fall and break. 4. Disconnect all cables and place the console on a safe surface. STAR TRAC FITNESS 2 of 16 637-1404 Rev: B...
- Page 3 5. Remove the 4 screws that attach the display post to the display. 6. Carefully remove the display post taking extra care with the cables that run though the inside of the display post. STAR TRAC FITNESS 3 of 16...
- Page 4 7. Remove all screws from the display bottom cover including the two screws for the headphone cable and the screw for the SD card cover. 8. Push the CSAFE connector down to detach it from the plastic cover and remove the display bottom plastic cover. STAR TRAC FITNESS 4 of 16 637-1404 Rev: B...
- Page 5 Part Replacement 9. Disconnect the fan cable from the mother board. 10. Remove all relevant screws as shown below including the one for the fan tunnel plastic. STAR TRAC FITNESS 5 of 16 637-1404 Rev: B...
- Page 6 12. The cables that come out of the display are tied together with tie straps that need to be removed in order to be able to replace single cables. Note: Use extreme caution when cutting tie straps as cables can be damaged easily. STAR TRAC FITNESS 6 of 16 637-1404 Rev: B...
- Page 7 Locate the power cable connector on the mother board (J28, black and red cable). See the following picture for the actual location. Disconnect the power cable and replace it with the new one (part number 740-6971). STAR TRAC FITNESS 7 of 16 637-1404 Rev: B...
- Page 8 Disconnect the coax cable and replace it with the new one (PN: 740-6976). Make sure the coax cable is tightened all the way so that there is a solid connection between the tuner card and coax cable. Note: A loose connection can cause poor or loss of picture quality. STAR TRAC FITNESS 8 of 16 637-1404 Rev: B...
- Page 9 Locate the RPM cable connector on the mother board (J39, black and white cable). See the following picture for the actual location Disconnect the RPM cable and replace it with the new one (part number 740-6964). STAR TRAC FITNESS 9 of 16 637-1404 Rev: B...
- Page 10 15. Tighten all screws that attach the back plate onto the screen plate. Make sure the cable for the heart rate board routes below the plastic fan tunnel and does NOT go below any electronic board (can cause HR issues). STAR TRAC FITNESS 10 of 16...
- Page 11 Part Replacement 16. Re-connect the fan cable to the mother board. 17. Re-route all cables through the cut out on the back plastic and re-locate the CSAFE connector. STAR TRAC FITNESS 11 of 16 637-1404 Rev: B...
- Page 12 18. Make sure back plastic fits correctly and the head phone cable is not pinched. Re-tighten all screws. 19. Route the cables through the display post and make sure the cables are tied together using tie straps. STAR TRAC FITNESS 12 of 16...
- Page 13 (yellow/green) and make sure to use enough tie straps so they keep together as a bundle. Do not forget to wrap non-conductive tape around the coax cable connection or you might lose picture quality or pick up noise. STAR TRAC FITNESS 13 of 16...
- Page 14 23. Gently place the bike onto its side and take care to not drop it. Remove the 4 screws that hold the slotted power adaptor cover. There is a small cut out for the adaptor cable to be able to remove the adaptor attached to the plate. STAR TRAC FITNESS 14 of 16 637-1404 Rev: B...
- Page 15 25. Bring the unit up to a standing position. Check for pinched cables. If no pinched cables, tighten the power adaptor cover screws all the way. STAR TRAC FITNESS 15 of 16 637-1404 Rev: B...
- Page 16 28. Turn the unit on and check for its proper function. Check for cadence (RPM) and the TV picture quality. Perform a channel scan to ensure the quality of the picture if needed. STAR TRAC FITNESS 16 of 16 637-1404 Rev: B...
Need help?
Do you have a question about the eSpinner and is the answer not in the manual?
Questions and answers