
Related Manuals for Mirrorstone MS-QHA-12J


Summary of Contents for Mirrorstone MS-QHA-12J
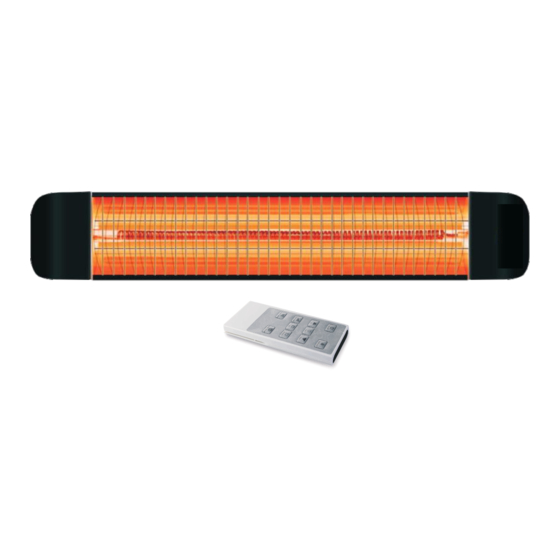
- Page 1 Aurora Wi-Fi Infrared Bar Heater Manual Model: MS-QHA-12J | MS-QHA-24J | MS-QHA-12W | MS-QHA-24W Please read instructions carefully before use. Remote control not available with all models.
- Page 2 Thank you for purchasing this Mirrorstone Infrared Heater. In order to get the most out of your product, please read this manual carefully before use, and keep it in a safe place for future reference. Mirrorstone, nor any of its a liated companies are liable for any damages resulting in misuse of our heaters, nor any failure to comply with the instructions contained in this manual.
- Page 3 When in use, please ensure that the plug, socket and heater are free of dust and dirt. When disconnecting the heater from the mains supply, please turn o the switch at the mains socket, then unplug the heater by pulling the plug, not the power cord. Do not operate the heater or your mains supply with wet hands.
- Page 4 Model MS-QHA-12J MS-QHA-12W MS-QHA-24J MS-QHA-24W Voltage 220-240V AC 220-240V AC 220-240V AC 220-240V AC Amps Power 1200W 1200W 2400W 2400W Product Size 770 x 160 x 80mm 770 x 160 x 80mm 970 x 160 x 970 x 160 x...
- Page 5 Heater Installation Instructions Contents: (A) 4 x wall brackets (B) 2 x 15mm screw (C) 2 x large wing nut (D) 4 x small wing nut (E) 4 x 60mm screw (F) 4 x large wall plugs (G) 2 x 12mm screw (H) 2 x small wall plugs (I) 1 x remote bracket Figure A:...
- Page 6 Remote Installation Instructions Please note that the following instructions are only applicable to the remote control (MS-QHA-12W and MS-QHA-24W) models. The remote control can be used either as a wall mounted unit, or as a conventional remote control. To mount it on the wall, drill two holes approximately 40mm apart vertically, at a depth of approximately 30mm.
- Page 7 - Plug the heater into the mains power, ensuring that the socket matches the voltage and current of the nameplate on the back of the panel. - Press the On/o button to switch the heater on and o . - Use the Up button and Down button to alter the desired temperature. The lowest possible temperature is 5 C, and the highest temperature is 45 - Press the Power level button to switch between the four levels of power.
- Page 8 Using The Smart Life App 1. Connect your smartphone or tablet to your Wi-Fi network. (The wireless network must be 2.4GHz. All Wi-Fi routers have a 2.4GHz band, however, some newer routers are dual band with both 2.4GHz and 5GHz. When scanning your available networks, if you see a single network belonging to you, then this will be the correct band.
- Page 9 Figure 1: Figure 2: Figure 3: Figure 4: Figure 5: Figure 6: Figure 7: Figure 8:...
- Page 10 Controlling Your Heater 1. On the main control menu, you will see your desired room temperature in the middle of the screen (Fig. 7). Beneath that, you will see the current room temperature. Use the “+” and “-“ buttons to adjust this up and down accordingly. If the target temperature is higher than the current room temperature by 0.5 C or more, it will switch on, and if the target temperature is lower than the current room temperature by 0.5...
- Page 11 Using The 7-Day Timer With Your Heater 1. On the home screen of the Smart Life app, press the ‘Timer’ button in the bottom right corner. 2. Then, press ‘Add’ in the middle of your screen. 3. The following screen allows you to set your timer settings: 4.Use the sliders at the top of the screen to set what time you want your heater to switch on or o .
- Page 12 Cleaning & Maintenance - If the inside of the heater becomes covered or clogged up with dust or dirt, please have it cleaned from a quali ed service engineer, and do not operate the heater in this state. - Only clean the exterior of the heater. - When cleaning the heater, always disconnect the heater from the mains supply, and give the heater adequate time to cool down before cleaning it.
Need help?
Do you have a question about the MS-QHA-12J and is the answer not in the manual?
Questions and answers