
Subscribe to Our Youtube Channel
Related Manuals for Pulsar YM22


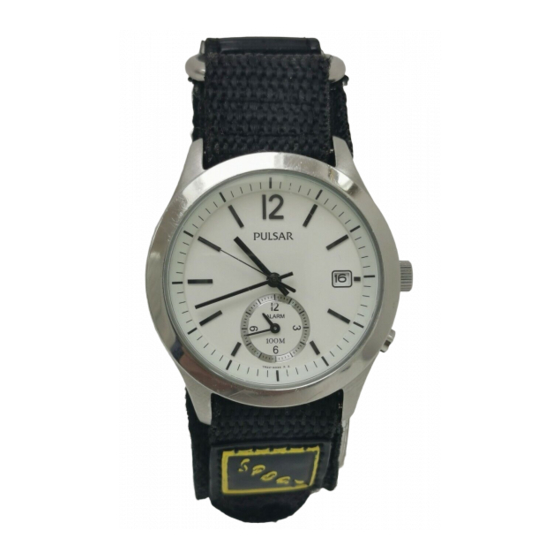
Summary of Contents for Pulsar YM22
- Page 1 CAL. YM22 ANALOGUE ALARM TIME/CALENDAR Hour, minute and second hands Date displayed in numerals SINGLE-TIME ALARM Rings only once at a designated time within the coming 12 hours.
- Page 2 DISPLAY AND CROWN/BUTTONS Second hand Minute hand Hour hand CROWN Date BUTTON ALARM minute hand ALARM hour hand c: Second click a: Normal position b: First click...
-
Page 3: Screw Down Crown
SCREW DOWN CROWN [for models with screw down crown] Unlocking the crown 1 Turn Crown counterclockwise until you no longer feel the threads turning. 2 Crown can be pulled out. Locking the crown 1 Push Crown back in to normal position. 2 Turn Crown clockwise while pressing it lightly until tight. -
Page 4: Setting The Time
SETTING THE TIME This watch is so designed that the following are all made with the crown at the second click position: 1) main time setting 2) alarm hand adjustment Once the crown is pulled out to the second click, be sure to check and adjust 1) and 2) at the same time. - Page 5 1) MAIN TIME SETTING Second hand Minute hand Turn to set the hour and CROWN minute hands. Hour hand * It is recommended that the hands be set to the time a few minutes ahead of the current time, taking into consideration the time required to set the ALARM hands. 2) ALARM HAND ADJUSTMENT Set the ALARM hands to the time the main time hands indicate.
- Page 6 Hour hand Minute hand Press repeatedly to set BUTTON ALARM hands to the time indicated by the main time hands. BUTTON * ALARM hands move quickly if Button is kept ALARM ALARM pressed. hour hand minute hand * After all the adjustments are completed, check that the main time and alarm hands indicate the same...
-
Page 7: Setting The Date
SETTING THE DATE Before setting the date, be sure to set the main time. CROWN 1 Pull out to first click. 2 Turn clockwise until the desired date appears. 3 Push back in to normal position. Date... -
Page 8: Single-Time Alarm
SINGLE-TIME ALARM The alarm can be set to ring only once at a designated time within the coming 12 hours. The alarm time can be set in one minute increments. ALARM TIME SETTING Before using the alarm, check that the ALARM hands are adjusted to the current time. - Page 9 Push back in to normal CROWN position. * The alarm is automatically engaged. HOW TO STOP THE ALARM At the designated time the alarm rings for 20 seconds, and it is automatically disengaged. To stop it manually, press Button. HOW TO CANCEL THE ALARM TIME YOU HAVE SET Pull out to first click.
-
Page 10: Notes On Operating The Watch
NOTES ON OPERATING THE WATCH SETTING THE TIME If the alarm has been set and the crown is pulled out to the second click, the ALARM hands will turn to indicate the current time. [MAIN TIME SETTING] When setting the hour hand, be sure to check that AM/PM is correctly set. The watch is so designed that the date changes once in 24 hours. -
Page 11: Battery Change
While the crown is at the normal position, the ALARM hands indicate the current time when the alarm is disengaged and the designated alarm time when it is engaged. To correct the alarm time you have set, follow the procedure described in “ALARM TIME SETTING”. - Page 12 * While the second hand is moving at two-second intervals, the alarm will not ring even if it is engaged. This is not a malfunction. * The watch remains accurate while the second hand is moving at two-second intervals. WARNING Do not remove the battery from the watch.
-
Page 13: To Preserve The Quality Of Your Watch
If the watch becomes wet, we suggest that you Water resistance (10 bar/15 bar/20 bar)* have it checked by an AUTHORIZED PULSAR If “WATER RESISTANT 10 BAR”, DEALER or SERVICE CENTER. “WATER RESISTANT 15 BAR”... - Page 14 * Before using the water resistance 5, 10, 15 or 20 bar watch in water, be sure the crown is pushed in completely. Do not operate the crown when the watch is wet or in water. If used in sea water, rinse the watch in fresh water and dry it completely.
-
Page 15: Periodic Check
2 - 3 your watch checked by an careful not to drop your Years AUTHORIZED PULSAR watch or hit it against hard DEALER or SERVICE CENTER to surfaces, as this may cause damage. ensure that the case, crown, buttons, gasket and crystal seal remain intact.
Need help?
Do you have a question about the YM22 and is the answer not in the manual?
Questions and answers