
Related Manuals for Jensen JEP-150


Summary of Contents for Jensen JEP-150
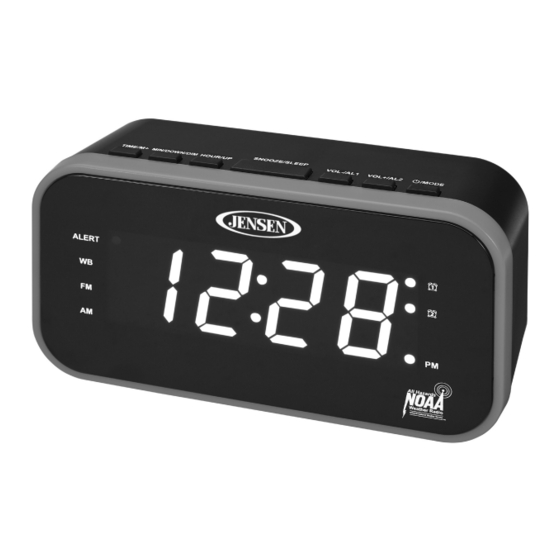
- Page 1 AM/FM Weather Band Clock Radio with Weather Alert MODEL: JEP-150 USER MANUAL PLEASE READ THIS USER MANUAL COMPLETELY BEFORE OPERATING THIS UNIT AND RETAIN THIS BOOKLET FOR FUTURE REFERENCE.
-
Page 2: Important Safety Instructions
WARNING TO PREVENT FIRE OR SHOCK HAZARD, DO NOT USE THIS PLUG WITH AN EXTENSION CORD, RECEPTACLE OR OTHER OUTLET UNLESS THE BLADES CAN BE FULLY INSERTED TO PREVENT BLADE EXPOSURE. TO PREVENT FIRE OR SHOCK HAZARD, DO NOT EXPOSE THIS APPLIANCE TO RAIN OR MOISTURE IMPORTANT SAFETY INSTRUCTIONS The Caution Marking is located at the back enclosure of the apparatus. - Page 3 This appliance shall not be exposed to dripping or splashing water and that no object filled with liquids such as vases shall be placed on the apparatus. Do not overload wall outlet. Use only power source as indicated. Use replacement part as specified by the manufacturer. Upon completion of any service or repairs to this product, ask the service technician to perform safety checks.
-
Page 4: Compliance With Fcc Regulations
COMPLIANCE WITH FCC REGULATIONS This device complies with Part 15 of the FCC Rules. Operation is subject to the following two conditions: (1) this device may not cause harmful interference, and this device must accept any interference received, including interference that may cause undesired operation. -
Page 5: Dear Jensen Customer
The serial number of this product is found on its bottom cover. You should note the serial number of this unit in the space provided as a permanent record of your purchase to aid in identification in the event of theft of loss. Model Number: JEP-150 Serial Number:... -
Page 6: Location Of Controls
LOCATION OF CONTROLS TIME/M+ FM INDICATOR MIN/DOWN/DIM AM INDICATOR HOUR/UP ALARM 1 INDICATOR SNOOZE/SLEEP ALARM 2 INDICATOR VOL-/AL1 PM INDICATOR VOL+/AL2 BATTERY DOOR /MODE AC POWER CORD ALERT INDICATOR ANTENNA WB INDICATOR... -
Page 7: Power Source
POWER SOURCE AC POWER CONNECTION This product operates on 120V ~60Hz AC power supply. Plug the AC power cord (#16) into a household outlet AC source. INSTALLING THE BACK-UP BATTERY This unit is equipped with a battery back-up system, it requires 3V 2 x AA (UM-3) batteries (not included) to maintain the time settings and radio presets during an AC power outage. -
Page 8: Alarm Setting
To turn the Snooze function OFF, press the /MODE BUTTON (#7) once. LISTENING TO THE RADIO 1. Press and hold /MODE BUTTON (#7) to turn on the JEP-150. 2. Press the /MODE BUTTON (#7) to switch to your desired frequency band (FM/AM/WB). -
Page 9: Sleep Timer
7. Repeat steps 2 through 6 to preset up to 60 stations (30 AM and 30FM stations). To recall one of the preset stations 1. Press and hold the OFF /MODE BUTTON (#7) to turn on the JEP-150. 2. Tap the /MODE BUTTON (#7) to select AM/FM band. - Page 10 1. The JEP-150 will turn on automatically, activate the alarm and turn on the pre- selected WB channel. The ALERT INDICATOR (#8) flashes. The alarm will stay on for the duration of the alert broadcast.
-
Page 11: Cleaning The Unit
DIMMER OPERATION In standby mode, press the MIN/DOWN/DIM BUTTON (#2) repeatedly to select one of the two brightness settings (high or low). CARE AND MAINTENANCE • Children should be supervised when using this appliance. • Never wrap the AC POWER CORD around any animal or person. Special care should be taken with long wire. -
Page 12: Specification
RESETTING If the system does not respond or exhibits erratic or intermittent operation, you may have experienced an electrostatic discharge (ESD) or a power surge that triggered the internal microcontroller to shut down automatically. If this occurs, simply disconnect the ac power cord and remove the system backup battery, wait for at least 3 minutes and then setup the unit again as if it is a brand-new unit. - Page 13 This warranty is valid only in accordance with the conditions set forth below: 1. The warranty applies to the SPECTRA product only while: a. It remains in the possession of the original purchaser and proof of purchase is demonstrated. b. It has not been subjected to accident, misuse, abuse, improper service, usage outside the descriptions and warnings covered within the user manual or non-SPECTRA approved modifications.
Need help?
Do you have a question about the JEP-150 and is the answer not in the manual?
Questions and answers