Advertisement
Quick Links
Installation
1. Screw the breech set (1) into the
1.
mounting stud. Refer to
illustration 1. for minimum and
maximum tolerances. Plumb the
breech set (1) into system.
2. A hole diameter of 35mm will
be required for correct head
works (2) installation and a
hole diameter of 25mm will be
required for correct spout (10)
installation.
2.
3. Screw head works (2) into
breech (1).
4. Trim brass nipple (3) to length
with a max 15mm protruding
from wall lining.
5. Insert O-ring (4) into the groove
Ø 35mm
in the bottom of the base ring
(8) and place over spindle/head
works.
6. Screw locking nut (7) over
3.
spindle/ head works (2).
7. Place handle (9) onto spindle/
Do not discard screws
head works (2) and fasten with
a 2.5mm hex key (11).
8. Fit inlet connector (6) to brass
nipple (3) and place spout (10)
over inlet connector (6).
9. Tighten with a 2.5mm hex key
(11).
Note: It is the responsibility of the installer to ensure a water proof seal is
achieved between the faceplate and the finished surface of the wall. If in any
doubt about the quality of the seal, the faceplate should be removed and
then reinstalled using silicone to ensure a seal is achieved.
April 2012
Methven Australia Pty Ltd
ABN 15 104 813 390
Melbourne, Australia
www.methven.com
Distance f r om mounting stud to
front of wall lining:
Std - 54-64mm
Ext - 64-76mm
For deeper installations,
remove short threaded
headworks collars, replace
with long threaded headworks
collars and spindle extensions.
4.
Apply appropriate thread
Trim to 15mm
sealant material
Ø 25mm
Ø 35mm
5.
2.5mm hex key
MA018345
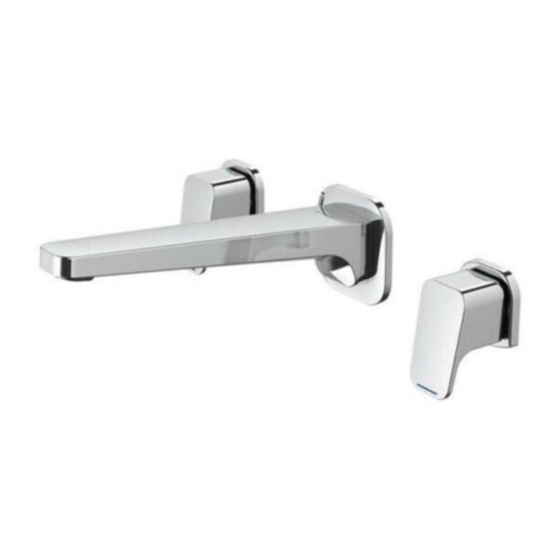
Waipori 3 Hole Wall Mounted
Bath Set
Installation Guide
IMPORTANT
Please read all of the instructions before installation
Use of this product is recommended for domestic and commercial applications.
Domestic and commercial warranty terms and conditions vary. Please refer to the Methven website
for full warranty terms and conditions - www.methven.com
All pipework must be thoroughly flushed prior to the installation of the mixer.
Inline filter washers must be installed on both hot and cold supplies to prevent foreign particles
damaging the ceramic head works.
Do not remove the ceramic head works from the mixer when installing.
Damage caused by hydrostatic testing is not covered by Methven's warranty.
Methven recommends a licensed plumber carry out all installations in compliance with
the requirements of AS/NZS 3500. This product complies with AS/NZS 3718 regulations.
www.methven.com
Customer Care Hotline: 1300 METHVEN (638 483)
Email: info@au.methven.com
01-8345
WMKA21005
Advertisement

Subscribe to Our Youtube Channel
Related Manuals for METHVEN 01-8345


Summary of Contents for METHVEN 01-8345
- Page 1 Use of this product is recommended for domestic and commercial applications. Domestic and commercial warranty terms and conditions vary. Please refer to the Methven website Note: It is the responsibility of the installer to ensure a water proof seal is for full warranty terms and conditions - www.methven.com...
- Page 2 Hot 04-9752 Cold 04-9769 THE METHVEN GUARANTEE www.methven.com The warranty statement shall apply to all tapware & showers supplied by Methven Customer Care Hotline: 1300 METHVEN (638 483) For more information visit www.methven.com Email: info@au.methven.com THIS WARRANTY ISSUED BY: Methven Australia Pty Ltd, Melbourne Australia...
Need help?
Do you have a question about the 01-8345 and is the answer not in the manual?
Questions and answers