Table of Contents
Advertisement
Quick Links
Advertisement
Table of Contents

Related Manuals for Bosch HBM43B250A


Summary of Contents for Bosch HBM43B250A
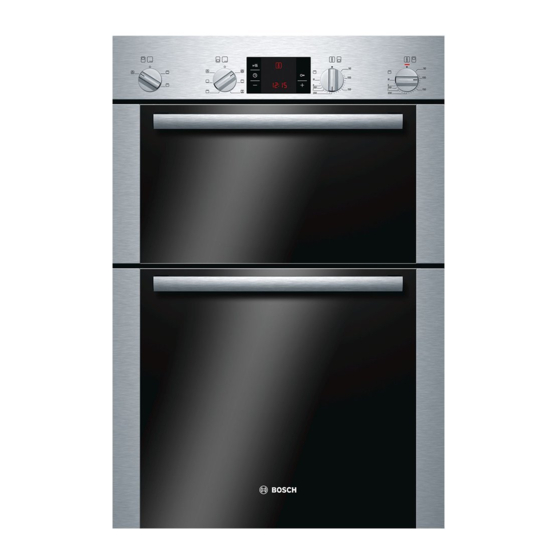
- Page 1 Double oven HBM43B250A [en] Instruction manual...
-
Page 3: Table Of Contents
Switching off the childproof lock........... 10 Changing the basic settings ........... 10 Produktinfo Additional information on products, accessories, replacement parts and services can be found at www.bosch-home.com and in the online shop www.bosch-eshop.com : Safety precautions Read these instructions for use carefully. -
Page 4: Causes Of Damage
Causes of damage Risk of fire! Never store combustible items in the cooking compartment. Caution! Never open the appliance door if smoke can be seen in the Do not place accessories on the cooking compartment floor. ■ appliance. Switch off the appliance. Pull out the mains plug or Do not line the cooking compartment floor with foil of any disconnect the fuse in the fuse box. -
Page 5: Buttons And Display
Buttons and display Function selector Use the function selector to select the type of heating for the ò You can use the buttons to set various additional functions. You main oven. can read the values that you have set in the display. Setting Button Off position... -
Page 6: Shelf Positions
Shelf positions Accessories You can pull out the accessories two thirds of the way without You can buy accessories from the after-sales service, from them tipping. This allows meals to be removed easily. specialist retailers or online. Please specify the HEZ number. The accessories may become deformed when they become Wire rack hot. -
Page 7: Before Using For The First Time
Special accessorie HEZ number Pizza tray HEZ317000 Ideal for pizza, frozen foods or large round cakes. You can use the pizza tray instead of the universal pan. Place the baking tray on the wire rack and proceed according to the details in the tables. -
Page 8: Setting The Oven
Setting the oven There are various ways in which you can set your oven. Here Changing the settings we will explain how you can select the desired type of heating The type of heating and temperature or grill setting can be and temperature or grill setting. -
Page 9: Cooking Time
Cooking time End time You can set a cooking time for your dish in the ó main oven. You can delay the time at which you wish your dish to be ready. When the cooking time has elapsed, the oven switches itself off ó... -
Page 10: Clock
Use the button to set the clock. Checking the time settings If several time-setting options are set, the relevant symbols are After a few seconds, the time that has been set is adopted. illuminated on the display. The symbol for the time-setting option that is visible in the display is shown in brackets. -
Page 11: Cleaning Agents
Cleaning agents Caution! Damage to surfaces on self-cleaning areas due to the use of To ensure that the different surfaces are not damaged by using abrasive and acidic cleaning agents and aids. the wrong cleaning agent, observe the information in the table. Do not use cleaning agents containing abrasive substances or Do not use acids. -
Page 12: Detaching And Attaching The Oven Door
Detaching and attaching the oven door Fold back both locking levers (figure C). Close the oven door. For cleaning purposes and to remove the door panels, you can detach the oven door. & The oven door hinges each have a locking lever. When the locking levers are closed (figure A), the oven door is secured in place. -
Page 13: Troubleshooting
Cleaning Clean the door panel with glass cleaner and a soft cloth. Caution! Do not use any sharp or abrasive medium or a glass scraper. The glass could be damaged. Fitting the door panels ò Top oven Place the intermediate panel in the supports on the left and right (figure D). -
Page 14: After-Sales Service
After-sales service Our after-sales service is there for you if your appliance needs After-sales service to be repaired. We will always find the right solution in order to avoid unnecessary visits from a service technician. E number and FD number Please note that there will be a fee for a visit by a service technician in the event of a malfunction, even during the When calling us, please give the product number (E no.) and... - Page 15 Baking trays that are placed in the oven at the same time will Baking tins not necessarily be ready at the same time. It is best to use dark-coloured metal baking tins. The tables show numerous suggestions for your dishes. Baking times are increased when light-coloured baking tins If you have 2 small, round cake tins, place them on one level made of thin metal or glass dishes are used, and cakes do not...
-
Page 16: Baking Tips
Food Dish Shelf posi- Type of Temperature Baking time in tion heating in °C minutes Soufflé Wire rack + 1.2 litre soufflé 170-180 45-50 dish 160-170 45-50 < Wire rack + pie dish 190-200 45-55 180-190 45-50 < Yorkshire pudding Universal pan + 12-cup tin 2 200-210 20-25... -
Page 17: Meat, Poultry, Fish
The cake has risen in the middle but has Do not grease the edge of the springform cake tin. After baking, loosen the cake care- sunk around the edge.? fully with a knife. The cake goes too dark on top. Place it lower in the oven, select a lower temperature and bake the cake for a little longer. - Page 18 Meat Dish Shelf posi- Type of Temperature Time, mins per tion heating in °C 500 g + add. time Poultry Chicken Universal pan with roasting rack 170-180 20+25 < Chicken, portion Universal pan with roasting rack 190-200 20+25 < Chicken, quarter (450 g each) Universal pan with roasting rack 180-190 20+25...
- Page 19 The universal pan should also be inserted underneath. To Do not insert the baking tray or universal pan at level 4 or 5. prevent a high degree of smoke from forming, do not insert the The high heat distorts it and the cooking compartment can be pan higher than level 3.
-
Page 20: Tips For Roasting And Grilling
Food Dish Shelf posi- Type of Grill setting Time tion heating in minutes Chops Wire rack + 1st side 10-13, 2-3 cm thick universal pan 2nd side 8-12 Burgers Wire rack + 1st side 10-12, 1-2 cm thick universal pan 2nd side 6-8 Sausages Wire rack +... -
Page 21: Special Dishes
Food Dish Shelf posi- Type of Temperature Time in min- tion heating in °C utes Pizza, chilled Universal pan 190-210 10-15 200-210 10-15 < Potato products, frozen Chips Universal pan 190-210 20-30 210-220 20-25 < Universal pan + wire rack 3+1 180-190 30-35 <... -
Page 22: Defrost
Main oven Meal Cookware Type of Temperature Cooking time heating Yoghurt Cups or screw-top Place on the cook- Preheat to 50 °C 5 mins jars ing compartment 50 °C 8 hrs floor Proving dough Heat-resistant dish Place on the cook- Preheat to 50 °C 5-10 mins ing compartment... -
Page 23: Test Dishes
Test dishes These tables have been produced for test institutes to facilitate Whirls: baking trays that are placed in the oven at the same the inspection and testing of the various appliances. time will not necessarily be ready at the same time. In accordance with EN 50304/EN 60350 (2009) and IEC German apple pie on 2 levels: place dark springform cake tins 60350. - Page 24 Robert Bosch Hausgeräte GmbH Carl-Wery-Straße 34 81739 München Germany www.bosch-home.com *9000715619* 920131 9000715619...
Need help?
Do you have a question about the HBM43B250A and is the answer not in the manual?
Questions and answers