Advertisement
Available languages
Available languages
Quick Links
Advertisement

Related Manuals for Field Controls Trio Pro


Summary of Contents for Field Controls Trio Pro
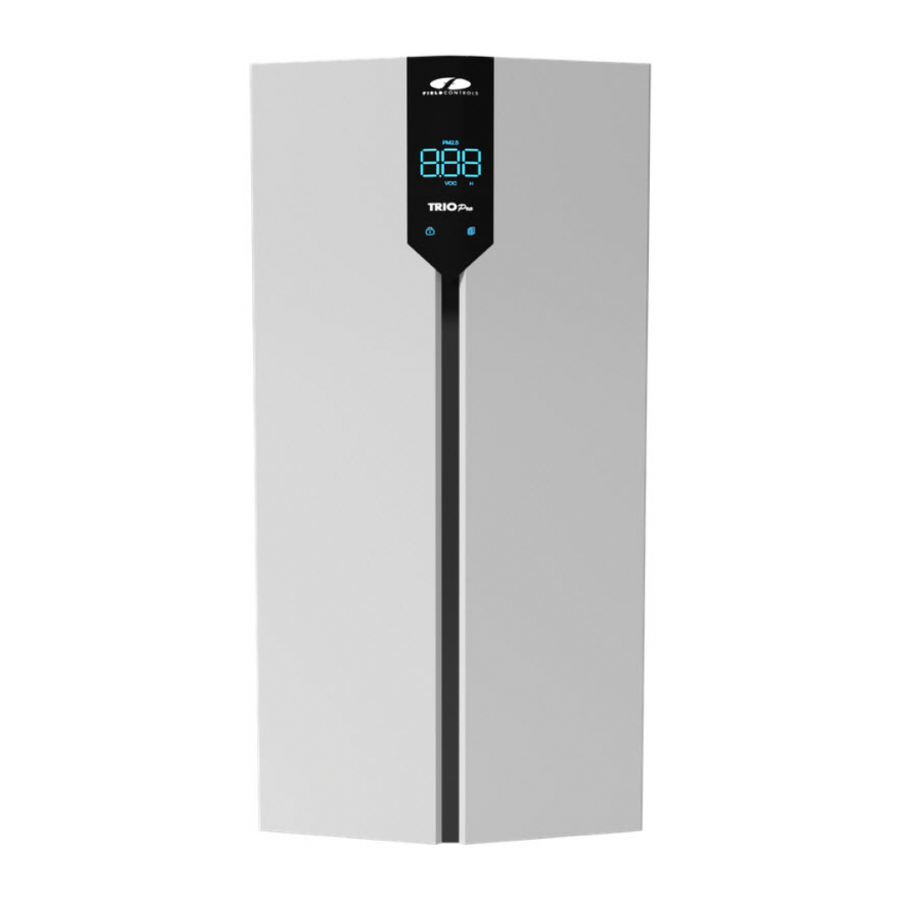
- Page 1 READ AND SAVE THESE INSTRUCTIONS Trio Pro AIR PURIFIER USER MANUAL...
-
Page 2: Table Of Contents
TABLE OF CONTENTS Safety Precautions 01-02 Product Overview 03-04 Product Features and Functions Operation Instructions 06-11 Getting Started 12-13 Filter Replacement 14-15 UVC Lamp Replacement Common Problems and Solutions 16-18 Transportation and Storage Conditions SAFETY PRECAUTIONS Please read the instructions carefully and completely before proceeding with installation of the product to better understand the product and to prevent... - Page 3 WARNING - Failure to follow the instructions below can damage the product or cause personal injury. To reduce the risk of fire or electric shock, do not use this fan with any solid-state speed control device. Do not spray paint, insecticide, ethyl alcohol, or any other chemical agent on the device surface.
-
Page 4: Product Overview
PRODUCT OVERVIEW Terminology 1. Control Panel 2. Display Panel 3. Sensor 4. Power Inlet 5. Filter Cover 6. Pre-Filter 7. HEPA with Activated Carbon Filter 8. PRO-Cell Catalyst 9. Air Outlet 10. Magnet 11. UVC Germicidal Lamps 12. Air Inlet... - Page 5 Specifications PRODUCT MODEL Trio Pro Rated Voltage (V) Rated Power (W) Frequency (Hz) CADR Rating (CFM) Sound (dBA) 39.6 Weight (lbs.) 18.6 x 15.2 x 31” Dimensions W x H x D (inches)
-
Page 6: Product Features And Functions
Product Features and Functions The Trio Pro air purifier combines three state-of-the-art air treatment processes into one powerful system. The 3-stage system boasts a True HEPA filtration, four high- intensity UVC lamps, and Field Controls’ PRO-Cell™ Catalyst. -
Page 7: Operation Instructions
Operating Instructions Control Panel View Display View... - Page 8 Operating Instructions 1 .Power On/Off Press to turn the appliance on or off. 2. Speed The Speed 1 and “ ” is fully bright by default after turning on the appliance. Click on “ ” to accelerate the fan speed,while “ ”...
- Page 9 Operating Instructions 8.Filter Reset The Filter icon will blink when the filters require replacement. After replacing the filters press and hold the Auto mode button for 5 seconds to reset the filter indicator. 9.Power off before removing filter cover Before replacing the filter, power off the appliance and remocve power cord from outlet. After replacing the filter, plug appliance back into outlet and power on.
- Page 10 Operating Instructions 12.Volatile Organic Compounds (VOC) and Fan Speed The VOC sensor requires a 3-minute warmup, which will be displayed as a 180 second countdown. After the countdown, the VOC value will present VOC reading in real-time. The air quality color level will be directly displayed as shown in the table below and associated fan speed in AUTO mode.
- Page 11 Operating Instructions Remote Control View...
- Page 12 Operating Instructions There are 9 buttons on the Remote Control: PowerON/OFF, AUTO mode, Speed, UV, Light, (Child)Lock, Timer, Turbo, Sleep. The Speed button will cycle between the 4 speeds: Speed 1 Speed 2 Speed 3 Speed 4 Speed 1, etc. 13.Sleep (Only for Remote Control)...
-
Page 13: Getting Started
Getting Started Installing Filter There are filter covers on all filters of the appliance. Before using the appliance, remove all packaging materials covering all the filters and place the filters into the appliance as described below. Please ensure that the correct filter installation sequence is followed. Otherwise, there may be damage to the product and the filtration Note efficacy of the unit may not be as effective as advertised. - Page 14 HEPA with PRO-Cell carbon filter Catalyst Step 3 Gently place the PRO- Cell Step 4 Next, place the unpackaged HEPA with carbon filter back into the Catalyst (metal honeycomb) in the appliance with the tag pointing outwards. innermost position closest to the UVC lamp as shown in the figure with the tag pointing outwards.
- Page 15 MAINTENANCE INSTRUCTIONS Please ensure the appliance is unplugged from the wall before performing any maintenance. To increase the life of the air purifier, perform regular maintenance and care. Before performing maintenance, be sure to shut down the air purifier and unplug the power cord from the power source.
-
Page 16: Filter Replacement
FILTER REPLACEMENT Replace with Field Controls Trio Pro Filter Kit # 602605600 Turn off the appliance and remove power cord from power supply before replacing filters. The appliance will indicate when the filters require replacement, shown by the Filter Replacement light indicator on the control panel. However, the life of the filter may differ depending to the degree of pollution in the environment. -
Page 17: Common Problems And Solutions
WARNING – Skin or eye damage may result from direct exposure to the light produced by the lamp in this appliance. Always shutdown and disconnect the power before replacing or servicing. Replace lamps with Field Controls Trio ProUV lamp replacement kit Part Number # 602605500. Replacement steps: 1. - Page 18 Problem Possible Causes Actions The ambient air quality of the room is very poor. Poor odor The filter package Open the window to removal needs to be replaced. improve air ventilation; The room exceeds the Replace the effective area of this activated product.
-
Page 19: Transportation And Storage Conditions
Problem Possible Causes Actions ● The odor gradually ● The filter has absorbed disappears after Outlet too much odor and running the machine Smell smoke; for a period of time; ● It is time to replace the ● Clean or replace the filters. - Page 20 This manual may be downloaded and printed from the Field Controls website (www.fieldcontrols.com) WARRANTY For warranty information about this or any Field Controls product, visit: www.fieldcontrols.com Field Controls Technical Support 1.800.742.8368...
- Page 21 LISEZ ET CONSERVEZ CES INSTRUCTIONS Trio Pro PURIFICATEUR D'AIR MANUEL DE L'UTILISATEUR...
- Page 22 TABLE DES MATIÈRES Mesures de sécurité 01-02 Présentation du produit 03-04 Caractéristiques et fonctions du produit Démarrer 06-11 Instructions 12-13 Remplacement du filtre 14-15 Remplacement du filtre lámpara UVC Problèmes courants et solutions 16-18 Conditions de transport et de stockage MESURES DE SÉCURITÉ...
- Page 23 AVERTISSEMENT - Le non-respect des instructions peut endommager le dispositif ou provoquer des blessures. - Pour réduire les risques d'incendie ou de décharge électrique, n'utilisez pas ce - Ne pas pulvériser de peinture, d'insecticide, d'alcool éthylique ou tout autre agent chimique sur la surface de l'appareil.
- Page 24 PRÉSENTATION DU PRODUIT Terminologie...
- Page 25 Caractéristiques techniques Modèle Trio Pro Tension nominale (V) Puissance nominale (W) Fréquence (Hz) Taux de CADR (CFM) Son (dBA) Poids (kg) 17,9 47 x 38,61 x 78,74 Dimensions L x H x P (cm)
- Page 26 Caractéristiques et fonctions du dispositif Le purificateur d’air Trio Pro combine trois procédés de traitement de Le purificateur d'air TRIO Pro combine trois processus de traitement de l'air de pointe en un seul système puissant. Le système en 3 étapes est doté d'une véritable filtration HEPA, de quatre lampes UVC à...
- Page 27 Instructions Panneau de commande Affichage...
- Page 29 Instructions Éteindre avant de retirer le couvercle du filtre Avant de remplacer le filtre, éteignez l’appareil et débranchez-le. Après avoir remplacé le filtre, rebranchez l’appareil et allumez-le. Assurez-vous que les couvercles des filtres sont bien installés et fermés, sinon le voyant d’alimentation clignote lentement. . Fonction de capteur de lumière et mode veille L’appareil passe en mode Veille si l’environnement est sombre pendant plus d’une minute et que l’appareil est en mode Auto.
- Page 30 Instructions 12. Composés organiques volatils (COV) et vitesse du ventilateur Le capteur COV nécessite une préparation de 3 minutes, qui s’affiche sous la forme d’un compte à rebours de 180 secondes. Après le décompte, la valeur COV présentera la lecture COV en temps réel. Le niveau de couleur de la qualité de l’air sera directement affiché...
- Page 31 Instructions Présentation de la télécommande...
- Page 32 Instructions Il y a 9 boutons sur la télécommande : Marche/Arrêt, Mode AUTO, Speed, UV, Light, Lock (enfant), Timer, Turbo, Sleep. Le bouton Speed permet de passer d’une vitesse à l’autre : Vitesse 1 Vitesse 2 Vitesse 3 Vitesse 4 Vitesse 1, etc.
- Page 33 Démarrer Installation du filtre Des couvercles de filtres sont présents sur tous les filtres. Avant d’utiliser l’appareil, retirez tous les emballages et placez les filtres dans l’appareil comme décrit ci-dessous. Remarque : Assurez-vous que la séquence d’installation correcte du filtre est respectée. Sinon, vous risquez d’abîmer le dispositif et les effets de filtration et de stérilisation de Note l’appareil peuvent perdre en efficacité.
- Page 34 Catalyseur HEPA avec PRO-Cell filtre à charbon Étape 3 : Placez délicatement le Étape 4 : Ensuite, replacez le filtre HEPA avec charbon non emballé dans catalyseur PRO-Cell (structure l'appareil, l'étiquette vers l'extérieur. alvéolaire) le plus à l’intérieur, le plus proche de la lampe UVC, comme indiqué...
- Page 35 MAINTENANCE Assurez-vous que l’appareil est débranché avant d’effectuer toute opération de maintenance. Pour rallonger la durée de vie du purificateur d’air, effectuez une maintenance et un entretien réguliers. Avant d’effectuer l’entretien, éteignez le purificateur d’air et débranchez le cordon d’alimentation de la prise. Après avoir utilisé le purificateur d’air, si le filtre doit être remplacé, l’icône de remplacement du filtre sur le panneau de commande clignote, indiquant que le filtre doit être remplacé.
- Page 36 REMPLACEMENT DU FILTRE Remplacez avec le kit de filtre Field Controls Trio Pro n° 602605600 Éteignez l’appareil et débranchez le cordon d’alimentation avant de remplacer les filtres. L’appareil indique quand les filtres doivent être remplacés, grâce au témoin lumineux de remplacement du filtre sur le panneau de commande. Cependant, la durée de vie du filtre peut varier en fonction du degré...
- Page 37 Il est préférable de remplacer les filtres HEPA et les filtres à charbon actif tous les 3 à 6 mois, en fonction des conditions d’utilisation. Les filtres HEPA haute efficacité, les filtres à charbon actif, les filtres photocatalytiques et les pré-filtres ne peuvent pas être lavés.
- Page 38 Problèmes Causes possibles Actions La qualité de l’air ambiant de la pièce est Mauvaise Ouvrez la fenêtre très mauvaise. élimination pour améliorer la L’ensemble des filtres des odeurs ventilation. doit être remplacé. La Remplacez le filtre à pièce dépasse la charbon actif.
- Page 39 Problème Causes possibles Actions correctiva ●Le filtre a absorbé trop ●L’odeur disparaît Odeurs à la d’odeurs et de fumée ; progressivement après avoir sortie ●Il est temps de remplacer fait fonctionner la machine pendant un certain temps. les filtres. ●Nettoyez ou remplacez le filtre qui doit l’être.
- Page 40 Ce manuel peut être téléchargé et imprimé à partir du site Web de Field Controls (www.fieldcontrols.com) GARANTIE Pour toute information sur la garantie de ce produit ou de tout autre produit Field Controls, consultez le site : www.fieldcontrols.com Support technique de Field Controls 1.800.742.8368...
Need help?
Do you have a question about the Trio Pro and is the answer not in the manual?
Questions and answers