
Related Manuals for Outdoor GreatRoom Company Montego


Summary of Contents for Outdoor GreatRoom Company Montego
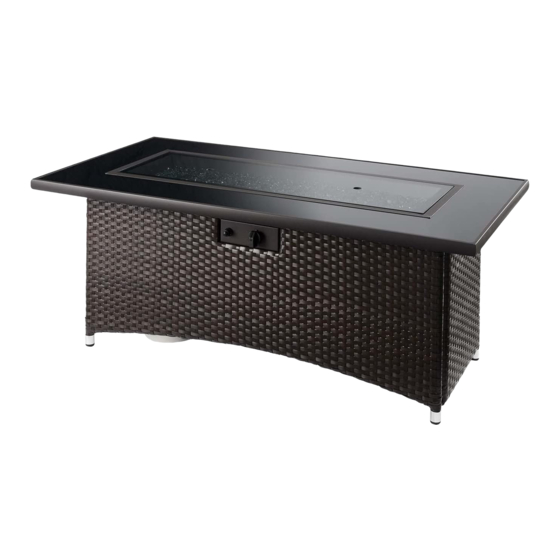
- Page 1 Montego Fire Pit Table Installation Instructions for Montego Fire Pit Models MG-1242-BLSM-K and MG-1242-BLK-K...
-
Page 2: Table Of Contents
IMPORTANT Please consult your Crystal Fire instruction manual for detailed Contents instructions and important information related to hooking up your linear burner, including safety information, proper tightening of Required Tools…………………………….…..2 connections with two wrenches and full burner setup and lighting instructions. -
Page 3: Included With Your Fire Pit
Included with your Fire Pit Gas Valve Kit TOUCH PAINT Bolt Caps Touch-up M6 Allen [X 4] Paint [X 1] Wrench [X 1] Mounting Gas Valve (x1) screws (x2) Bolt B [X 4] Bolt A [X 4] Bolt C [X 4] Control knob M6X35 M6X20... -
Page 4: Assembly Instructions
Assembly Instructions Included with your Fire Pit 1. Unpack the fire pit table contents from the box, and remove individual packaging from each piece. A. 4 Fasteners 2. Lay Panel A on soft, flat surface. B. 4 B-Bolts 3. Position Center Support on Panel A. NOTE: it is very important to place the Center Support exactly as shown in C. - Page 5 4. Stand up Panel A and use 2 more Bolt 5. Use Bolt B (x4) to attach A to attach Center Support to Panel B. Panel C as shown. Panel C 6. Remove the 4 pre-installed bolts (Bolt C) from the underside of the Glass Top , set the top into place on the base, and reinstall the bolts to fasten the top to the base.
-
Page 6: Cf-Sparker Installation
CF-SPARKER Installation Locate CF-SPARKER inside of Crystal Fire® Plus burner box. Remove CF-SPARKER cap and hex nut. Insert AAA battery (not included) with + end out. Install CF-SPARKER into control panel as shown below. Depress CF-SPARKER button to test your sparker. Locate and orient sparker box on control panel as... -
Page 7: Gas Connections
Gas Connections Read and understand your Crystal Fire® Plus owner’s manual before beginning burner hookups or using the device. Do not use Teflon tape or pipe dope on flare fittings. See Crystal Fire® Plus instructions for burner installation. All gas connections were completed at the factory. ... -
Page 8: Contents Igniter Installation
Thermocouple Installation • Refer to Crystal Fire® Plus instruction manual for detailed attachment Igniter of thermocouple. • Attach thermocouple to burner valve as shown below. Igniter Electrode Installation Plug both BLACK wires hanging from the burner into the back of the CF-SPARKER. -
Page 9: Igniter Installation
Glass Installation 1. Scatter all of the included Glass Beads evenly onto burner surface. DO NOT OPERATE CRYSTAL FIRE® PLUS BURNER WITHOUT GLASS BEADS OR OTHER DECORATIVE MEDIA PRESENT 2. Place a single Silicone Pad in each corner and two in the center as shown below. -
Page 10: Utility Knife Glass Installation
After installing igniter and making gas connections, verify that all connections are tight and that no leaks are present using a solution of soapy water or a commercially available leak-check solution. Position Your Tank (if applicable) 1. Remove door, connect the propane hose/regulator to the propane tank and hand tighten (DO NOT USE A WRENCH) and slide the propane tank past the dotted line to ensure the door closes properly. - Page 12 IMPORTANT Please consult your Crystal Fire® Plus instruction manual for detailed instructions and important information related to hooking up your linear burner, including safety information, proper tightening of connections with two wrenches and full burner setup and lighting instructions. DO NOT ATTEMPT TO INSTALL CFP1242 BURNER WITHOUT FIRST CONSULTING THE CRYSTAL FIRE®...
Need help?
Do you have a question about the Montego and is the answer not in the manual?
Questions and answers