Advertisement
Quick Links
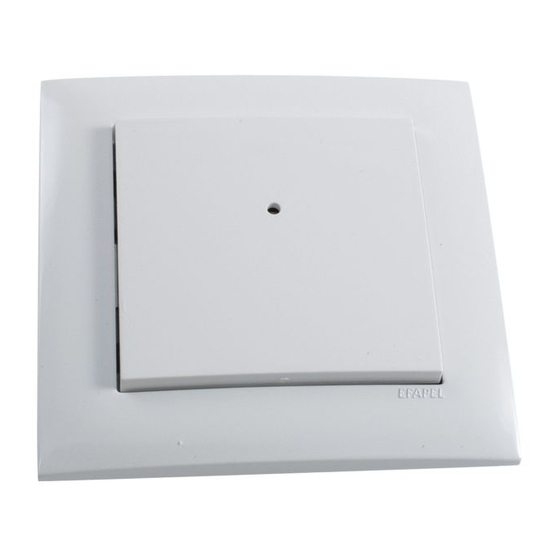
RFWB-20/G, RFWB-40/G
Wireless wall controller
EN
Controlador pulsador inalámbrico
ES
Compatibility /
Compatibilidad
The RFWB controller (hereinafter referred to as the controller) can control all switching and dimming
elements of the iNELS RF Control and iNELS RF Control
components). The controller is compatible with RF Control and RF Control
Indication, manual control /
Indicación, control manual
RFWB-20/G
1. Common control buttons for the upper position of the RFWB-20/G controller
1.
2. Common control buttons for the lower position of the RFWB-20/G controller
3.
3. Programming button
4. LED - indication of sending RF command
4.
5. Upper control button for the left half of the RFWB-40/G controller
2.
6. LED - indication of sending the command (for the left half of the RFWB-40/G
controller)
7. Lower control button for the left half of the RFWB-40/G controller
8. Upper control button for the right half of the RFWB-40/G controller
9. LED - indication of sending the command (for the right half of the RFWB-40/G
RFWB-40/G
controller)
8.
5.
10. Lower control button for the right half of the RFWB-40/G controller
3.
6.
Sending the command (when pressing and releasing the control button) is indi-
9.
cated on the RFWB by a fl ashing LED.
7.
10.
In the programming and operating mode, the LED on the component lights up
at the same time each time the button is pressed - this indicates the incoming
command.
Insertion and replacement of a battery /
Using a screwdriver, carefully pry off
1
RFWB-20/G
the device from the frame.
Mediante un destornillador libere con
cuidado el dispositivo del marco.
RFWB-40/G
Snap on the cover. The LED opening
4
must be located in the upper part (for
the RFWB-40, observe the positioning
of the left and right cover).
Inserte de nuevo la tecla. Agujero para
LED debe ser colocado en la parte su-
perior (en RFWB-40 cuidadosamente
colocar la tecla izquierda y derecha).
Safe handling /
Manipulación segura con el dispositivo
When handling a device unboxed it is important to avoid contact with liquids. Never place
the device on the conductive pads or objects, avoid unnecessary contact with the compo-
nents of the device.
Radio frequence signal penetration through various construction materials /
Transmisión de señales de radiofrecuencia en varios materiales de la construcción
RFRP-20
ELKO EP declares that the RFWB-20/G and RFWB-40/G type of radio equipment complies with
Directive 2014/53 / EU. The full EU Declaration of Conformity is available at:
RFWB-20/G: www.elkoep.com/wireless-wall-controller---rfwb-20g
RFWB-40/G: www.elkoep.com/wireless-wall-controller---rfwb-40g
2
system (hereinafter referred to as the
2
system devices.
Insertar y cambiar la pila
Gently pull to remove the cover.
2
Tirando suavemente retire la tecla.
Place the frame on the rear part.
5
Coloque el marco al elemento trasero.
80 - 95 %
wooden structures
with plaster boards
estructuras de
madera con placas
de yeso
El controlador RFWB (en lo sucesivo „el controlador") puede controlar todos los dispositivos de
conmutación y atenuación del sistema iNELS RF Control ex iNELS RF Control
dispositivos). El controlador es compatible con los dispositivos del sistema RF Control y RF Control
1. Botones de control comunes para la posición superior del controlador RFWB-20/G
2. Botones de control comunes para la posición inferior del controlador RFWB-20/G
3. Botón de programación
4. LED – indicación de enviar comando RF
5. Botón de control superior para la mitad izquierda del controlador RFWB-40/G
6. LED: indicación de envío de la órden (para la mitad izquierda del controlador
RFWB-40/G)
7. Botón de control inferior para la mitad izquierda del controlador RFWB-40/G
8. Botón de control superior para la mitad derecha del controlador RFWB-40/G
9. LED: indicación de envío de la órden (para la mitad derecha del controlador
RFWB-40/G)
10. Botón de control inferior para la mitad derecha del controlador RFWB-40/G
El envío de la órden (al presionar y soltar el botón de control) se indica en la RFWB
mediante un LED parpadeante.
En el modo de programar y borrar, con cada pulsación del botón, el LED del dispo-
sitivo RF se ilumina de forma larga, lo que indica que recibe una órden.
3
+
CR2032
6
Al manipular con el dispositivo sin embalaje es importante evitar el contacto con líquidos.
Nunca ponga el dispositivo sobre objetos conductores, no toque los componentes en el
dispositivo de forma innecesaria.
80 - 90 %
60 - 90 %
common glass
brick walls
vidrio normal
pared de ladrillo
Por la presente, ELKO EP declara que el tipo del equipo de radio "RFWB-20/G" y "RFWB-40/G" cumple con
la directiva 2014/53/UE. La declaración de conformidad de la UE completa está disponible en la pagina:
RFWB-20/G: www.elkoep.com/wireless-wall-controller---rfwb-20g
RFWB-40/G: www.elkoep.com/wireless-wall-controller---rfwb-40g
02-13/2019 Rev.0
2
(en lo sucesivo, los
Slide the CR2032 battery into the
battery holder. Observe the polarity.
Pila CR2032 inserte al soporte de la
batería. Tenga cuidado con la polari-
dad.
Snap the device with the cover into
the prepared frame.
Sujete el dispositivo con la tecla al
marco preparado.
20- 60 %
0 - 10 %
reinforced
metal partitions
concrete
hormigón armado
chapas metálicas
2
.
1 / 2
Advertisement

Related Manuals for iNels RFWB-20/G


Summary of Contents for iNels RFWB-20/G
- Page 1 ELKO EP declares that the RFWB-20/G and RFWB-40/G type of radio equipment complies with Por la presente, ELKO EP declara que el tipo del equipo de radio “RFWB-20/G” y “RFWB-40/G” cumple con Directive 2014/53 / EU. The full EU Declaration of Conformity is available at: la directiva 2014/53/UE.
- Page 2 Advertencia: No installation into multi-frames. No instale en múltiples marcos. When you instal iNELS RF Control system, you have to keep En la instalación de iNELS RF Control debe haber una minimal distance 1 cm between each units. distancia mínima entre las diferentes unidades de un Between the individual commands must be an interval of centímetro.
Need help?
Do you have a question about the RFWB-20/G and is the answer not in the manual?
Questions and answers