Table of Contents
Advertisement
Quick Links
Installation & Operating Manual
Please read this manual carefully before attempting to install, operate or maintain the product described. Failure to
comply with the information provided in this manual could result in personal injury and/or property damage. Retain
this manual for future reference.
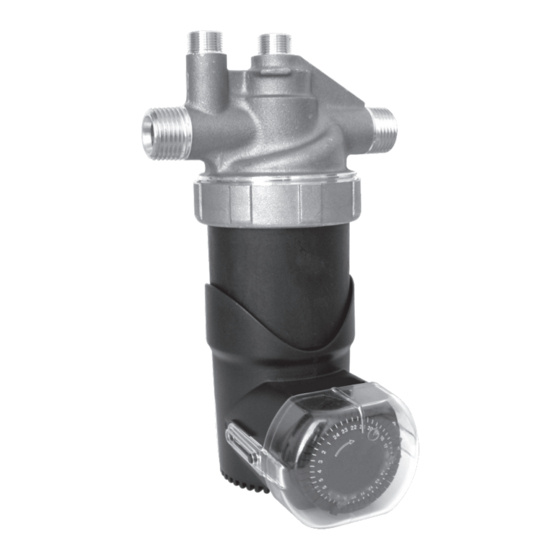
Autocirc The Instant Hot Water Pump
Models E1-BCANCT1W-06 and E1-BCANRT1W
INSTALLER: PLEASE LEAVE THIS MANUAL FOR THE OWNER'S USE.
How the Autocirc
The Autocirc
pump is installed under the sink farthest from the
®
water heater, where hot water takes longest to arrive.
Hot
Pump operating
Pump System Works
®
Cold
Laing Thermotech
Instruction Manual
6-71-075-004
Save Water. Save Time.
With One Simple
Under sink Installation
Hot to
Cold to
faucet
faucet
Hot
Pump not operating
Cold
Advertisement
Table of Contents

Related Manuals for ITT E1-BCANCT1W-06


Summary of Contents for ITT E1-BCANCT1W-06
- Page 1 Instruction Manual 6-71-075-004 Save Water. Save Time. With One Simple Under sink Installation Autocirc The Instant Hot Water Pump Models E1-BCANCT1W-06 and E1-BCANRT1W INSTALLER: PLEASE LEAVE THIS MANUAL FOR THE OWNER’S USE. How the Autocirc Pump System Works ® The Autocirc pump is installed under the sink farthest from the ®...
- Page 2 Model with fixed thermostat E1-BCANCT1W-06 • A built-in temperature sensor automatically turns the pump ON when the water temperature in the hot water supply line cools down to 85 F (29 C) (for E1-BCAN- º º RT1W model, refer to instructions on page 5). The pump then moves the cool water in the hot water supply line into the cold water supply line.
- Page 3 Preparation for Installation: Assemble the parts and tools required: • Autocirc pump package includes the pump with a built-in timer, a 6ft. cord, and ® wall mounting bracket. • Two stainless steel flexible hoses (1/2” x 3/8”) - length as required. (sold separately) •...
- Page 4 Note: If felt necessary, replace these existing flexible hoses with new stainless steel braided flexible hoses in the lengths required. Step 4 Screw on the two existing 1/2” hose connections to the corresponding hot and cold sides of the pump housing (see Fig.
- Page 5 Autocirc Start Up Procedures Timer Controlled Operation If timer controlled operation is desired, the timer may be programmed to allow the Autocirc to operate during the hours desired (i.e. “ON” from 7:00 a.m. to 9:00 p.m. and “OFF” from 9:00 p.m. to 7:00 a.m.) as follows: •...
- Page 6 Any consequential damages resulting from an Autocirc defect or malfunction are not covered by the Laing warranty. Any ancillary item(s) included with your Autocirc purchase, such as a flexible hose(s), is specifically excluded from the ITT Laing Thermotech warranty.
- Page 7 There shall be no other warranty or obligation, expressed or implied, oral or statutory. ITT Laing Thermotech, its agents, or employees shall in no event be liable for injury to any person, or for any claim for damage, however arising.
- Page 8 Failure to follow these instructions could result in serious personal injury and death. ITT Corporation Copyright © 2009 ITT Corporation, Printed in Hungary 06-10 IM-01 3878 S. Willow, Suite 104...
Need help?
Do you have a question about the E1-BCANCT1W-06 and is the answer not in the manual?
Questions and answers