Advertisement
__________________________________________________________________________________________
Thank you for choosing the Yard Master 2 portable projection screen! Please read through this user guide before
utilizing the screen. Correct usage and maintenance will ensure a long product life.
Care & Use Instructions
◆
During cold seasons it is best to assemble the screen in a warm environment to allow the screen material to
properly stretch on the frame.
◆
Please be sure to distinguish between the front and back of the screen fabric when setting up the projection
screen. CineWhite® UHD-B (front projection) has a black backing and WraithVeil® (rear projection) is
labeled front, back.
◆
Be sure to use the screen only during a light breeze (up to 7 mph); it is not meant to withstand heavy winds
*Elite Screens is not responsible for damages due to negligence resulting from misuse under weather
conditions and will void your warranty.
◆
Dust, dirt and scratches on the projection surface will affect the picture quality, please take note of the
points below to prevent that from occurring:
1. Do not touch the projection surface with your hands
2. Do not write or draw on the projection surface
3. Do not use fingers or sharp objects to point on the projection surface; this will damage the screen material.
4. Use a soft-damp cloth to clean the projection surface; do not use chemical cleaning agents or alcohol.
5. Use clean water when dampening the cleaning cloth and do not rub against the material to clean it.
◆
After using the screen, disassemble it and store it in the carrying bag provided.
Note: Please wipe off any moisture prior to packing it away to prevent damage to the product.
◆
To avoid damage and injury, the screen should only be operated by adults.
Product Description
Design: The aluminum frame is designed to be light weight and easily operated making it easy to carry, assemble
and disassemble.
Screen Fabric: The screen fabric is attached to the rectangular frame and held in place by several press stubs,
which ensure an evenly stretched and flat surface. The CineWhite® (front projection) and WraithVeil® (rear
projection) screen materials are durable and can be folded many times without causing damage or distortion to the
surface.
Correct usage of the projection screen will ensure better viewing results.
For front projection (CineWhite®), assemble and view the screen as indicated in Fig. 1.
For rear projection (WraithVeil®), assemble and view the screen as indicated in Fig. 2.
081021-BR
Fig. 1
www.elitescreens.com
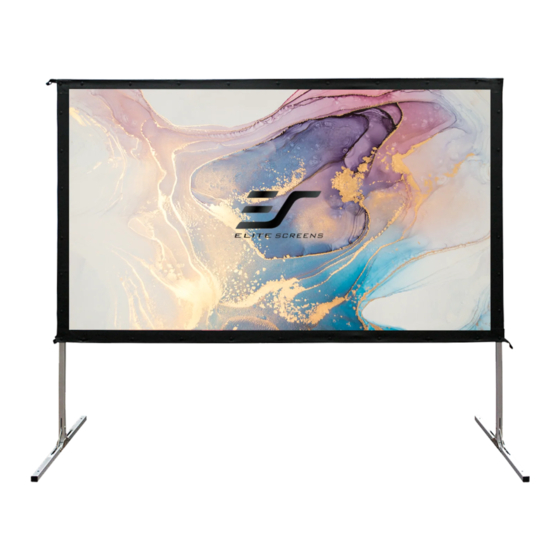
Yard Master 2 Series
Indoor/Outdoor Portable Projection Screen
User's Guide – E type
Fig. 2
1
Advertisement
Table of Contents

Subscribe to Our Youtube Channel
Related Manuals for Elite Screens YardMaster 2 Series


Summary of Contents for Elite Screens YardMaster 2 Series
- Page 1 Be sure to use the screen only during a light breeze (up to 7 mph); it is not meant to withstand heavy winds *Elite Screens is not responsible for damages due to negligence resulting from misuse under weather conditions and will void your warranty.
- Page 2 Hardware and Parts List A. Folding frame x1 B. Left and right folding legs x2 C. Screen material bag x1 D. Projection screen material x1 E. Knob screw x2 (small) x4 (Large) F. Eyebolt x2 G. Rope x2 H. Carrying Bag x1 I.
- Page 3 3. Make sure all 4 corners of the frame are at a 90° angle and the hinged support bar is straight and not bending. (Fig. 7-9) Fig. 7 Fig. 8 Fig. 9 4.Insert the frame legs (B) into the openings located at the left and right bottom sides of the folding frame (A).
- Page 4 8. If you have a bit of difficulty attaching the material, try this alternate option. Unlatch the sides of the frame, then carefully place the material (D) over it. Begin attaching the material by snapping the buttons on all four corners and horizontal sides of the frame. 9.
- Page 5 12. To secure the frame, place a stake (I) into each hole located on the frame footing, and hammer it into the ground. Finally, tie the 4 ropes (G) to the stakes to prevent the screen from tilting or falling over. As shown in fig.19.
- Page 6 Be sure to place folding frame, legs, and smaller parts into the carrying bag first and place the material on top to keep material from creasing or tearing. For a local Elite Screens contact or Technical Support, please visit www.elitescreens.com 081021-BR www.elitescreens.com...
Need help?
Do you have a question about the YardMaster 2 Series and is the answer not in the manual?
Questions and answers