Advertisement
Quick Links
Maestro WirelessR Advanced Programming Mode (APM)
Maestro WirelessR dimmers contain APM features that allow the user to customize their control to meet their
specific needs. This document serves as a supplement to the instruction sheet. APM features apply to only those
products with M4 revision software or later while System Configuration Mode (SCM) features apply to those
products with M6 revision software or later. Please note that the software revision level can be found on the
outside of the unit and will always start with the letter M. Before entering either mode, it is important to have a
good understanding of the features included. For a summary of these features and further instructions, see the
pages corresponding to your product.
Dimmer
R
B
L
F
Note: The MRF2-3LD and MRF2-3PD products do not have a FASST. In order to cycle power please follow
the steps below:
1. Unplug the Maestro WirelessR device from the wall outlet.
2. Wait for 3 seconds.
3. Plug the Maestro WirelessR device into a standard wall outlet.
Lamp Dimmer
B
Application Note #370
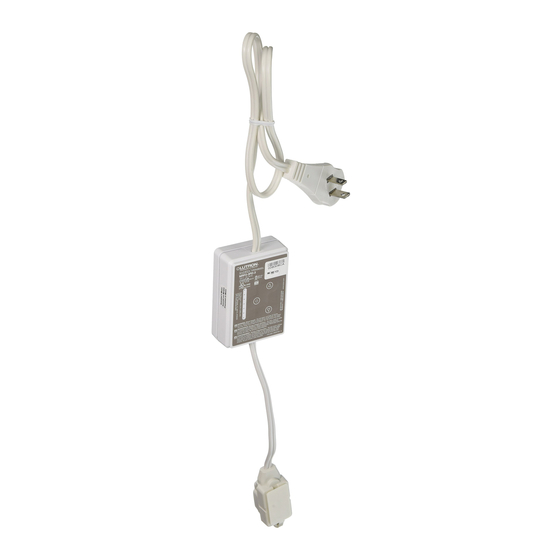
Plug-In Dimmer
COOPERSBURG, PA 18036 USA
MRF2-3PD
R
L
B = Tap Button
R = Raise Rocker
L = Lower Rocker
F = Front Accessible
Lutron Technical Support Center
Revision C
June 2012
®
Wireless
®
R
B
L
Key
Service Switch (FASST)
Pull OFF/Push ON
1.800.523.9466
Advertisement

Related Manuals for Lutron Electronics Maestro Wireless MRF2-3PD


Summary of Contents for Lutron Electronics Maestro Wireless MRF2-3PD
- Page 1 Application Note #370 Revision C June 2012 Maestro WirelessR Advanced Programming Mode (APM) Maestro WirelessR dimmers contain APM features that allow the user to customize their control to meet their specific needs. This document serves as a supplement to the instruction sheet. APM features apply to only those products with M4 revision software or later while System Configuration Mode (SCM) features apply to those products with M6 revision software or later.
- Page 2 Application Note #370 Explanation of Advanced Dimmer Features Preset Options: The user has two options for the preset light level on the Dimmer: Locked Preset and Unlocked Preset. Locked Preset: When programmed for a locked preset, the dimmer will always turn on to the predetermined “locked”...
- Page 3 Application Note #370 Entering Main Menu Mode (refer to picture on Page 1.) 1. Pull the FASST into the “Off” Position. 2. Press and Hold the Tap Button of the product you are programming. 3. Push the FASST to the “On” Position while continuing to hold the Tap Button for approximately 5 seconds. The bottom LED will begin to blink to indicate that you have entered APM.
- Page 4 Application Note #370 Selecting the “On” Fade Time 1. While in Main Menu Mode, press the Raise/Lower Rocker until LED 2 is blinking. 2. Press the Tap Button once. A quickly flashing LED will indicate which fade time has been selected (refer to picture below).
- Page 5 Application Note #370 Setting Delayed Fade-To-Off 1. While in Main Menu Mode, press the Raise/Lower Rocker until LED 4 is blinking. 2. Press the Tap Button once. 3. Press the Raise/Lower Rocker to adjust the waiting period. Each LED is equal to 10 seconds. Examples;...
- Page 6 Application Note #370 Setting Low End Trim Adjusting low end trim changes the minimum light level that is reached when in normal operation, the dimmer is off, and the raise button is pressed once. The range of this adjustment is limited to the bottom 3 LEDs. 1.
- Page 7 Application Note #370 Entering System Configuration Mode (SCM) Menu 1. While in Main Menu Mode, press the Raise Rocker until LED 7 begins to blink then release. Press and hold the Raise Rocker again for 3 seconds. LEDs 1 and 3 will begin to blink, requiring confimation to enter SCM. Note: Upon entering SCM the product cannot be returned to the Main Menu Mode until APM has been exited by performing power cycling or pressing and holding the Tap Button.
- Page 8 Application Note #370 Vacancy Light Level Preset (Available for products with M6 revision software or later): 1. Press the Raise/Lower Rocker until LED 4 begins to blink. Note: LED 7 will also be blinking indicating that the product is in SCM. 2.
- Page 9 Application Note #370 Overriding Daylight Timers (Available for products with M6 revision software or later): 1. Press the Raise/Lower Rocker until LED 5 begins to blink. Note: LED 7 will also be blinking indicating that the product is in SCM. 2.
- Page 10 Application Note #370 Restoring Factory Defaults If you would like to return the dimmer/switch to its original factory settings, please do the following: Restoring Factory Defaults Dimmer/Switch Note: If the dimmer/switch is restored to factory defaults, not only will the APM settings return to default settings, but any PicoR wireless controllers, occupancy, vacancy, and daylight sensors will no longer be associated to the dimmer/switch.
- Page 11 Application Note #370 Lutron Contact Numbers WORLD HEADQUARTERS EUROPEAN HEADQUARTERS ASIAN HEADQUARTERS United Kingdom Singapore Lutron Electronics Co., Inc. Lutron EA Ltd. Lutron GL Ltd. 7200 Suter Road 6 Sovereign Close 15 Hoe Chiang Road Coopersburg, PA 18036-1299 London, E1W 3JF United Kingdom #07-03, Tower 15 TEL: +1.610.282.3800...
Need help?
Do you have a question about the Maestro Wireless MRF2-3PD and is the answer not in the manual?
Questions and answers