Sign In
Upload
Download
Table of Contents
Contents
Add to my manuals
Delete from my manuals
Share
URL of this page:
HTML Link:
Bookmark this page
Add
Manual will be automatically added to "My Manuals"
Print this page
×
Bookmark added
×
Added to my manuals
Manuals
Brands
Rational Manuals
Commercial Food Equipment
iVario L
Operating instructions manual
Rational iVario L Operating Instructions Manual
Hide thumbs
1
2
Table Of Contents
3
4
5
6
7
8
9
10
11
12
13
14
15
16
17
18
19
20
21
22
23
24
25
26
27
28
29
30
31
32
33
34
35
36
37
38
39
40
41
42
43
44
45
46
47
48
49
50
51
52
53
54
55
56
57
58
59
60
61
62
63
64
65
66
67
68
69
70
71
72
73
74
75
76
77
78
79
80
81
82
83
84
85
86
87
88
89
90
91
92
page
of
92
Go
/
92
Contents
Table of Contents
Bookmarks
Table of Contents
Table of Contents
1 Introduction
Help Displayed on the Unit
Product Warranty
Target Group
Intended Use
Working with this Manual
Explanation of Symbols
Explanation of Pictograms
Explanation of Safety Messages
Images
Technical Changes
2 The Ivario
3 General Safety Instructions
Personal Protective Equipment
4 How to Work with the Unit
Initial Start-Up
Switching the Unit on and off
Start Screen
Favourite
Date, Time, Status
Actions
Interacting with the Unit
Moves
Central Dial
Fill Levels
Pressure Cooking Fill Levels (Optional)
Maximum Load Sizes
Opening and Closing the Pan Lid
Filling the Pan Using the Automatic Water Filling Function
Tilting and Lowering Pan
Opening and Closing the Pan Drain Valve
Inserting Core Temperature Probe
Using the Hand Shower
Adjusting the Unit Height (Optional)
5 Intelligent Cooking - Icookingsuite
Operating Modes and Cooking Methods
Intelligent Cooking Processes
Meat
Fish
Vegetables and Side Dishes
Egg Dishes
Soups and Sauces
Dairy Foods and Desserts
Finishing
Conditions, Information and Warnings
Cooking Food Intelligently
Calling up Intelligent Cooking Process
Starting Intelligent Cooking Process
Adjusting Cooking Result to Own Requirements
Cooking Parameters
Prompts
Information
Options
Monitor the Intelligent Cooking Path
Abort Intelligent Cooking Path
6 Manual Cooking
Conditions, Information and Warnings
Adjusting Cooking Result to Own Requirements
Cooking Parameters
Additional Functions
Prompts and Information
Cooking
Temperature Range
Cooking Food
Frying
General Safety Instructions
Temperature Range
Frying Food
Frying
General Safety Instructions
Limited Functionality
Temperature Range
Filling and Emptying the Pan Oil or Fat
Melt Solid Fat
Frying Food
Abort Manual Cooking
7 Pressure Cooking (Optional)
General Safety Instructions
Prompts
Information
Options
Pressure Cooking Food
8 Izonecontrol
Tickets
Preset Tickets
Creating Your Own Tickets
Edit Ticket Board
Pan Division
Presetting Pan Divisions
Creating Your Own Pan Divisions
Divide the Pan into Zones
Pan Allocation
Preset Pan Allocation
Creating Your Own Pan Allocations
Cooking Food with Izonecontrol
Manual Operating Modes
Place Ticket
9 Programming Mode
Create Manual Programme
Program Intelligent Cooking Process
Programme the Shopping Cart
Edit and Delete Programmes
Start Programmes and Shopping Carts
10 Switch between Operating Modes
11 Settings
Favourites
Display
Language
Date and Time
Temperature Format
Volume Unit
Programme View
Light
Display Brightness
Sound
Master Volume
Loading/Calls for Action
Program Step End
End of Cooking Time
Process Interruption/Error Found
Cooking System
Information on Unit Model
Demo Mode
Cooking
Primary Country Cuisine
Secondary Country Cuisine
Data Management
Export HACCP Data
Export and Import Programmes
Delete All Programs
Export and Import Images
Delete All Own Images
Export and Import Profiles
Delete All Own Profiles
Export and Import Basic Unit Settings
Delete All User Data
11.7.10 Export Error Statistics Log
Network Settings
Wifi
LAN (Optional)
User Administration
Service
11.10.1 Information on Unit Model
11.10.2 Software Update Info
11.10.3 Installed Software Version
Connectedcooking
12 Kitchen Management
Profile and Rights Management
Create New Profile
Activate Profile
Transfer Profile to Other Units
Delete Profile
Hygiene Management
Logged HACCP Data
Exporting HACCP Data
Transfer HACCP Data Automatically to Connectedcooking
Connected Units to a Network
Connect Network Cable
Establish Network Connection
Establishing a Wifi Connection
Monitoring Units Remotely with Connectedcooking
Connectedcooking
Connect Unit with Connectedcooking
Perform Software Update
13 Care
General Safety Instructions
Care Intervals
Care Products
Cleaning the Pan
Cleaning the Hand Shower
Cleaning the Control Panel
Cleaning Accessories
Cleaning Units with a Pressure Cooking System (Optional)
14 Inspiration and Help
Search Assistant
Help Displayed on the Unit
Telephone Help
Help in a Service Call
Automatically Transferring Service Data to Connectedcooking
Retrieving Service Data
Problem Resolution
Messages During Cooking
Messages During Pressure Cooking (Option)
Power Socket no Longer Works
15 Maintenance
General Safety Instructions
Replacing the Pan Lid Gasket
Replacing the Pan Drain Valve Gasket
16 Decommissioning and Disposal
Decommissioning
Disposal
Disposing of Oil and Fat
17 Technical Data
Units with Pressure Cooking (Optional)
Models and Version Names
Sticker
Acrylamide in Food
Conformity
Index
Advertisement
Quick Links
Download this manual
®
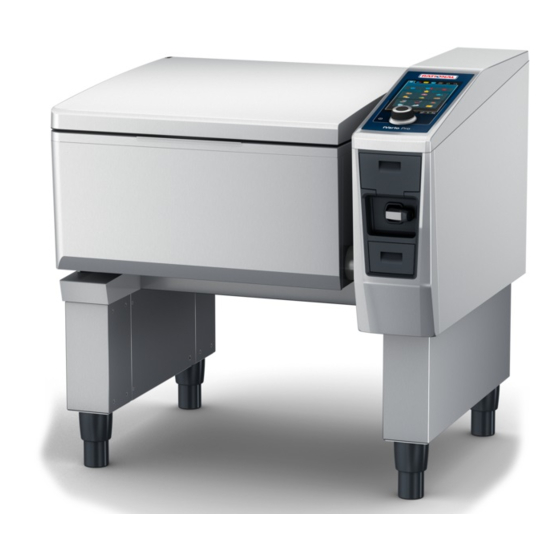
iVario
Operating instructions
Table of
Contents
Previous
Page
Next
Page
1
2
3
4
5
Advertisement
Table of Contents
Need help?
Do you have a question about the iVario L and is the answer not in the manual?
Ask a question
Questions and answers
Related Manuals for Rational iVario L
Commercial Food Equipment Rational iVario Pro L Operating Instructions Manual
(100 pages)
Commercial Food Equipment Rational iVario Original Instructions For Use
(96 pages)
Commercial Food Equipment Rational iVario Pro L Original Installation Manual
(72 pages)
Commercial Food Equipment Rational iVario Pro L Original Installation Manual
(60 pages)
Commercial Food Equipment Rational iVario Pro L Original Installation Instructions
(60 pages)
Commercial Food Equipment Rational iVario XL Operating Instructions Manual
(92 pages)
Commercial Food Equipment Rational iVario Original Instructions For Use
(96 pages)
Commercial Food Equipment Rational iCombi Classic Series Original Instructions For Use
(76 pages)
Commercial Food Equipment Rational iCombi Pro Original Installation Instructions
(96 pages)
Commercial Food Equipment Rational iCombi Pro Original Instructions For Use
(188 pages)
Commercial Food Equipment Rational iCombi Pro Original Installation Instructions
(100 pages)
Commercial Food Equipment Rational iCombi Pro Original Installation Manual
(108 pages)
Commercial Food Equipment Rational iCombi Pro Troubleshooting Manual
(64 pages)
Commercial Food Equipment Rational iCombi Pro Original Installation Manual
Integrated fat drain (16 pages)
Commercial Food Equipment Rational iCombi Classic Applications Manual
(27 pages)
Commercial Food Equipment Rational iCombi Pro Series Operating Instructions Manual
(112 pages)
This manual is also suitable for:
Ivario xl
Lmx.100ce
Lmx.200ce
Lmx.100de
Lmx.200de
Table of Contents
Save PDF
Print
Rename the bookmark
Delete bookmark?
Delete from my manuals?
Login
Sign In
OR
Sign in with Facebook
Sign in with Google
Upload manual
Upload from disk
Upload from URL


Need help?
Do you have a question about the iVario L and is the answer not in the manual?
Questions and answers