Table of Contents
Advertisement
Quick Links
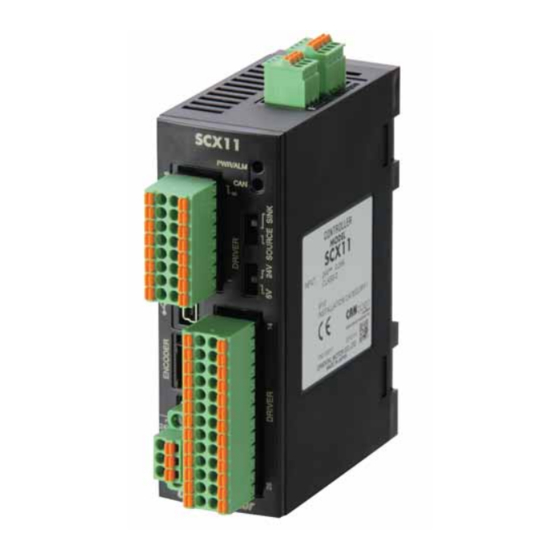
Universal Controller
SCX11
STARTUP MANUAL
Thank you for purchasing an Oriental Motor product.
The SCX11 has been designed to be easy to use, and contains several unique functions.
This startup manual should help you to get to know the product quickly. Please read the separately supplied
operating manual for more detailed information.
■ It will be necessary to connect the SCX11 to a computer for initial setup and test operation. Provide a
computer and a commercially available USB 2.0 cable (mini-B type).
■ The ESMC controller must be set to the driver mode when combining with the SCX11. The ESMC
controller is represented as "driver" in this startup manual.
HM-60079-4
- 1 -
Advertisement
Table of Contents

Subscribe to Our Youtube Channel
Related Manuals for Oriental motor SCX11


Summary of Contents for Oriental motor SCX11
- Page 1 This startup manual should help you to get to know the product quickly. Please read the separately supplied operating manual for more detailed information. ■ It will be necessary to connect the SCX11 to a computer for initial setup and test operation. Provide a computer and a commercially available USB 2.0 cable (mini-B type).
-
Page 2: Safety Precautions
1 Safety Precautions The precautions described below are intended to prevent danger or injury to the user and other personnel through safe, correct use of the product. Use the product only after carefully reading and fully understanding these instructions. Handling the product without observing the instructions that accompany a Warning "Warning"... -
Page 3: List Of Items
2 List of Items • Universal Controller (SCX11) 1 unit • CD-ROM 1 pc. (Immediate Motion Creator for CM/SCX Series (utility software), Startup manual, Operating manual, CANopen EDS file, USB driver, .NET Framework 2.0) • Connector set 1 set (packed in a bag) - Page 4 Pin assignment for Driver connector (26 pins) 1:PLS+/CW+ 14:PLS-/CW- 2:DIR+/CCW+ 15:DIR-/CCW- ∗ See the driver manual for pulse input circuit and pin assignment on the driver. The following example shows photo-coupler pulse input type drivers. (1-pulse mode) SCX11 Driver PLS+/CW+ PLS+ PLS- PLS-/CW- DIR+...
- Page 5 Connect Pulse/Direction and CON signals Pin assignment for Driver connector (26 pins) 1:PLS+/CW+ 14:PLS-/CW- 2:DIR+/CCW+ 15:DIR-/CCW- 6:GND 7:CON 13:5/24 V OUT • Pulse (PLS)/Direction (DIR) signals SCX11 Driver PLS+/CW+ PLS+ PLS- PLS-/CW- DIR+ DIR+/CCW+ DIR-/CCW- DIR- • Current ON (CON) signal a.
- Page 6 Installing the USB Driver Insert the supplied CD-ROM into the CD-ROM drive of the computer, power on the SCX11 and connect to a USB port using a USB 2.0 cable (mini-B type). You will then be asked to install the USB driver. See the procedure according to the type of Windows as follows.
-
Page 7: Setting The User Unit
4 Setting the User Unit In the SCX11, the actual motion distance of the user application, such as "mm," "inch," "revolution" and "degree" is used, instead of the pulse unit that is commonly used in pulse generators and motor controllers. This is called "user unit" and is set initially by the following steps as with the motor resolution. - Page 8 2. Connect the SCX11 mounted using a USB 2.0 cable (mini-B type). 3. Click in the following order: Click start button in Windows - "Programs" - "ORIENTAL MOTOR" - "IMC for CM SCX" - "Immediate Motion Creator for CM SCX Series" (COM port select window is displayed) 4.
-
Page 9: Test Operation
Now, look at the command syntax area in the lower left of the screen. You can see the letters such as DIS 1, VS 0.1, VR 1 and others. These are the commands that are actually sent to the SCX11. - Page 10 5.2 Test Operation by Command Input Here, let us introduce how to command an operation by directly communicating with the SCX11. First, click the [Terminal] tab and open the terminal screen. (An operation by commands can be executed using commercially available terminal software as well.)
-
Page 11: Setting The Baud Rate
7 Features 7.1 Features of the SCX11 The SCX11 can be used with ease, in addition, the SCX11 can perform most operations that you can imagine with a feature rich interface and functions. See below in the operating manual (in supplied CD-ROM) for instructions. - Page 12 Support of Driver Functions The SCX11 can be performed most of the drivers' functions and signals for I/O using commands. The connection and signals are explained in "6.5 connecting the Driver" of the operating manual and the settings are explained in "7.5 Optional Settings for Driver"...
Need help?
Do you have a question about the SCX11 and is the answer not in the manual?
Questions and answers