
Related Manuals for NORDIC SEASON NAPOLI 57


Summary of Contents for NORDIC SEASON NAPOLI 57
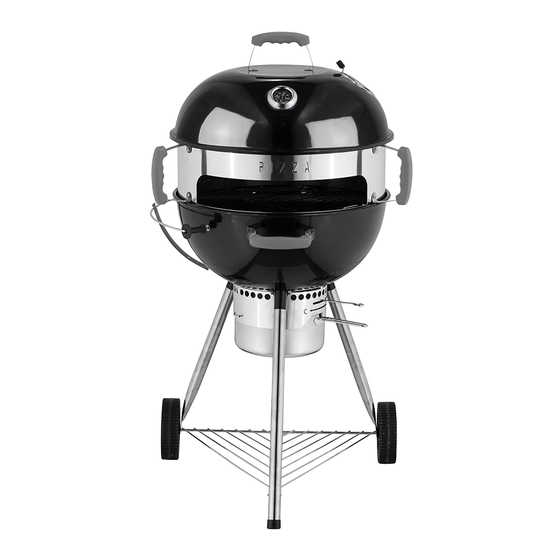
- Page 1 NAPOLI 57 – CO202010 USER MANUAL OUTDOOR USE ONLY! CAREFULLY READ THE SAFETY INSTRUCTIONS AND WARNING BEFORE USE ENGLISH...
-
Page 2: Safety Information
S A F E T Y I N F O R M A T I O N DANGER OF CARBON MONOXIDE POISONING WARNING! WARNING! FAILURE TO COMPLY WITH THE BURNING CHARCOAL INDOORS CAN BE INSTRUCTIONS AND WARNINGS IN THIS FATAL. CARBON MONOXIDE IS RELEASED MANUAL, CAN CAUSE FIRE, EXPLOSION, - AN ODOURLESS GAS. - Page 3 AMOUNT OF CHARCOAL/BRIQUETTES Recommended amount of charcoal: 1,5kg Maximum amount of charcoal: 1,8kg Recommended amount of briquettes: 1,8kg Maximum amount of briquettes: 2,2kg WARNING! Never overfill the grill with charcoal/briquettes, as it may damage the grill enamel if glowing charcoal falls from the charcoal grate and toward the grill body. Glowing charcoals may also fall out of the ventilation opening and cause fire or material damage when overfilled.
- Page 4 L I G H T I N G M E T H O D S We recommend using lighting briquettes, charcoal starter or electric grill starter for lighting charcoal/briquettes. Lighter fluid is not recommended. During lighting ● Grills with lids: Always have the lid off or open during lighting. Never close the lid before the flames from the charcoal have died down - to avoid damaging the lid surface.
-
Page 5: D U R I N G G R I L L I N G
D U R I N G G R I L L I N G ● Read page 3 for correct amount of charcoal/briquettes. ● Do not overfill the grill with charcoal/briquettes. The grill can get too hot for cooking and the heat can represent a risk to people or animals in the vicinity. ●... -
Page 6: Parts List
P A R T S L I S T PARTS LIST Image QTY. Image QTY. Tools needed for this assembly: Pliers or wrench Phillips screwdriver... - Page 7 A S S E M B L Y HARDWARE Qty. No. Image Part Description M6 x 15 Screw / washer / nut M6 x 30 Screw / washer M8 Nut / washer M5 x 12 Screw M6 Washer / nut .
- Page 8 Step 4: Align the handle(1) holes and the pizza ring holes, attach the handle(1) to the pizza ring using screws, washers and nuts(A). . M6 x 15 6 PCS Step 5: Align the charcoal grate support (6) hole and the leg base tube (9) to the fire bowl (8) holes, attach them using screws, washers and nut(A).
- Page 9 Step 6: Insert the bottom shelf(16) into the long leg(15) ends. the bent tip goes into the hole of the long leg first, then align and insert the other end into the wheel legs(14). then attach the air vent to the fire bowl(8) with the screws, washers and nut(A). .
- Page 10 Step 8: Align the plastic parts(20) holes and the fire bowl holes, attach the plastic parts(20) to fire bowl using washers and nuts (E), then attach the small steel plate and big steel plate to the fire bowl using screw and washer(A). .
- Page 11 Step 10: Firstly place the charcoal grate(7) and the cooking grid(5) into the fire bowl, then place the pizza ring on the fire bowl. Finally all screws must be firmly tightened, Now your kettle is ready for use.
- Page 12 Always attach your receipt when making a warranty claim. Produced in China for Nordic Season Asia Co., Ltd. We are always looking for ways we can improve our products. We reserve the right to alter technical specifications at any time. You will always find the latest manual on www.nordicseason.no...
Need help?
Do you have a question about the NAPOLI 57 and is the answer not in the manual?
Questions and answers