Advertisement
®
LIGHTVAULT
Installation Instructions
INSTRUCTIONS PERTAINING TO A RISK OF FIRE OR INJURY TO PERSONS
WARNING: Fixtures must be grounded in accordance with local codes or the National Electrical Code.
!
Failure to do so may result in serious personal injury. All work should be done by a qualified electrician.
Lighted lamp is HOT! Do not touch hot lens, guard, or enclosure.
Maintenance: A regularly scheduled maintenance program must be established to keep fixtures clean. DO
NOT operate luminaires with missing or damaged lens.
KEEP THIS SHEET FOR FUTURE REFERENCE.
IMPORTANT: Condensation inside the fixture is a common occurrence due to the expanding and condensing of the
trapped air inside the fixture as it is cycled on and off. When the lamp is energized during the evening hours, moisture
on the inside of lens will burn off as fixture heats up. It will reappear after power is shut off and the inside air condenses
during cooling. A large majority of this moisture can be avoided by following the installation guidelines as described in
the housing installation instructions. Always relamp fixture during low humidity periods. Before closing fixture, energize
the lamp for approximately five (5) minutes to dry air inside fixture. Remove desiccant from zip lock bag and place in
reflector compartment. Install lens and lens frame as described below.
Tools Required:
J" Hex Socket Wrench
K" Open End Wrench
LENS FRAME / REFLECTOR INSTALLATION:
!
Make certain all electrical supply is OFF before starting fixture installation.
1. Remove debris shield from
housing & discard. (Shield is
aluminum, please recycle)
100715008
Revised 7/16/10
ECN
P.O. Box 60080 • 16555 East Gale Ave.
City of Industry, California 91716-0080
626/968-5666 • FAX 626/330-3861
Lens Reflector LTV55/56 & LTV755/756
IMPORTANT SAFETY INSTRUCTIONS!
2. Place dessicant package inside
housing before connecting quick
disconnect.
Status 5
F" Hex Socket Wrench
Phillips Screwdriver
3. Connect housing quick-disconnect
to reflector assembly quick-
disconnect.
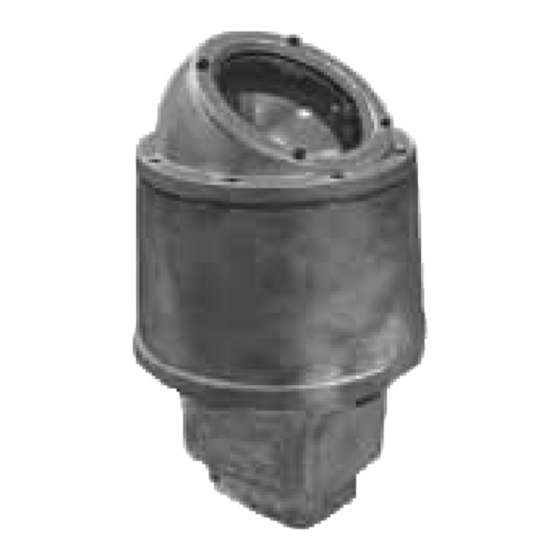
Part No. 95656
LTV55
LTV56
LTV755
LTV756
Advertisement
Table of Contents

Subscribe to Our Youtube Channel
Related Manuals for Hubbell KIM LIGHTING LIGHTVAULT LTV55


Summary of Contents for Hubbell KIM LIGHTING LIGHTVAULT LTV55
- Page 1 LTV55 P.O. Box 60080 • 16555 East Gale Ave. LTV56 City of Industry, California 91716-0080 LTV755 626/968-5666 • FAX 626/330-3861 LTV756 ® LIGHTVAULT Lens Reflector LTV55/56 & LTV755/756 Installation Instructions INSTRUCTIONS PERTAINING TO A RISK OF FIRE OR INJURY TO PERSONS IMPORTANT SAFETY INSTRUCTIONS! WARNING: Fixtures must be grounded in accordance with local codes or the National Electrical Code.
- Page 2 ® LIGHTVAULT - LTV Lens Reflector LTV55 / 56 & LTV755 / 756 Installation Instructions NOTE: Make sure gasket and gasket surface is clean and dry. Make certain no dirt has fallen into screw holes. Any foreign objects trapped in the gasket areas will create potential points of entry for ground water.
- Page 3 ® LIGHTVAULT - LTV Lens Reflector LTV55 / 56 & LTV755 / 756 Installation Instructions LAMP / MAINTENANCE INSTRUCTIONS: Make certain electrical supply is OFF before starting lamp installation. 1. To replace lamp remove eyeball lens frame & gasket with lens. 2.
- Page 4 ® LIGHTVAULT Lens Reflector - LTV55 / LTV56 Installation Instructions MAINTENANCE OF VISIBLE CONDENSATION ON LENSES: ▼ Never install or maintain fixtures in the rain, or on days with very high relative humidity (over 80%). ▼ After insuring that all water and visible moisture has been dried out of the fixture, and before sealing the fixture: 1.
Need help?
Do you have a question about the KIM LIGHTING LIGHTVAULT LTV55 and is the answer not in the manual?
Questions and answers