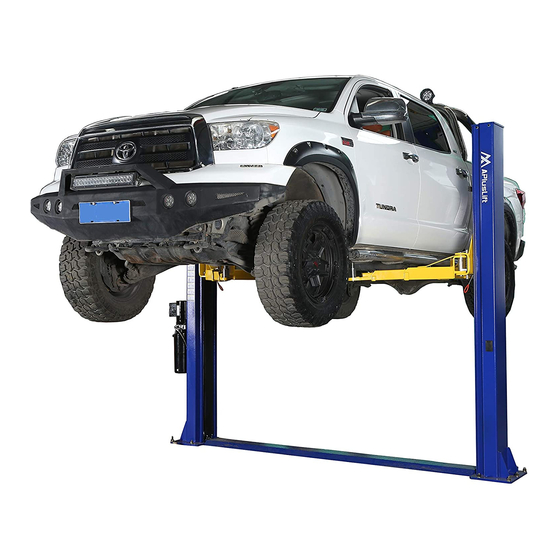
APlusLift HW-10KBP Installation Manual & Operation Instructions
Baseplate car lift, 2-post lift auto hoist
Hide thumbs
Also See for HW-10KBP:
- Installation & operation manual (20 pages) ,
- Installation & operation manual (20 pages)

Related Manuals for APlusLift HW-10KBP


Summary of Contents for APlusLift HW-10KBP
- Page 1 INSTALLATION MANUAL & OPERATION INSTRUCTIONS BASEPLATE CAR LIFT 2-POST LIFT AUTO HOIST APlusLift HW-10KBP...
- Page 2 READ THIS MANUAL COMPLETELY BEFORE INSTALLING LIFT!!! DISTRIBUTED BY: Songa Enterprises LLC 8512 122ND AVE NE #25 Kirkland WA 98033 E-mail: apluslift@gmail.com Text or Call: 425-429-2699 Website: www.apluslift.com READ THIS BEFORE INSTALLING THE LIFT! Improper installation can cause injury or damage! •...
- Page 3 Caution Labeling Exemplification...
- Page 4 TABLE OF CONTENTS INTRODUCTION INSTALLATION & OPERATION MAINTENANCE & SAFETY...
- Page 5 1. Introduction BOLT BOX CONTENTS Part description Steel Floor Plate(floor pan & plate cover) Socket head cap screws for floor plate Fitting extension to cylinder in power unit side 4.3 inch Short fittings to cylinders(already installed) Anchor Bolts M18x160 Socket Bolts for tools box mounting to arms Bolts, washers &...
- Page 6 Fig.1, 2...
- Page 7 Fig 3...
- Page 8 2. INSTALLATION & OPERATION MANUAL Your lift is designed for many years of trouble-free service when properly installed & maintained. Please take the time to read this installation manual before proceeding. INSTALLATION TIPS • This Lift is built from very heavy metal material. User proper lifting techniques when lifting individual pieces. Use plenty of help when moving lift pieces.
- Page 9 • Now remove the steel floor plate cover. • Manually lift both carriages on each column about waist high. Let carriages down allowing them to set on the lift safety lock stops. Make sure they are at the same height and on the safety lock stops. •...
- Page 10 Figure 5. INSTALLING SWING ARMS • Locate the 4 swing arms and swing arm pins. Take one of the arms and insert it over the hole in the carriage torsion tube. Line up the holes and insert the pin. Repeat for the three other arms. ELECTRICAL CONNECTION HAVE A QUALIFIED ELECTRICIAN HOOK THE MAIN ELECTRICAL POWER CONNECTION TO THE POWER UINT ON THE LIFT.
- Page 11 DO NOT over tighten. Note: If one of the cables is tighter than the other, the carriage will go up uneven. These should be tightened like a Banjo String or Fan Belt. ADJUSTING & SYNCHRONIING THE CARRIAGES • One of the most important things to remember is not to tighten down one side more than the other. The key is to tighten one side a half dozen turns then the opposite side a half dozen turns.
- Page 12 vehicle is completely to top. This procedure pumps all the air from the system. TESTING AND ADJUSTING LIFT • With the power properly hooked up and hydraulic oil in the Pump Reservoir, push the Push Button on the side of the Motor to raise the Carriages off the locks.
- Page 13 • Stay clear of lift and raise the lift off the safety locks by 2”. • Pull safety latch releases cable ring one by one on each carriage and press the lower lever to begin descent. • Unload lift by first completely lowering lift, then swinging arms to drive through position before moving vehicle. •...
- Page 14 • Latch and or cable adjustments are normal maintenance and not warranty items. AUTOMOTIVE LIFT SAFETY TIPS • Never allow unauthorized persons to operate lift. Thoroughly train new employees in the use and care of lift. • Caution - the power unit operates at high pressure. •...
- Page 15 Failure to perform the daily pre-operational check can result in expensive property damage, lost production time, serious personal injury, and even death. The safety latch system must be checked and working properly before the lift is put to use. Failure to heed this warning can result in death or serious injury, or damage to equipment. If you hear a noise not associated with normal lift operation, or, if there is any indications of impending lift failure - CEASE OPERATION IMMEDIATELY! - Inspect, correct and/or replace parts as required.
- Page 16 • Replacement of cables and sheaves. • Replacement or rebuilding air and hydraulic cylinders as required. • Replacement or rebuilding pumps / motors as required. • Checking of hydraulic cylinder rod and rod end (threads) for deformation or damage. CAUTION!! Relocating or changing components may cause problems.
Need help?
Do you have a question about the HW-10KBP and is the answer not in the manual?
Questions and answers