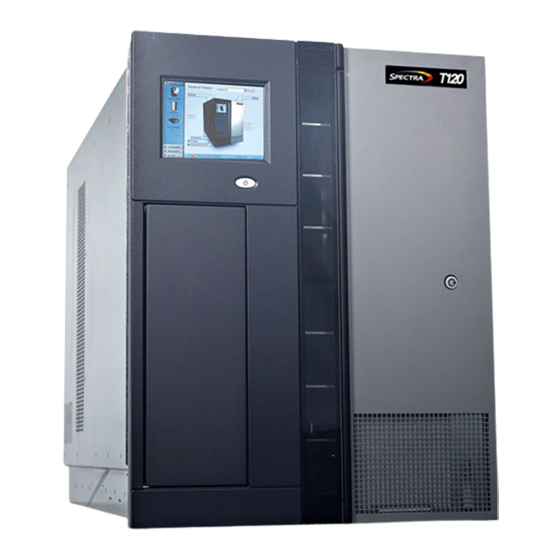
Spectra T120 Manual
Power button replacement
Hide thumbs
Also See for T120:
- User manual (508 pages) ,
- Manual (30 pages) ,
- Service quick reference manual (3 pages)
Advertisement
Quick Links
Advertisement

Related Manuals for Spectra T120


Summary of Contents for Spectra T120
- Page 1 Spectra T120 Library Power Button Replacement SpectraLogic.com...
- Page 2 THE IMPLIED WARRANTIES OF MERCHANTABILITY OR FITNESS FOR A PARTICULAR PURPOSE, BOTH OF WHICH ARE EXPRESSLY DISCLAIMED. In no event shall Spectra Logic be liable for any loss of profits, loss of business, loss of use or data, interruption of business, or for indirect, special, incidental or consequential damages of any kind, even if Spectra Logic has been advised of the possibility of such damages arising from any defect or error.
-
Page 3: Gather Tools And Supplies
T120 Library Power Button Replacement This guide provides instructions for replacing a power button in the T120 Library (referred to in these instructions as “the library”). REPARE FOR AINTENANCE Make sure that you address the requirements in this section to prepare for the maintenance procedure. -
Page 4: Power Off The Library
T120 Library Power Button Replacement Prepare for Maintenance Discontinue Operations Running on the Library Backups cannot run during the power button replacement process. 1. Use your backup software to stop any backup or restore operations running to the library. 2. Use your backup software to move any cartridges that are currently in drives back to their storage locations. - Page 5 T120 Library Power Button Replacement Prepare for Maintenance Use the following instructions to power off the library. 1. Power off the library using one of the following methods: Front Power Button—Press the front panel power button for approximately six seconds. At this point, the button’s LED will start to flash.
- Page 6 T120 Library Power Button Replacement Replace the Power Button EPLACE THE OWER UTTON Use the following instructions to replace the power button. 1. Use the library key to unlock and open the library’s front door. Keyed lock Figure 4 Unlock the door.
- Page 7 T120 Library Power Button Replacement Replace the Power Button 3. Using a #2 Phillips screwdriver, remove the four screws that attach the top of the exterior cosmetic cover to the door panel. The cosmetic cover is still secured to the door panel by two screws located at the bottom of the panel.
- Page 8 T120 Library Power Button Replacement Replace the Power Button 5. While gently pushing outward on the cosmetic cover, remove the defective power button and then dispose of it according to your company’s environmental guidelines. Figure 8 Remove the power button.
- Page 9 T120 Library Power Button Replacement Replace the Power Button 7. Orient the new power button so that its connector is pointing toward the hinged side of the library’s door. 8. Slide the power button between the EMI bracket and the exterior face of the cosmetic cover, stopping when the power button fits into the cover’s...
- Page 10 T120 Library Power Button Replacement Replace the Power Button 10. Align the holes in the mounting bracket, the EMI bracket, and the power button. Figure 13 Align the holes in the brackets and the power button. 11. Using a #2 Phillips screwdriver, loosely attach the power button and...
- Page 11 T120 Library Power Button Replacement Complete the Replacement OMPLETE THE EPLACEMENT After you finish installing the new power button, follow the steps in this section to complete the replacement process. 1. Shut and lock the library’s front door. 2. Set the main AC power switch(es) to the on position.
Need help?
Do you have a question about the T120 and is the answer not in the manual?
Questions and answers