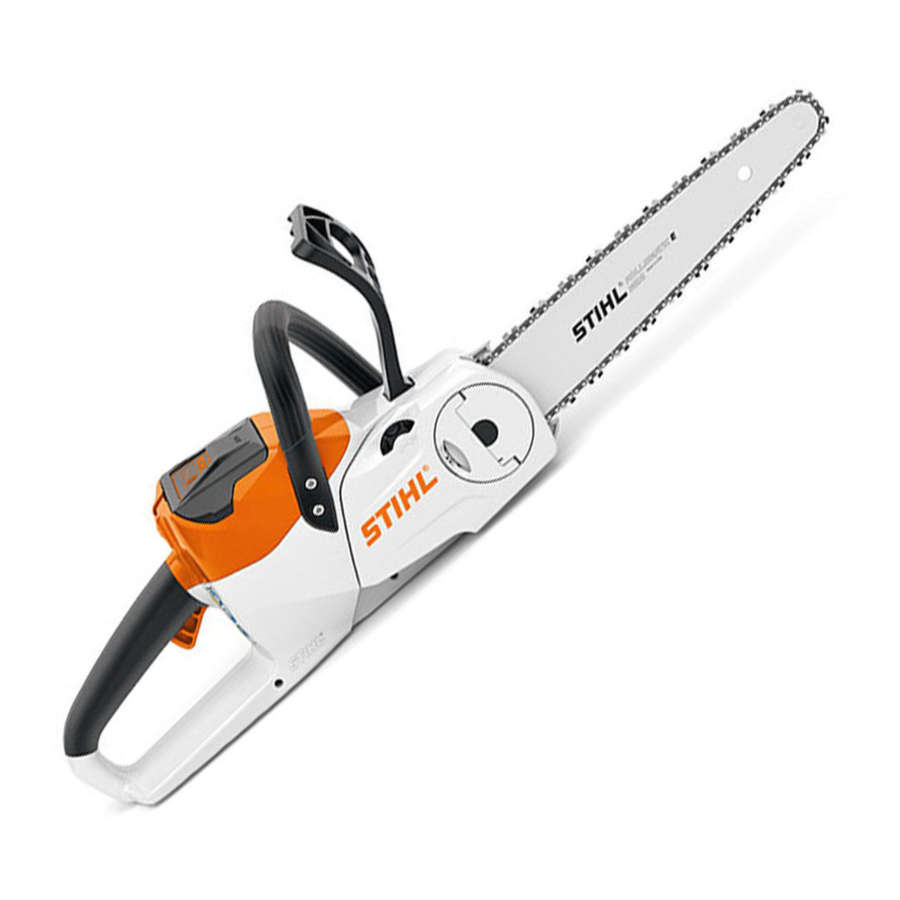
Stihl MSA 120 C Instruction Manual

Stihl MSA 120 C Instruction Manual

Hide thumbs Also See for MSA 120 C:

Advertisement

STIHL MSA 120 C,
MSA 140 C
2 - 31
Instruction Manual

Advertisement

Table of Contents
loading

Summary of Contents for Stihl MSA 120 C

  • Page 1 STIHL MSA 120 C, MSA 140 C 2 - 31 Instruction Manual...
  • Page 2: Table Of Contents

    STIHL expressly commit themselves to a sus‐ tainable and responsible handling of natural resources. This user manual is intended to help you use your STIHL product safely and in an environmentally friendly manner over a long service life. We thank you for your confidence in us and hope you will enjoy working with your STIHL product.
  • Page 3: Overview

    3 Overview English Overview 10 Wingnut Secures chain sprocket cover to chainsaw. Chainsaw, Battery and Charger 11 Chain catcher Reduces risk of operator contact with the chain if it comes off the bar or breaks. 12 Control handle For operating, holding and controlling the chainsaw.
  • Page 4: Safety Precautions

    Length of guide bar that may be used. Intended Use Guaranteed sound power level accord‐ The STIHL MSA 120 C and MSA 140 C chain‐ ing to directive 2000/14/EC in dB(A) in saws are designed for cutting wood, limbing and order to make sound emissions of products comparable.
  • Page 5 Practice cutting logs on a or fatal injuries. sawhorse or other support. ► Read, understand and save the ► If you have any queries: Contact a STIHL instruction manual. servicing dealer for assistance. Clothing and equipment ► If you pass the saw, battery and charger on...
  • Page 6 English 4 Safety Precautions ■ Wearing unsuitable footwear may cause the ► Protect battery from heat and fire. ► Do not throw the battery into a fire. user to slip. If the user comes into contact with the moving saw chain, he or she may suffer cuts.
  • Page 7 ► If the groove depth is less than the mini‐ – The saw chain is properly tensioned. mum depth: Mount a new guide bar. – Only original STIHL accessories designed for ► Deburr the guide bar every week. this chainsaw model are fitted.
  • Page 8 ► Never attempt to modify the charger. ► Stop work, remove the battery and contact ► Never insert objects in the charger’s open‐ your STIHL servicing dealer for assistance. ings. ■ Saw vibrations may occur during operation. ► Never bridge the charger's contacts with ►...
  • Page 9 4 Safety Precautions English ■ Sparks may occur if the rotating chain makes 4.7.3 Felling contact with a hard object. Sparks may cause WARNING a fire in an easily combustible location. This can result in serious or fatal injuries and dam‐ ■...
  • Page 10 English 4 Safety Precautions ■ If the tree does not fall all the way to the ► Always cut with the chain running at full ground or gets caught on another tree, the speed. operator cannot finish the operation in a con‐ 4.8.2 Pull-in trolled manner.
  • Page 11 4 Safety Precautions English ► Always cut with the chain running at full ► Make sure the line voltage and frequency speed. agree with the data on the charger’s rating plate. Charging ■ A carelessly laid connecting or extension WARNING cable can be damaged and cause others to trip or fall.
  • Page 12 English 4 Safety Precautions ► Engage the chain brake. ► Remove the battery. ► Fit the scabbard so that it completely cov‐ ers the guide bar. ► Store the saw out of the reach of children. ► Engage the chain brake. ■...
  • Page 13: Preparing The Saw For Operation

    ► Remove the battery. ► Check chain lubrication, 11.6. ► If you cannot carry out this work: Do not use your chain saw and contact your STIHL servic‐ ing dealer. ► Engage the chain brake. ■ Aggressive cleaning agents, a water jet or...
  • Page 14: Assembling The Saw

    English 7 Assembling the Saw charging times see www.stihl.com/charging- ► If the LED on the right flashes green: Charge times. the battery. The charging process starts LEDs on Battery automatically when the plug is The LEDs can show the state of charge or mal‐...
  • Page 15 7 Assembling the Saw English ► Disengage the chain brake. ► Remove the tensioning gear (4). ► Rotate the tensioning gear (4) counterclock‐ ► Take out the screw (5). wise until the chain fits snugly against the bar. ► Place the guide bar (6) on the tensioning gear Make sure the drive link tangs engage the bar (4) so that both pegs on the tensioning gear groove.
  • Page 16: Engaging And Disengaging The Chain Brake

    English 8 Engaging and Disengaging the Chain Brake ► With a suitable tool, turn the oil tank cap coun‐ terclockwise until it can be removed. ► Remove the oil tank cap. ► Fill up with saw chain oil, taking care not to spill any oil and not to overfill the tank.
  • Page 17: Removing And Fitting The Battery

    10 Switching the Saw On/Off 10.1 Switching On ► Use a STIHL gauge to check the wear marks on the sprocket. ► Disengage the chain brake. ► If wear marks are deeper than a = 0.5 mm: Do not use your chain saw and contact your STIHL servicing dealer.
  • Page 18 STIHL servicing dealer. ► Remove the chain and guide bar. ► Use a STIHL filing gauge to check that a filing angle of 30° has been maintained on all cut‐ ters. The STIHL filing gauge must match the chain pitch.
  • Page 19: Operating The Saw

    The LEDs glow or flash. 12.3 Limbing ► If the LEDs do not glow or flash: Do not use the battery and contact your STIHL servicing dealer. There is a malfunction in the battery. 12 Operating the Saw 12.1...
  • Page 20 English 12 Operating the Saw ► Observe the following points when planning ► If the wood is sound and long-fibered: escape path (B): Observe the following points when making sapwood cuts: – Escape path (B) at an angle of 45° to direc‐ –...
  • Page 21 12 Operating the Saw English ► Begin cut with the lower portion of the guide ► Plunge the guide bar into the felling cut until it bar nose – with chain running at full speed. is visible at the other side of the trunk, ►...
  • Page 22 English 12 Operating the Saw ► Hold the saw horizontally and swing it into the felling cut as far as possible. ► Enlarge felling cut in direction of hinge. ► Enlarge felling cut in direction of stabilizing strap. ► Move to the other side of the tree. ►...
  • Page 23: After Finishing Work

    Storing the Battery ► switch off chain saw, engage chain brake and remove battery STIHL recommends that you store the battery ► Fit the chain scabbard so that it completely with a charge between 40% and 60% (2 LEDs covers the guide bar.
  • Page 24: Cleaning

    A burr can build up on the outer edge of the necting cable. guide bar. – Charger is in a temperature range between ► Remove burr with a flat file or a STIHL guide + 5°C and + 40°C. bar dressing tool. 16 Cleaning ►...
  • Page 25: Repairing

    ► File down the depth gauges with a flat file so Do not use your saw, guide bar or saw chain, that they are level with the STIHL filing gauge and contact your STIHL servicing dealer. and parallel to the service mark. The STIHL fil‐...
  • Page 26: Specifications

    STIHL servicing dealer. 20 Specifications MSA 140 C The following chain sprockets may be used: 20.1 STIHL MSA 120 C, MSA 140 C 6-tooth for 1/4” P Chainsaws – Maximum chain speed according to ISO 11681: 14.0 m/s MSA 120 C –...
  • Page 27: Bar And Chain Combinations

    For information on compliance with the REACH – Vibration level a measured according to regulation see www.stihl.com/reach. EN 60745-2-13: 21 Bar and Chain Combinations 21.1 STIHL MSA 120 C, MSA 140 C Chainsaws Pitch Drive link Length Guide bar Nose Number of...
  • Page 28: Spare Parts And Accessories

    ANDREAS STIHL AG & Co. KG, – Manufacturer's brand: STIHL Badstrasse 115, 71336 Waiblingen, Germany. – Model: MSA 120 C, Serial identification: 1254 – Model: MSA 140 C, Serial identification: 1254 25 General Power Tool Safety conforms to the specifications of Directives...
  • Page 29 “Electrical Safety” door use. Use of a cord extension suitable for do not apply to STIHL cordless products. outdoor use reduces the risk of electric shock. f) If operating an electric power tool in a damp...
  • Page 30 English 25 General Power Tool Safety Warnings 25.5 Electric power tool use and b) Use power tools only with specifically designa‐ ted battery packs. Use of any other battery care packs may create a risk of injury and fire. a) Do not force the electric power tool. Use the c) When battery pack is not in use, keep it away correct electric power tool for your application.
  • Page 31 25 General Power Tool Safety Warnings English other way round increases the risk of injury severe injury to the saw operator and for and is not permitted. bystanders. c) Always hold the chain saw by the insulated Follow all the instructions for removing accu‐ handles because the saw chain may touch mulated material from the chain saw and for hidden electric wires.
  • Page 32 *04587160121D* 0458-716-0121-D...

This manual is also suitable for:

Msa 140 cMsa 120 c-bMsa 140 c-bMsa 140 c-bq

Table of Contents