Stihl MSA 160 C Instruction Manual
Hide thumbs
Also See for MSA 160 C:
- Instruction manual (596 pages) ,
- Instruction manual (344 pages) ,
- Instruction manual (356 pages)

Related Manuals for Stihl MSA 160 C


Summary of Contents for Stihl MSA 160 C
- Page 1 Gebrauchsanleitung Instruction Manual Notice d‟emploi STIHL MSA 160 C, 200 C Manual de instrucciones Istruzioni d‟uso Instruções de serviço Handleiding...
- Page 2 D Gebrauchsanleitung 1 - 43 G Instruction Manual 44 - 83 F Notice d‟emploi 84 - 127 E Manual de instrucciones 128 - 170 I Istruzioni d‟uso 171 - 212 P Instruções de serviço...
- Page 3 213 - 253 n Handleiding 254 - 294 0458-701-9921-E...
-
Page 5: Table Of Contents
4.8 Reactive Forces..... Contents ....54 4.9 Transporting . - Page 6 11.4 Felling ......English ....65 After Finishing Work .
- Page 7 Repairing ..... . 73 ....This instruction manual is protected by copyright.
-
Page 8: Introduction
24.8 Chain saw safety warnings....19.4 STIHL AP battery .... -
Page 9: Guide To Using This Manual
Safety notes and precautions for STIHL AP 2 Guide to Using this Manual battery – Instruction manual for STIHL AL 101, 300, 500 chargers 2.1 Applicable Documentation – Safety information for STIHL batteries and products with Local safety regulations apply. -
Page 10: Symbols
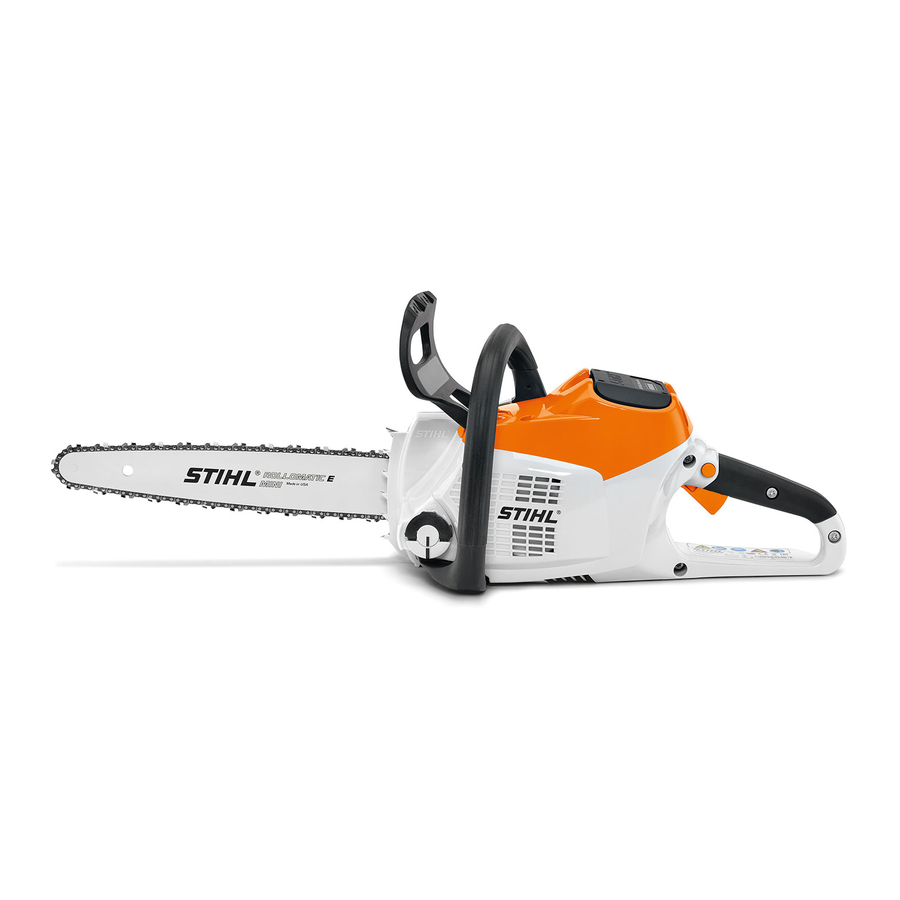
English Protects operator‟s right hand from contact with the chain if it comes off the bar or breaks. 2 Chain Sprocket Toothed wheel that drives the chain. 3 Tensioning Gear Moves guide bar to increase or reduce chain tension. 4 Spiked Bumper Toothed stop for holding saw steady against wood while cutting. - Page 11 English Turn in this direction to tension the saw chain. This symbol marks the chain oil tank. The chain brake is engaged in this direction. The chain brake is disengaged in this direction. 1 LED glows red. Battery too hot or too cold. 4 LEDs flash red.
-
Page 12: Safety Precautions
Warning Signs Intended Use Meanings of warning signs on the chainsaw and The STIHL MSA 160 C/MSA 200 C chainsaw is designed for battery: cutting wood, limbing and felling small diameter trees and Observe safety notices and take the necessary maintaining garden trees. -
Page 13: Clothing And Equipment
► Wear long trousers of the appropriate cut-retardant Practice cutting logs on a sawhorse or other support. class. ► If you have any queries: Contact your STIHL servicing ■ The user can be cut by the wood during operation. The user dealer for assistance. -
Page 14: Work Area And Surroundings
– The chain is properly tensioned. If the battery is exposed to certain ambient conditions, it may catch fire or explode. This can result in serious injuries – Only original STIHL accessories designed for this saw are and damage to property. fitted. - Page 15 ► Work only with an undamaged chain catcher. ► Deburr the guide bar every week. ► Never modify your chainsaw. Exception: Mounting a ► If you have any queries: Contact your STIHL servicing combination of guide bar and saw chain recommended in this instruction manual.
-
Page 16: Working
This can result in serious injuries and damage to property. Working ► Stop work, remove the battery and contact your STIHL servicing dealer for assistance. 4.7.1 Cutting ■... - Page 17 English 4 Safety Precautions ► Take regular breaks. 4.7.2 Limbing 4.7.3 WARNING ■ If the underside of the felled tree is limbed first, it will no longer be supported on the ground by branches. The tree can move during cutting work. This can result in serious or fatal injuries.
-
Page 18: Reactive Forces
4 Safety Precautions English ■ When the tree falls the trunk can break or spring back in the direction of the user. This can result in serious or fatal injuries. ► Plan an escape path sideways behind the tree. ► Walk backwards along the escape path and observe the falling tree. -
Page 19: Transporting
English 4 Safety Precautions ► Always keep your body out of the plane of the cutting ►Use the working techniques described in this instruction manual. ►Do not cut with the upper quadrant of the bar nose. ►Always cut with a properly sharpened and tensioned saw chain. - Page 20 4 Safety Precautions English ► Always cut with the chain running at full speed. 4.8.3 attachment. Pushback 4.9.1 Chainsaw WARNING ■ The saw may turn over or shift during transport. This may result in personal injuries and damage to property. ►...
-
Page 21: Storing
English 4 Safety Precautions ► Store the battery in non-conductive packaging. 4.10 Storing ► Store the battery at temperatures between -10°C and WARNING +50°C. 4.10.1 Chainsaw ■ Children are not aware of and cannot assess the dangers of a chainsaw and can be seriously injured. 4.11 Cleaning, Maintenance and Repairs ►... -
Page 22: Preparing The Saw For Operation
► Check the battery, @ 10.7. ► Recharge the battery fully as described in the instruction ► Remove the battery. manual for the STIHL AL 101, 300, 500 chargers. ► Clean the saw, @ 15.1. ► Engage the chain brake. - Page 23 English ► Raise the grip (1) of the wingnut (2). ► Turn the tensioning gear (4) clockwise as far as stop. ► Rotate the wingnut (2) counterclockwise until the chain sprocket cover (3) can be removed. ► Remove the tensioning gear (4). ►...
- Page 24 English tangs engage the bar groove. The guide bar and chain are positioned against the saw. ► If the sprocket cover is not flush with the saw: Turn the ► Remove the tensioning gear. adjusting wheel slightly and refit the sprocket cover. The ►...
-
Page 25: Filling Up With Chain Oil
Raise the grip until it is vertical. ► If the oil tank still cannot be closed properly: Do not use the chainsaw and contact a STIHL dealer for assistance. The chainsaw is not in a safe condition. 7 Engaging and Disengaging the Chain Brake 7.1 Engaging the Chain Brake... - Page 26 English The hand guard engages with an audible click. The chain The battery (1) engages in position with a click. brake is engaged. ► Pull the hand guard toward the front handle with your left ► Press both locking levers (1). hand. battery (2) is unlocked and can be removed.
-
Page 27: Removing And Fitting The Battery
► Remove the chain sprocket cover. wrap your thumb around the handlebar. ► Remove the bar and chain. ► Use a STIHL gauge to check the wear marks on the 9.2 Switching Off the Chain Saw sprocket. ► Release the trigger and lockout button. The ►... -
Page 28: Checking The Guide Bar
STIHL servicing dealer. depth, @ 19.3. ► Use a STIHL filing gauge to check that a filing angle of 30° 10 Testing the Chain Saw and Battery has been maintained on all cutters. The STIHL filing gauge must match the chain pitch. -
Page 29: Checking The Controls
► Engage the chain brake and remove the battery. ► Attempt to pull the trigger lever without depressing the lockout button. ► If the trigger can be pulled: Contact your STIHL servicing dealer. The lockout button is faulty. ► Depress the lockout button and hold it in that position. -
Page 30: Checking Chain Lubrication
► If chain oil is still not visible on the light surface: Do not If kickback occurs, the saw can be thrown up in the direction use your chain saw and contact your STIHL servicing of the operator. This can result in serious or fatal injuries. ►... - Page 31 English 11 Operating the Saw the bumper spike as required. from the tension side. ► Take the weight of the saw at the end of the cut. ► Observe the following points when planning escape path ► Cut through the limb with the top of the bar. (B): –...
- Page 32 11 Operating the Saw English – If the escape path (B) is on a slope, it must be parallel to the slope. 11.4.2 Preparing work area at base of tree helps prevent it from falling prematurely. The width of the stabilizing strap is 1/10 to 1/5 of the trunk diameter.
- Page 33 English 11 Operating the Saw ► If the wood is sound and long-fibered: Observe ► Begin cut with the lower portion of the guide bar nose – the following points when making sapwood cuts: with chain running at full speed. –...
- Page 34 English 11 Operating the Saw ► Insert a felling wedge. The felling wedge must match the direction of fall. tree diameter and the width of the felling cut. ► Shout a warning. 11.4.7 Felling normal, small diameter tree ► With outstretched arms, cut through the stabilizing strap A normal tree is felled with a felling cut and horizontally from outside at the same level as the felling stabilizing strap.
- Page 35 English 11 Operating the Saw ► Enlarge felling cut in direction of holding strap. ► Insert a felling wedge. The felling wedge must ► Shout a warning. match the tree diameter and the width of the felling cut. ► With arms outstretched, cut through the holding strap from ►...
- Page 36 English 11 Operating the Saw ► Move to the other side of the tree. ► Apply the spiked bumper behind the hinge at the same height as the felling cut and use it as a pivot. ► Hold the saw horizontally and swing it into the felling cut as far as possible.
-
Page 37: After Finishing Work
UN Manual of Tests and Criteria, Part III, sub-section 38.3. ► Clean the saw. ► Clean the bar and chain. transport regulations www.stihl.com/safety- datasheets ► Loosen the wingnut. ► Rotate the adjusting wheel two full turns counterclockwise. The chain is now slack. -
Page 38: Storing The Battery
– Battery is in a temperature range between -10°C and with a soft brush or STIHL resin solvent. +50°C. ► Clean the saw chain with a soft brush or STIHL resin solvent. ► Mount the bar and chain. 15 Cleaning 15.3 Cleaning the Battery... -
Page 39: Deburring The Guide Bar
16.2 Deburring the Guide Bar A burr can build up on the outer edge of the guide bar. ► Remove burr with a flat file or a STIHL guide bar dressing tool. ► File each cutter with a round file so that the following ►... - Page 40 ► If the saw, guide bar or saw chain is damaged: Do not use your saw, guide bar or saw chain, and contact your STIHL servicing dealer for assistance. ► If the battery has a malfunction or is damaged: Replace the battery.
- Page 41 1 LED flashes Battery has low charge. when switched on. green instruction manual for the STIHL AL 101, 300, 500 chargers. ► Engage the chain brake and remove the battery. 1 LED glows red. Battery too hot or too cold.
- Page 42 ► Switch on the saw. ► Recharge the battery fully as described in the Chainsaw runtime is Battery not fully charged. too short. instruction manual for the STIHL AL 101, 300, 500 chargers. ► Replace the battery. Normal battery life has been exceeded.
- Page 43 19.3 Minimum groove depth of guide bars 19 Specifications The mininum groove depth depends on the pitch of the guide bar. 19.1 STIHL MSA 160 C, MSA 200 C Chainsaws – 1/4" P 4 mm MSA 160 C – Approved batteries: 19.4 STIHL AP battery...
- Page 44 20 Bar and Chain Combinations 20 Bar and Chain Combinations 20.1 STIHL MSA 160 C, MSA 200 C Chainsaws Pitch Drive link gauge/ Length...
- Page 45 & Co. KG Produktzulassung (Product Licensing). The year of manufacture, country of manufacture and serial number are applied to the chainsaw. Done at Waiblingen, 23.1 STIHL MSA 160 C, MSA 200 C Chainsaws 01.02.2017 ANDREAS STIHL AG & Co. KG ANDREAS STIHL AG &...
- Page 46 Keep The safety precautions and warnings on avoiding an electric shock given under “Electrical Safety” do not apply to STIHL cord away from heat, oil, sharp edges or moving parts. Damaged or entangled cords increase the risk of electric cordless products.
- Page 47 English Carrying power tools with your finger on the switch or instructions to operate the power tool. Power tools are energising power tools that have the switch on invites dangerous in the hands of untrained users. accidents. e)Maintain power tools and accessories. Check for d)Remove any adjusting key or wrench before turning the misalignment or binding of moving parts, breakage of parts and any other condition that may affect the power tool‟s...
- Page 48 English medical help. Liquid ejected from the battery may cause metallic parts of an electric power tool live and could give irritation or burns. the user an electric shock. e)Do not use a battery pack or tool that is damaged or 24 General Power Tool Safety Warnings modified.
- Page 49 English saw for operations different than intended could result in a hazardous situation. 24.9 Causes and operator prevention of kickback: Kickback may occur when the nose or tip of the guide bar touches an object, or when the wood closes in and pinches the saw chain in the cut.
Need help?
Do you have a question about the MSA 160 C and is the answer not in the manual?
Questions and answers