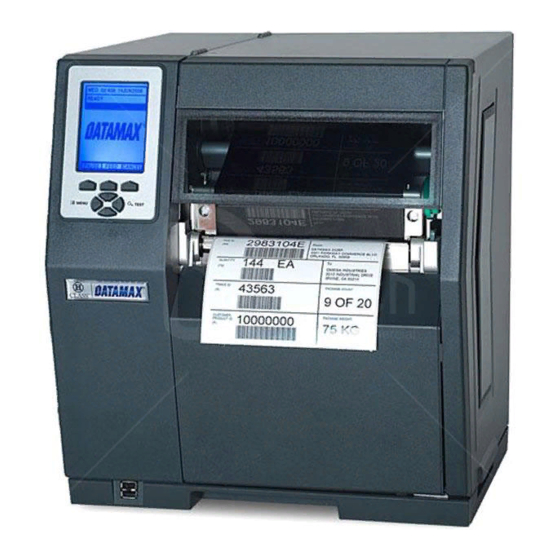
Datamax H-Class Manual
Cutter option
Hide thumbs
Also See for H-Class:
- Manual (26 pages) ,
- Quick start manual (12 pages) ,
- Programmer's manual (330 pages)
Table of Contents
Advertisement
Quick Links
Advertisement
Table of Contents

Summary of Contents for Datamax H-Class
- Page 1 92-2469-01 Rev.B Cutter Option...
-
Page 3: Tools Required
Overview This document describes the installation, use and care of the Cutter option for wide model H-Class printers. After taking a moment to verify the contents of the kit and the tools required, follow the steps below to install, use and maintain the Cutter option. - Page 4 Tear Bar 2) Raise the cover and remove media. Remove the Panel, Thumbscrews and Tear Bar. Thumbscrews Panel Hinge Plate 3) Separate the Hinge Plate from the Cutter Assembly (Item ). Cutter Assembly Front Plate 4) Carefully press the Hinge Plate onto the Hinge Plate Front Plate and then secure it using the...
-
Page 5: Using The Cutter
Mounting Pins Cutter 5) Mount the Cutter Assembly onto the Assembly Mounting Pins of the Hinge Plate. Hinge Plate Cutter Hinge Plate Cable Jack 6) Plug the Cutter Cable into the Hinge Plate Jack, and then close the Cutter Assembly. This completes the installation. -
Page 6: Configuring The Printer
2) Close the cover then plug the power cord Power Switch into the AC Receptacle and turn ON the Power Switch. AC Receptacle 3) Press the FEED Key on the Front Panel, and then proceed accordingly: Front Panel If cutting standard size labels and a cut was performed, this completes installation;... - Page 7 Increasing Small Label Throughput CUT BEHIND is a menu setting that allows the printer to queue then cut a specified number (0 – 2) of small labels, where the elimination of repeated positioning operations can result in a throughput increase. To achieve faster throughputs when cutting batches of small labels, follow the procedure below to establish the queue amount and setup the printer: a) Measure the length (L) of your media, label edge to label edge including gap, if any.
- Page 8 Maintaining the Cutter To ensure trouble free operation, the Cutter should be cleaned (using the items listed below) after printing each roll of labels, and more often if the cutting action becomes sluggish. Recommended Cleaning Items Isopropyl alcohol Cotton swabs ...
- Page 9 Cutter Assembly Cover Screws 3) Remove the four Cover Screws and two Rear Shields from the Cutter Assembly. Rear Shields (Cabling not shown for clarity.) Cover 4) Remove the Cover from the Mechanism and then, using compressed air (or a brush), remove all debris.
- Page 10 6) Place the Cover and the two Rear Shields onto the Mechanism, and then secure all with the four Cover Screws. Cover Cover Screws Mechanism Rear Shields Cutter Hinge Plate Cable Jack 7) Place the Cutter Assembly onto the Hinge Plate then connect the Cutter Cable to the Hinge Plate Jack.
-
Page 11: Troubleshooting
Testing the Cutter Diagnostics allow the function of the option to be tested by executing and displaying a count of cutting attempts. Follow the steps below to perform a functional test of the Cutter: 1) Press the MENU Key on the printer’s front panel. 2) Using the DOWN ARROW Key, scroll to DIAGNOSTICS then press the ENTER Key.


Need help?
Do you have a question about the H-Class and is the answer not in the manual?
Questions and answers