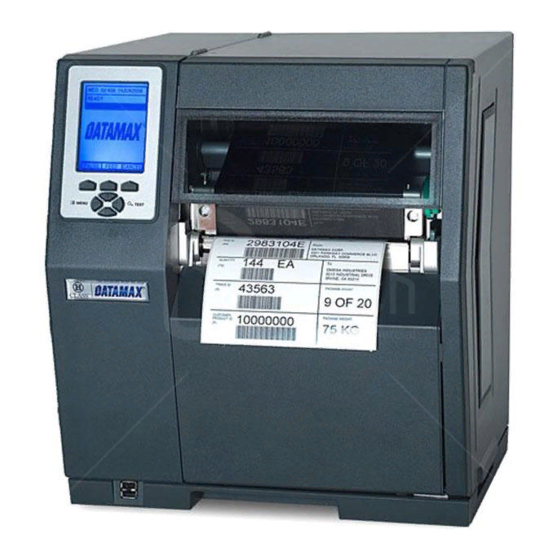
Datamax H-Class Manual
Hd peel & present option
Hide thumbs
Also See for H-Class:
- Manual (26 pages) ,
- Quick start manual (12 pages) ,
- Programmer's manual (330 pages)
Advertisement
Quick Links
Advertisement

Related Manuals for Datamax H-Class


Summary of Contents for Datamax H-Class
- Page 1 92-2423-01 Rev.B HD Peel & Present Option...
-
Page 3: Tools Required
This document describes the contents, installation, and use of the Heavy Duty Peel and Present option for the H-Class printer. After verifying the contents of the kit and the tools needed, follow the steps below to install and begin using the option. A maintenance procedure is also included, so keep this documentation for future reference. - Page 4 B) Press down on the Catch, then pull forward to remove the Door. Catch Door C) Raise the Access Cover and remove your Access media from the printer. Cover Tear Plate Thumbscrew D) Remove the Thumbscrew and Tear Plate. (Alternately, if equipped with an Arc Plate, Present Sensor, or Cutter, remove that device.) Step 2: Installing the Heavy Duty Peel and Present Assembly...
- Page 5 B) Carefully press the Peel and Present Assembly into the Front Plate Connector. Mounting Screw C) Tighten the Mounting Screw to secure the Peel and Present Assembly to the printer. Front Plate Peel and Present Connector Assembly Step 3: Using the Option During operation, labels will be peeled from the backing material and dispensed “on-demand”...
- Page 6 C) Route the Backing Material under the Assist Roller and the Internal Rewinder. Internal Rewinder Assist Backing Roller Material D) Wrap the Backing Material in a Rewinder counterclockwise direction around the Slots Rewinder Hub and insert the creased creased leading edge into one of its Slots. Insert the leading edge Media Clasp (Item ) into the Slot over the creased leading edge of the Backing...
-
Page 7: Step 4: Configuring The Printer
F) Ensure that READY is displayed on the Front Panel then press Front Panel the FEED Key and proceed according to your observations: If REMOVE LABEL is displayed on the Front Panel, this completes the installation; or, If REMOVE LABEL is not displayed on the Front Panel, proceed to Step 4: “Configuring the Printer.”... - Page 8 Maintaining the Heavy Duty Peel & Present Assembly To ensure trouble free operation, the Heavy Duty Peel and Present Assembly should be cleaned after every 100,000 inches (254,000 cm) of media use. This interval depends on the label adhesive, where “gummy”...
- Page 9 4. Press the Latch to open the Peel and Present Assembly. Then remove the C-Clip that secures the Upper Roller Shaft to the Front Cover. C-Clip Latch Upper Roller Shaft Front Cover 5. Remove the Upper Roller Shaft and the associated Rollers. Upper Roller Shaft Rollers...
- Page 10 8. Push and Lift both Tabs that secure the Lower Roller Assembly to the Front Cover (as shown) and then, while keeping it intact, carefully remove the entire Lower Roller Assembly. Lift Push Front Cover Lower Roller Assembly Tabs 9. Take note of the individual Roller positions – they must be reinstalled in the same order – then, carefully remove the Rollers from the Lower Roller Shaft.
Need help?
Do you have a question about the H-Class and is the answer not in the manual?
Questions and answers