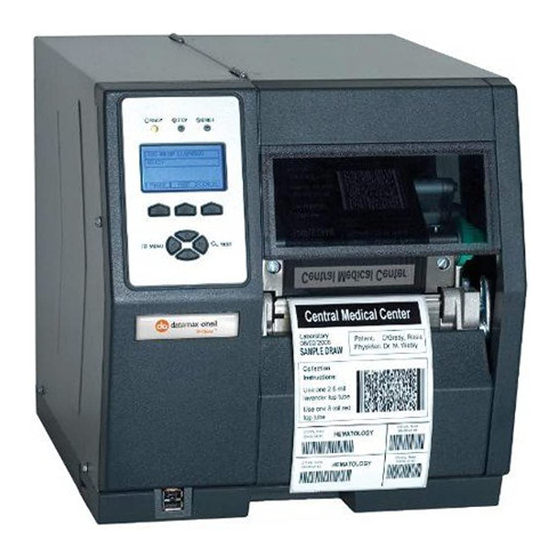
Datamax H-Class Quick Start Manual
Hide thumbs
Also See for H-Class:
- Manual (26 pages) ,
- Programmer's manual (330 pages) ,
- Manual (10 pages)
Table of Contents
Advertisement
Quick Links
Advertisement
Table of Contents

Related Manuals for Datamax H-Class


Summary of Contents for Datamax H-Class
- Page 1 92-2431-01 Rev.C Thermal Transfer Option...
-
Page 3: Tools Required
Overview This document describes the contents, installation, and use of the Thermal Transfer option for the H- Class printer. After verifying the kit contents and tools required, follow the steps below to install and begin using the option. A ribbon selection guide and a parts listing are also included, so keep this documentation for future reference. -
Page 4: Step 2: Installing The Option
Step 1: Preparing the Printer (continued…) Access Cover B) Raise the Access Cover. If installed, remove your media from the printer. Cover Screw Cover Plate C) Remove the Cover Screw then the Cover Plate. Step 2: Installing the Option Center Thermal Transfer Plate Assembly... -
Page 5: Step 3: Configuring The Printer
6” and 8” printers only B) Using a Cotton Swab or cloth, moistened with isopropyl alcohol, gently clean the surface where the Static Brush will be installed. Isopropyl alcohol is a flammable solvent; always take the proper precautions when using this substance. WARNING C) Peel the backing from the adhesive strip on the back of the Static Brush and affix the... - Page 6 Step 4: Aligning the Ribbon Path Thermal transfer printing relies on a smooth, taut flow of ribbon for consistent print quality; to accomplish this, some components in the printer may need to be adjusted. Align the ribbon path as follows: A) Install full width thermal transfer Media into the printer.
- Page 7 C) Press the FEED Key several times, until media tracking is normalized through the printer. Then, while feeding several more labels, observe the flow of the Ribbon from the Supply Hub. Proceed according to your observations: If the ribbon flow is rippling, or if bagging is present, proceed to D; or, ...
- Page 8 E) Wrap the Ribbon in a clockwise direction around the Take-Up Hub. Press the TEST Button on the Front Panel then use the UP / DOWN Buttons to select the RIBBON TEST LABEL. Select a small quantity of labels and press the ENTER Key. As the labels are output, observe the flow of the Ribbon from the Printhead Assembly to the Take-Up Hub.
-
Page 9: Troubleshooting
F) Press the TEST Button then use the UP / DOWN Buttons to select the PRINT QUALITY LABEL or the TEST LABEL. Set a quantity of labels to print and then press the ENTER Key. After printing stops, carefully examine the labels for evidence of ribbon wrinkling (i.e., irregular diagonal voids that extend through printed areas). - Page 10 Operator’s Manual for details.) The media and ribbon combination may be incorrect; see Selecting Media and Ribbon, below. If you have questions, or if problems persist, contact Datamax-O’Neil Technical Support.
- Page 11 Specially formulated for optimum print quality and maximum printhead life, Datamax-O’Neil media and ribbons are strongly suggested for use in your printer. The use of non-Datamax-O’Neil materials may affect the print quality, performance, and life of the printer components (see the Operator’s Manual Warranty Statement for details).
Need help?
Do you have a question about the H-Class and is the answer not in the manual?
Questions and answers