CMA Dishmachines CMA-GL-C Owner's Manual
Installation & operation
Hide thumbs
Also See for CMA-GL-C:
- Specifications (2 pages) ,
- Quick setup instructions (1 page) ,
- Parts manual (16 pages)
Table of Contents
Advertisement
Advertisement
Table of Contents

Related Manuals for CMA Dishmachines CMA-GL-C


Summary of Contents for CMA Dishmachines CMA-GL-C
- Page 1 Owner’s Manual Keep with machine for reference MODEL GLC INSTALLATION & OPERATION REV.1.02A C M A D I S H M A C H I N E S 1 2 7 0 0 K N O T T A V E N U E GARDEN GROVE, CALIFORNIA 92841 8 0 0 - 8 5 4 - 6 4 1 7 F A X 7 1 4 - 8 9 5 - 2 1 4 1...
-
Page 2: Table Of Contents
1. RECEIVING ...2 2. SPECIFICATIONS ...3 INSTALLATION...4 3.1..4 LECTRICAL 3.2..4 LUMBING OPERATION...5 4.1. ILLING OF THE 4.2. PERATION NSTRUCTIONS 4.2.1. Proper Chemical Dosage ... 5 4.3. LEANING NSTRUCTIONS 4.3.1. Highly Recommended Daily Cleaning Instructions... 6 4.3.2. Weekly Cleaning Instructions ... 6 5. -
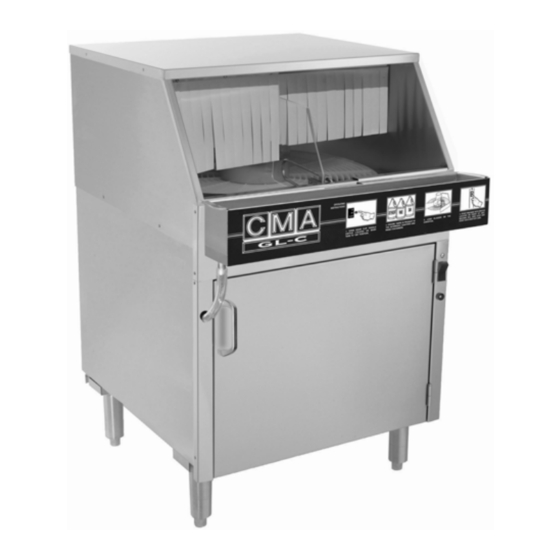
Page 3: Model Gl-C
1. Receiving 1. Remove all packing material from the machine. 2. Remove all tape securing components within the machine. Check that both trays are positioned properly. 3. Check for the following component parts: A. Check that the rinse screen is secure in the rinse drain. B. -
Page 4: Specifications
2. Specifications WATER CONSUMPTION HOT WATER INITIAL FILL HOT WATER PER HOUR (max) COLD WATER PER HOUR OPERATING CAPACITY (2-1/2”) GLASSES PER HOUR WATER REQUIREMENTS COLD WATER INLET HOT WATER INLET DRAIN CONNECTION TEMPERATURES INLET COLD WATER INLET HOT WATER (recommended) FRAME DIMENSIONS DEPTH WIDTH... -
Page 5: Installation
3. Installation 3.1. Electrical A 20 Amp, 208-240 Volt, 60 Hz dedicated circuit should be used to supply electrical power to the GL-C machine (see specification sheet page 3). The power connection with the leads L-1,L-2 and Ground must be such that there is sufficient length of flexible conduit to permit the machine to be moved for cleaning. -
Page 6: Filling Of The Wash Tank
4. Operation 4.1. Filling of the Wash Tank • With overflow drain tube in place in the detergent tank proceed to following. • Turn power on-off/flush switch to the “ON” position. The water solenoid will activate and fill soap tank until the proper level is reached, also activating heating element. •... -
Page 7: Cleaning Instructions
Adjustments To Rinse Agent Pump: • Follow same procedures as detergent for priming chemical. • Cycle glasses through machine and verify glasses are sheeting properly. Increase rinse aid as necessary by turning up or down circuit set screw. • Basic circuit board setting is 9:00. Note: To meet standards set by NSF, chlorine at 50ppm must be used in the final rinse. -
Page 8: Troubleshooting
5. Troubleshooting PROBLEM LIKELY CAUSE The soap tank water Thermostat malfunction temperature low Thermostat set too low Bad heater Float switch malfunction Water supplied to machine low Low or no pressure in Rinse spray arms dirty rinse spray arms Shut-off valve on supply line may be closed Spray arm pressure low No rinse arm water... - Page 9 PROBLEM LIKELY CAUSE Moisture, condensation, Pump seal leaking wet areas behind service door Detergent tank drain screen plugged Primary drain plugged Rinse water drain line backing up Return screen in soap detergent tank plugged Covers on detergent tank are not installed properly causing condensation Wheel not turning...
-
Page 10: Electrical Diagram
Electrical Diagram 6. Electrical Diagram Page MODEL GL-C Installation & Operation MANUAL Rev. 1.02–6/27/2007...
Need help?
Do you have a question about the CMA-GL-C and is the answer not in the manual?
Questions and answers