Advertisement
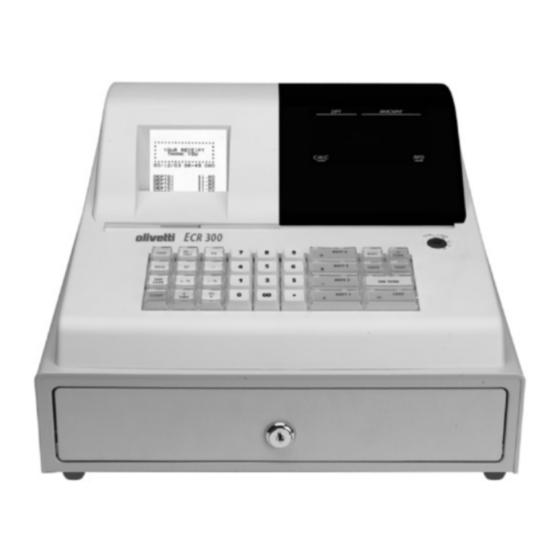
Electronic Cash Registe r
Important Notice
You must initialise the Cash Register before you
can begin programming.
!
Before You Start
• Before you start please locate:-
1 x Paper Roll
1 x Rewind Spindle
1
Initialising The Cash Register
• Connect the cash register to the power socket and load the till roll as shown in the
operation guide.
• Insert the OW key and turn to the P position.
• Enter
2 3 4 5
The printer will print the reset indication ........................
• Return the mode key to the R position.
2
Setting The Date
• Insert the OW key and turn to the P position.
• Enter
2
and press the RA button.
• Enter the Date using 8 digits.
For example enter
• Press the NS# button.
• Press the CASH button.
• Return the mode key to the R position.
3
Setting The Time
• Insert the OW key and turn to the P position.
• Enter
3
and press the RA button.
• Enter the time using the 24 hour clock.
For example enter
• Press the NS# button.
• Press the CASH button.
• Return the mode key to the R position.
4
Setting The Customer Receipt or Journal
• Insert the OW key and turn to the P position.
• Enter
1
and press the RA button.
• For Journal - Enter
Or for Receipt enter
• Press the CASH button.
• Return the mode key to the R position.
1 x Operator's Guide
1 x Set of Control Keys
and press the VOID button.
0 1 0 8 2 0 0 3
1 3 0 0
for 01.00 pm.
1 0
and press the NS# button.
1 1
and press the NS# button
Model ECR 300
L
•
•R
•X
•Z
•P
•T
Mode Lock
for the 1st of August 2003.
L
•
•R
•X
•Z
•P
•T
Mode Lock
L
•
•R
•X
•Z
•P
•T
Mode Lock
L
•
•R
•X
•Z
•P
•T
Mode Lock
L
•
•R
•X
•Z
•P
•T
Mode Lock
Advertisement
Table of Contents

Summary of Contents for Olivetti ECR 300
- Page 1 Model ECR 300 Electronic Cash Registe r Important Notice • •R •X You must initialise the Cash Register before you •Z can begin programming. •P •T Mode Lock Before You Start • Before you start please locate:- 1 x Paper Roll...
- Page 2 Entering A Sale • The Cash Register has Department buttons through which to enter your sales. •R •X The operation of all Department buttons is the same, the purpose of these are to assist •Z you in analysing your business. For example Department Button 1 could be used for •P Food sales and Department Button 2 for Non Food.


Need help?
Do you have a question about the ECR 300 and is the answer not in the manual?
Questions and answers