
Related Manuals for Oneida Air Systems BenchTop DC


Summary of Contents for Oneida Air Systems BenchTop DC
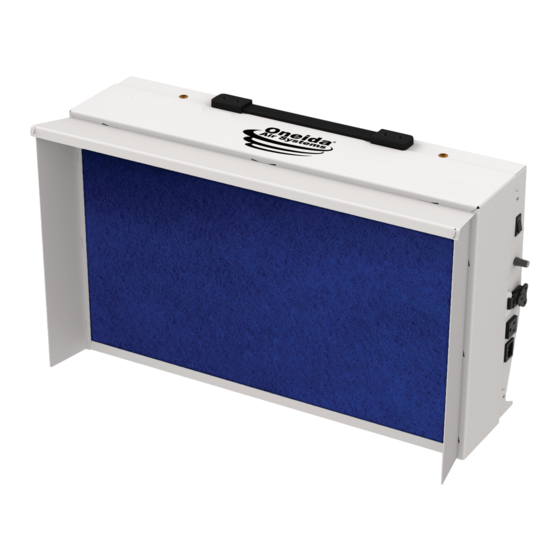
- Page 1 OWNER’S MANUAL BenchTop DC™ Personal Dust Collector #XBZ000100 Appearance may vary slightly Rev: 08/19/2020 Doc. #ZBM000041...
-
Page 3: Table Of Contents
Table of Contents System Start-Up Information System Specifications and Dimensions System Contents Assembly Instructions Features Maintenance Troubleshooting F.A.Q. Recommended Accessories Warranty Information Notes oneida-air.com... -
Page 4: System Start-Up Information
Check wood stock for old nails and screws which can create red hot metal fragments. DO NOT allow accumulation of layers of fine dust on horizontal surfaces (especially overhead lights, electrical boxes and fuse panels which can ignite dust.) 10. UNPLUG UNIT BEFORE SERVICING OR CLEANING Oneida Air Systems, Inc. -
Page 5: System Specifications And Dimensions
System Specifications and Dimensions OPER ATION Airflow 535 CFM Horsepower 0.3HP Phase Single-Phase Voltage 110V Cycle 60HZ Amperage Draw On/Off Switch Analog Variable Speed Control Power Cord Length Plug Type NEMA 5-15P Noise Level 62.5 to 74 dBA SYSTEM DIMENSIONS AND CONSTRUC TION Primary Build Materials Cold Rolled Steel with a powder-coated finish Overall Weight... -
Page 6: System Contents
Please unpack the parts carefully and confirm you have received each item listed here. *Components are pre-installed at the factory and are listed here for maintenance and convenience. The pre-installed components will be referred to as the BenchTop DC Assembly (A). Oneida Air Systems, Inc. - Page 7 System Contents (Continued) oneida-air.com...
-
Page 8: Assembly Instructions
[FIG. 1b]. Peel the backer tape off and adhere to the BenchTop DC Assembly c. Align the 1-1/2" Cork Strips (J) along the left and right edge of the BenchTop DC Assembly as shown in [FIG. 1C]. Peel the FIG. 1b backer tape off and adhere both pieces to the BenchTop DC Assembly (A). - Page 9 Assembly Instructions (Continued) Install the Left and Right Vanes (F, H) to the BenchTop DC Assembly (A): a. Locate the lower notches on the front of the Frame Assembly. [FIG. 3a] b. Slide the Right Vane (H) between the Frame Assembly (E) and Pre-Filter (D) at...
- Page 10 NOT FIT THE OUTLET, HAVE THE PROPER OUTLET INSTALLED BY A QUALIFIED ELECTRICIAN. Plug the female end of the AC Cord (K) into the BenchTop DC Assembly (A) male port. Make certain that the power switch is in the off position and then plug the AC Cord into an AC power source (wall outlet) [FIG.
-
Page 11: Features
Features Reinforced Carry Handle Makes the unit easy to move. Switch RESET Illuminates to indicate when the unit is Variable Fan Speed Control Adjusts the fan speed to meet the needs of any application. Draw Latch Ensures that the Fan Assembly and Frame Assembly remain firmly closed. -
Page 12: Maintenance
Disassembly and Cleaning WEAR A DUST MASK AND EYE PROTECTION. Turn off and unplug the BenchTop DC and wait for the Fan Assembly to come to a complete stop and for the dust to settle. - Page 13 Maintenance (Continued) Reassembly Align the Frame Assembly (E) and the Fan Assembly (B), Place the Frame Assembly (E) face down and place the Pre- making sure that the notches on the sides of the Frame Filter (D) down inside of it. Assembly engage the stop-studs on the sides of the Fan Assembly.
-
Page 14: Troubleshooting
2. Visually inspect that all fans are spinning by switching the unit on/off. 3. If any fans are not spinning, turn off and unplug the BenchTop DC and wait for the Fan Assembly to come to a complete stop and for the dust to settle. -
Page 15: F.a.q
Can I use 3rd party replacement filters? Yes, the BenchTop DC uses a standard 16 x 25 x 3" MERV-15 filter that can be sourced from most hardware stores. Double check the new filter's size before purchasing or installing. Please see the Recommended Accessories section on page 14. -
Page 16: Recommended Accessories
• Flexible to resist cracking and lifting around irregular or curved surfaces. Industrial Grade Silicone Sealant #ASC000000 • Provides a highly flexible, durable, and air-tight seal. • Perfect for use with dust collection ductwork and fittings. • Becomes transparent when cured for improved aesthetics. Oneida Air Systems, Inc. - Page 17 Recommended Accessories (Continued) 115V iVAC Pro Automated Dust Control Switch #ARS115200 • Includes 1 Remote Control with belt-clip. • Switch receives signals from up to 40ft away in any direction. • Set the dust collector to turn off after 5/15/45 seconds after all tools have been powered down to allow for complete cleaning.
-
Page 18: Warranty Information
Limited Warranty – Activate online at oneida-air.com/warranty Oneida Air Systems®, Inc. (OAS) warrants the BenchTop DC to the original purchaser for a period of 1 year from the date of purchase, unless otherwise specified. Items not manufactured by Oneida Air Systems are limited to their own manufacturer’s warranties. All electrical items such as magnetic starters, remotes, sensors, pumps, bin sensors, bag grippers, etc. -
Page 19: Notes
Notes oneida-air.com... - Page 20 Regardless of where you purchased your system, if you have any questions or issues with missing / damaged parts, please call Oneida Air Systems first to let us help resolve your problem. We fully stand behind the quality of our products and place the utmost value on the satisfaction of our customers.
Need help?
Do you have a question about the BenchTop DC and is the answer not in the manual?
Questions and answers