astra telematics AT210 Quick Start Manual
Hide thumbs
Also See for AT210:
- User manual (29 pages) ,
- User manual (9 pages) ,
- Installation manual (5 pages)
Table of Contents
Advertisement
Quick Links
AT210 Quick Start Guide
1. An ASCII terminal is useful for initial testing and configuration. If you already
have one, skip to step 2, otherwise :
a. We recommend Tera Term, which can be downloaded free of charge from:
http://logmett.com/index.php?/download/tera-term-467.html
b. Once downloaded, install Tera Term and start up a session
c. Select Setup and then choose Serial Port from the drop down options
d. Configure your serial connection as follows:
Choose the Port to suit your available COM ports on your PC. This will usually be
e.
COM1 if you have a built in RS232 port. If using a USB-RS232 adapter, go to the
Windows® Device Manager and check which COM port has been assigned to your USB
adapter (note: the assigned COM port will change if you plug into a different USB
socket on your PC).
Select Setup and then Save Setup from the drop down menu list to save this
f.
configuration
Leave the Tera Term window open whilst you now set up and connect the AT210
g.
2. Check that the battery is fitted and connected:
a. Each AT210 is supplied with a 510mAh back-up battery, which should be fixed to the
PCB and connected as shown below:
b. Do not attempt to remove the battery from the cover, once it has been stuck down,
as prising or bending can cause fire and smoke.
Advertisement
Table of Contents

Related Manuals for astra telematics AT210


Summary of Contents for astra telematics AT210
- Page 1 Leave the Tera Term window open whilst you now set up and connect the AT210 2. Check that the battery is fitted and connected: a. Each AT210 is supplied with a 510mAh back-up battery, which should be fixed to the PCB and connected as shown below: b.
- Page 2 Note that the AT210 will now power up 4. Check status LEDs a. Place the AT210 (or AE005 GNSS antenna) somewhere with reasonable view of the sky in correct orientation for a minute or two and then check the status LEDs as...
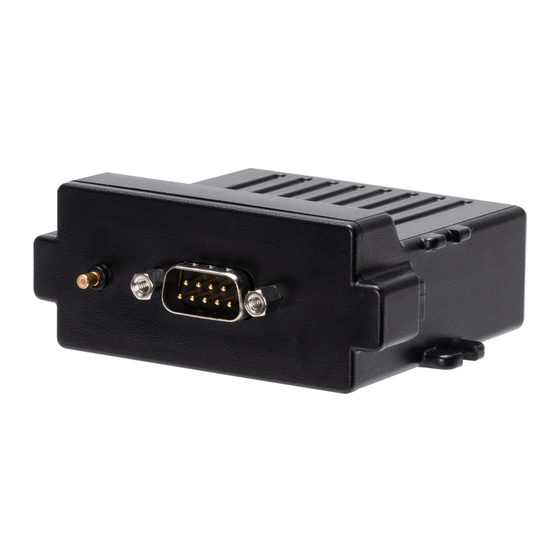
- Page 3 Ensure that the PCB is aligned with the guide slots inside the enclosure and carefully push in until the clips snap together Fit the CB211 cable to the AT210 system connector a. The CB211 cable has a DB9 female RS232 connector and 4 way Molex Microfit connector for power and ignition.
- Page 4 Astra Telematics for advice and documentation on the above protocols e. Your AT210 is now configured will all the basic essentials for operation. The text output in TeraTerm will show details of any errors. f. Alternatively, use the $TEST command (send through TeraTerm or by SMS) to confirm correct device operational status.
Need help?
Do you have a question about the AT210 and is the answer not in the manual?
Questions and answers