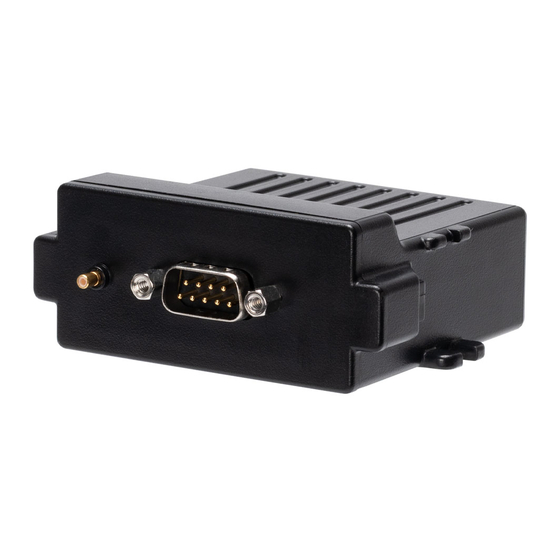
astra telematics AT210 Installation Manual
Hide thumbs
Also See for AT210:
- User manual (29 pages) ,
- User manual (9 pages) ,
- Quick start manual (4 pages)
Table of Contents
Advertisement
Quick Links
Download this manual
See also:
User Manual
AT210 Installation Guide
1. Check that the back-up battery is fitted and plugged-in:
a. Each AT210 is supplied with a 450mAh back-up battery, which should be fixed to the
PCB and connected as shown below:
b. Do not attempt to remove the battery from the cover, once it has been stuck down,
as prising or bending could lead to explosion/fire and smoke.
2. Slide the SIM into the holder:
Note that the AT210 powers up when the SIM is fitted
notched corner here
Advertisement
Table of Contents

Summary of Contents for astra telematics AT210
- Page 1 AT210 Installation Guide 1. Check that the back-up battery is fitted and plugged-in: a. Each AT210 is supplied with a 450mAh back-up battery, which should be fixed to the PCB and connected as shown below: b. Do not attempt to remove the battery from the cover, once it has been stuck down, as prising or bending could lead to explosion/fire and smoke.
- Page 2 6. Fit the external GNSS antenna (if required) a. The AT210 has an internal GNSS antenna, so an external antenna is not required in most cases, but if the device is mounted in a location with poor GNSS visibility, an external antenna can be used.
- Page 3 7. Check status LEDs a. Place the AT210 (or AE004 GNSS antenna) somewhere with reasonable view of the sky in correct orientation for a minute or two and then check the status LEDs as below: GNSS status GSM status External power a.
- Page 4 There must be no conductive objects between the AT210 and the windscreen (i.e. nothing metallic, foil or carbon based) c. Secure the AT210 to a flat surface with double sided foam adhesive tape, being sure to degrease the vehicle side with an alcohol wipe. If practical, the AT210 can be screwed in place using the two mounting lugs or secured with a tie wrap.
- Page 5 10. Check Status and Commission Device a. Before replacing panels and leaving the vehicle, we STRONGLY recommend that you confirm normal operation and good communication, using either method below: i. Calling the service provider to check that the device is online, confirming external power, GNSS, GPRS and driver ID status.


Need help?
Do you have a question about the AT210 and is the answer not in the manual?
Questions and answers