Advertisement
Quick Links
Advertisement

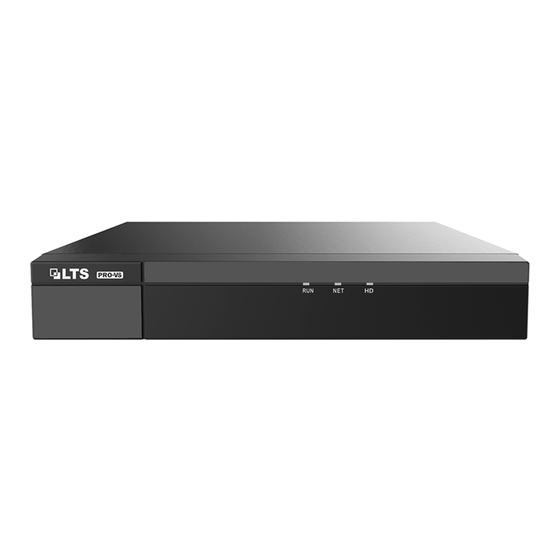
Summary of Contents for LTS VSN7104-P4
- Page 1 Network Video Recorders Quick Guide...
- Page 2 Default IP, Username and Password IP address: 192.168.1.30 NOTE! For security, you are strongly Username: Admin recommended to set a strong password of at least nine characters including all three elements: digits, letters and special Password: 123456 characters. Indicators Status Description PWR(Power) Steady on...
- Page 3 Figure 3-1 Model 1 Interface Description Interface Description Grounding Network ① ② Audio out CVBS output ③ ④ eSATA interface Alarm input/output ⑤ ⑥ AC power Power on/off ⑦ ⑧ Audio in HDMI 1 output ⑨ ⑩ VGA output HDMI 2 output ⑫...
-
Page 4: Disk Installation
Interface Description Interface Description Network DC power ⑦ ⑧ Disk Installation The illustrations are for reference only. The actual device may vary. Preparation Prepare a 1# or 2# Philips screwdriver, a pair of antistatic gloves or a wrist strap. ... - Page 5 Connect the power cables and data cables. Put the cover back in place and tighten the screws. 4 or 8 HDD Installation 4.3.1 Remove Upper Cover Loosen the screws on the upper cover. Slide the upper cover backward, then lift it up to remove the cover. 4.3.2 Install Disks The installation steps for devices with mounting plate and disk bracket are different.
- Page 6 Secure the disks on the mounting plate. Fix the screws according to the figure below. Avoid damaging the disk in the process. Put the mounting plate back in place. Connect the power cables and data cables as shown in the figure. Repeat the steps to connect all the disks. Power cable Data cable Put the cover back in place, and secure it and the mounting plates with screws.
- Page 7 Connect the power cables and data cables. Power cable Data cable 8 or 16 HDD Installation Fix the mounting brackets to the disk with screws. With the disk interface side down, install the R (for right) and L (for left) bracket according to the figure below.
-
Page 8: Startup And Shutdown
Align the disk with the slot and slide the disk inward gently until it clicks. Repeat the steps to install all the disks. Install the front panel. Startup and Shutdown Make sure the cables are connected correctly and the device is grounded properly. Use a power supply that meets requirements. - Page 9 6.1.1 Quick Add Follow the wizard to the fourth step. Select the devices to add in the discovered device list, and then click Add. NOTE! After the device is added, if wrong username or password message shows in the preview window, click in the window toolbar and enter the correct username and password.
- Page 10 NOTE! You can also click to add a device. Click Search Segment to search for devices in a specified network segment. Playback In the preview page, select the desired window, then right click and select Playback to play the recording of the current day. NOTE! ...
-
Page 11: Web Login
Live View/Playback > Live View/Playback. Tap in a window, then select a device to start live view or playback. You can also tap in the upper-right corner and select device(s). Share Devices > Devices, select the desired device and tap Share, then complete the sharing settings. - Page 12 No part of this manual may be copied, reproduced, translated or distributed in any form by any means without prior content in writing from LT Security, Inc. (referred to as LTS or us hereafter). The product described in this manual may contain proprietary software owned by LTS and its possible licensors.
- Page 13 To the extent allowed by applicable law, in no event shall LTS’s total liability to you for all damages for the product described in this manual (other than as may be required by applicable law in cases involving personal injury) exceed the amount of money that you have paid for the product.
- Page 14 Learn More You may also obtain security information under Security Response Center at LTS's official website. Safety Warnings The device must be installed, serviced and maintained by a trained professional with necessary safety knowledge and skills.
- Page 15 Verify that the device is properly installed before connecting it to power. Do not remove the seal from the device body without consulting LTS first. Do not attempt to service the product yourself. Contact a trained professional for maintenance.
- Page 16 Chemical Burn Hazard. This product contains a coin cell battery. Do not ingest battery. If the coin cell battery is swallowed, it can cause severe internal burns in just 2 hours and can lead to death. Keep new and used batteries away from children. ...


Need help?
Do you have a question about the VSN7104-P4 and is the answer not in the manual?
Questions and answers