Lumens VC-A71P Firmware Upgrade Instruction
Hide thumbs
Also See for VC-A71P:
- User manual (54 pages) ,
- User manual (48 pages) ,
- User manual (50 pages)
Advertisement
Table of Contents
- 1 1 Device and Tool Preparation
- 2 2 Connections
- 3 3 FW Download
- 4 3.4 FW Download Starts. (Around 2 Minutes Taken)
- 5 3.5 FW Upgrade Is Successful and the Camera will Reboot.
- 6 3.6 Please Do the [Factory Reset] to Ensure the Procedure Is Completed.
- 7 3.7 Click [Yes] and the Unit will Reboot.
- 8 3.8 Login Webpage Again and Check the FW Version from [About]> [Firmware Version]
- Download this manual
VC-A71P Firmware(FW) Upgrade Instruction
1 Device and Tool Preparation
1.1 Please prepare following devices and tools before FW upgrade.
Power adapter and power cord
2
Connections
2.1 Connecting via switch or router
2.1.1 Please ensure the [Ethernet]> [DHCP] in the menu is ON.
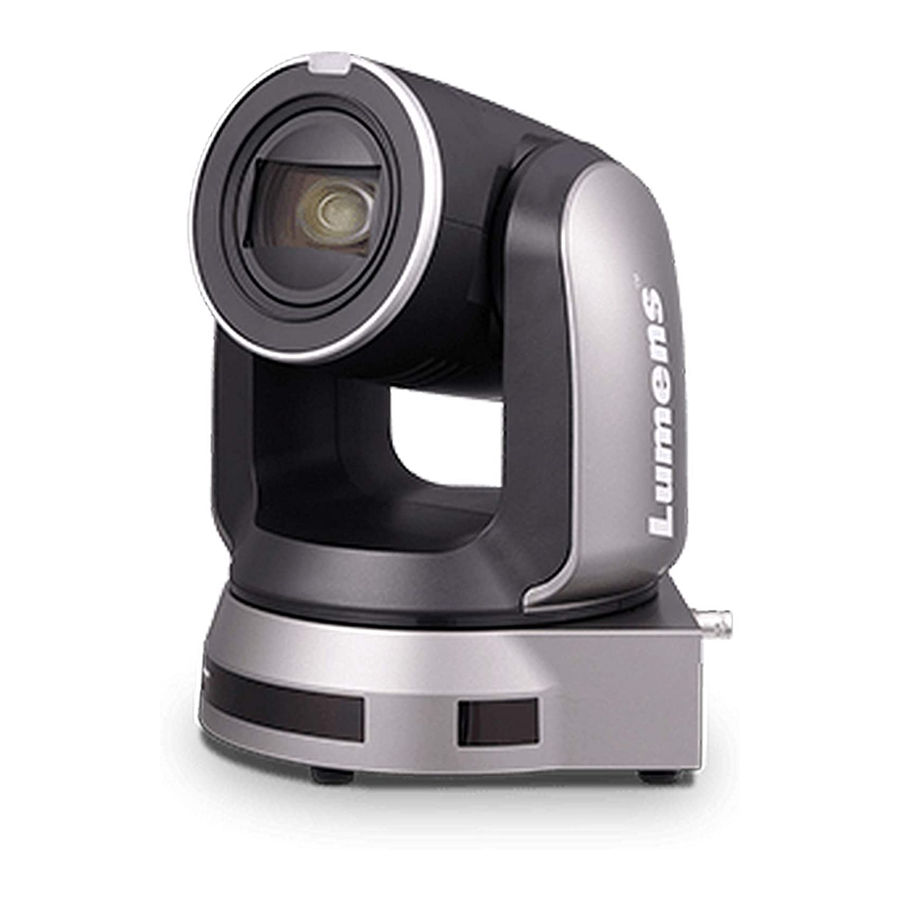
VC-A71P
Ethernet Cable
Ethernet Cable
Switch or Router
PC or Laptop
or
Ethernet cable
PC
Laptop
1
Advertisement
Table of Contents

Subscribe to Our Youtube Channel
Related Manuals for Lumens VC-A71P


Summary of Contents for Lumens VC-A71P
- Page 1 VC-A71P Firmware(FW) Upgrade Instruction 1 Device and Tool Preparation 1.1 Please prepare following devices and tools before FW upgrade. VC-A71P PC or Laptop Power adapter and power cord Ethernet cable Connections 2.1 Connecting via switch or router 2.1.1 Please ensure the [Ethernet]> [DHCP] in the menu is ON.
- Page 2 3.1 Open browser and enter the IP address of the camera in the address bar. You can check the IP address from [Status]> [Ethernet] in the menu. 3.2 Enter the account and password to log in webpage. Account: admin Password: 9999 3.3 Select [Maintenance]> [Choose files…] to select firmware file and press [Submit]. VC-A71P...
- Page 3 3.4 FW download starts. (Around 2 minutes taken) VC-A71P 3.5 FW upgrade is successful and the camera will reboot. VC-A71P...
- Page 4 3.6 Please do the [Factory Reset] to ensure the procedure is completed. [Maintenance]> [System Service]> [Reset] VC-A71P VC-A50P VIL101 3.7 Click [Yes] and the unit will reboot. VC-A71P 3.8 Login webpage again and check the FW version from [About]> [Firmware Version]...
Need help?
Do you have a question about the VC-A71P and is the answer not in the manual?
Questions and answers