Sign In
Upload
Download
Table of Contents
Contents
Add to my manuals
Delete from my manuals
Share
URL of this page:
HTML Link:
Bookmark this page
Add
Manual will be automatically added to "My Manuals"
Print this page
×
Bookmark added
×
Added to my manuals
Manuals
Brands
Fluke Manuals
Thermal cameras
TiS55+
User manual
Fluke TiS55+ User Manual
Thermal imager
Hide thumbs
1
2
Table Of Contents
3
4
5
6
7
8
9
10
11
12
13
14
15
16
17
18
19
20
21
22
23
24
25
26
27
28
29
30
31
32
33
34
35
36
37
38
39
40
41
42
43
44
45
46
47
48
49
50
51
page
of
51
Go
/
51
Contents
Table of Contents
Bookmarks
Table of Contents
Table of Contents
Introduction
Contact Fluke Corporation
Safety Information
Product Familiarization
Features
The Product
Primary and Secondary Triggers
Control Panel
Touch Screen (Display)
Menu Controls
Basic Operation
Turn on and off the Product
Focus
Laser Pointer
Capture Image
Save Image
Save Images to PC
Main Menu
Measurement Menu
Level/Span
Emissivity Adjustment
Transmissivity
Image Menu
IR-Fusion TM Technology
Palette Menu
Select a Palette
Display Menu
Marker
Delta-T
Spot Box
Fluke Connect Menu
Asset Identification (Asset ID)
Assign Asset ID Tag with a QR Code or Barcode
Assign Asset ID Tag Manually
Exit an Asset ID Tag
Tis55+/Tis75+ Users Manual
Assign a Different Asset ID Tag
Fluke Connect Tools
Connection Icons
Save Images to Fluke Connect Cloud
Sign in to Fluke Connect Wifi Network
Sign out of Fluke Connect Wifi Network
Sign in to Fluke Connect Cloud
Sign out of Fluke Connect Cloud
Fluke Connect Wireless System
Pair Hotspot to Fluke Connect
Pair to Mobile App
Save Images to Shared Folder
Sign in to Shared Folder Wifi Network
Sign out of Shared Folder Wifi Network
Sign in to Shared Folder
Sign out of Shared Folder
Settings Menu
Capture Settings
Video
Record Video
View Video
Auto Capture
Bluetooth Headset
Date
Time
Image Annotation
Text Notes
Notes with Single Image
Add a Note to Multiple Images
Audio Notes
Record Audio Notes
Review Audio Notes
IR-Photonotes
Make IR-Photonotes
Review IR-Photonotes
Flag an Image
Manage Images
Delete an Image
Delete Multiple Images
Delete All Images
Memory Menu (Memory Gallery)
View Image
Asset ID
Fluke Connect Desktop Software
Download Fluke Connect Software
Update Firmware
Accessories
Maintenance
Clean the Case
Lens Care
Battery Care
Charge Batteries
Two-Bay Battery Charger Base
AC Power Socket on Imager
Optional 12 V Vehicle Charger
Radio Frequency Data
Specifications
Advertisement
Quick Links
1
Product Familiarization
2
Save Image
3
Save Images to Pc
4
Measurement Menu
Download this manual
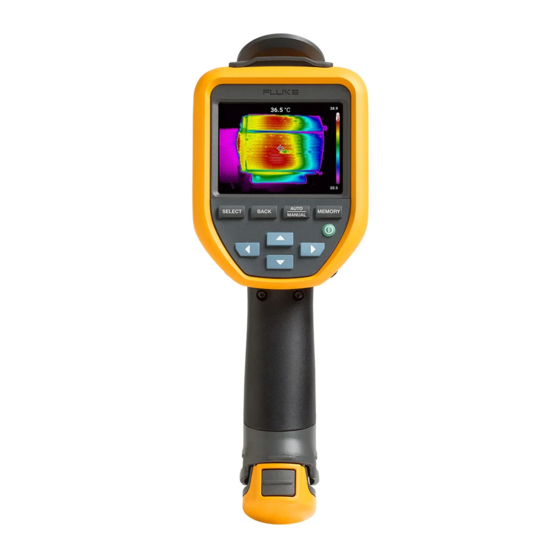
TiS55+/TiS75+
Thermal Imager
Users Manual
É
October 2020
(English)
© 2020 Fluke Corporation. All rights reserved.
Specifications are subject to change without notice.
All product names are trademarks of their respective companies.
1.800.561.8187
information@itm.com
www.
.com
Table of
Contents
Previous
Page
Next
Page
1
2
3
4
5
Advertisement
Table of Contents
Need help?
Do you have a question about the TiS55+ and is the answer not in the manual?
Ask a question
Questions and answers
Related Manuals for Fluke TiS55+
Thermal cameras Fluke TiS10 Safety Information
Performance series thermal imagers (4 pages)
Thermal cameras Fluke TiS10 User Manual
Performance series thermal imagers (52 pages)
Thermal cameras Fluke TiS75+ User Manual
Thermal imager (51 pages)
Thermal cameras Fluke Ti20 User Manual
Thermal imager (68 pages)
Thermal cameras Fluke Ti40 User Manual
Ir flexcam thermal imager (136 pages)
Thermal cameras Fluke Ti32 User Manual
Thermal imagers (40 pages)
Thermal cameras Fluke Ti300 User Manual
Thermal imagers (54 pages)
Thermal cameras Fluke TiR1 Datasheet
Tir series thermal imagers (10 pages)
Thermal cameras Fluke TiR105 User Manual
Ccf thermal camera (21 pages)
Thermal cameras Fluke TiR32 Manual
(12 pages)
Thermal cameras Fluke TiX520 User Manual
Expert series thermal imager (56 pages)
Thermal cameras Fluke tix640 User Manual
Thermal imager (108 pages)
Thermal cameras Fluke TiX660 User Manual
Thermal imager (99 pages)
Thermal cameras Fluke Ti300 PRO User Manual
Professional series thermal imagers, gas leak detector (54 pages)
Thermal cameras Fluke TiX885 User Manual
Thermal imagers (75 pages)
Thermal cameras Fluke TiX1060 User Manual
Thermal imagers (75 pages)
This manual is also suitable for:
Tis75+
5159990
095969946308
095969946261
Tis75+27hz
Tis55+27hz
Table of Contents
Print
Rename the bookmark
Delete bookmark?
Delete from my manuals?
Login
Sign In
OR
Sign in with Facebook
Sign in with Google
Upload manual
Upload from disk
Upload from URL


Need help?
Do you have a question about the TiS55+ and is the answer not in the manual?
Questions and answers