
Related Manuals for Mastervolt AC Master 12/2500-230


Summary of Contents for Mastervolt AC Master 12/2500-230
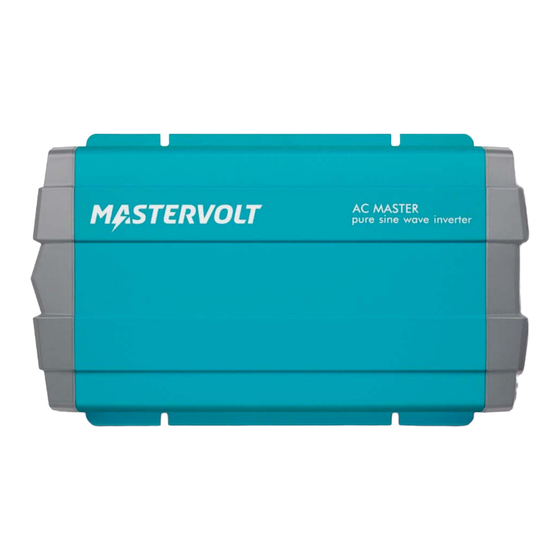
- Page 1 AC Master PURE SINE WAVE INVERTER 12/2500-230, 24/2500-230, 12/3500-230 USER’S AND INSTALLATION MANUAL 10000011809/00...
-
Page 2: Product Description
AC Master Product description The AC Master is a sine wave inverter. The AC Master converts DC energy from the battery into AC output power. The AC Master 2500-3500 is equipped with an AC transfer switch and is suitable for creating systems with multiple units in parallel or 3 phase configuration. - Page 3 17 Internal grounding cable (GND) 18 Internal grounding cable (Inverter Neutral) * This is not a MasterBus port. Do not connect a CAN port to a MasterBus network. This will cause hardware damage. ** LCM is not supported by Mastervolt...
- Page 4 AC Master Dimensions Model A (mm) B (mm) C (mm) D (mm) E (mm) F (mm) G (mm) H (mm) 2500 436,0 240,0 95,6 268,6 11,5 128,0 283,0 3500 496,0 240,0 125,6 268,6 11,5 128,0 283,0...
- Page 5 AC Master Identification label...
-
Page 6: Installation Instructions
AC Master Installation instructions This section provides a step by step instruction of the basic stand-alone installation of the AC Master 2500/3500. Please read the entire manual for instructions on safety, grounding, configuration settings, additional features and creating systems with multiple units. - Page 7 AC Master Mount the AC Master with four screws to a solid surface. Connect the chassis ground terminal to the central grounding point of the vehicle/ship. Optional: Connect remote panel or remote switch, see section 6 on page 12.
- Page 8 AC Master Connect the battery to the DC input. Integrate a fuse holder in the positive battery wire, but do not place the fuse yet.
- Page 9 AC Master Connect the AC load. See section 5 on page 12 for instructions on neutral grounding. AC socket AC hard-wired...
- Page 10 AC Master 10. Optional: Connect AC input, see section 7 on page 16. 11. Set the desired output voltage and other configuration settings, see section 8 on page 16. 12. Check all wiring. If all wiring is OK: Place the inverter fuse. 13.
-
Page 11: Safety Instructions
Use that is inconsistent with the purpose of the product. 3. Warranty Mastervolt assures the product warranty of the AC Master during two years after purchase, on the condition that the product is installed and used according to the instructions in this manual. -
Page 12: Installation
ENGLISH 5. Neutral grounding For neutral grounding you need to connect the internal ground cables: Open the front panel and connect the neutral conductor of the AC output (labelled ‘Inverter Neutral’) to the safety ground (labelled ‘GND’), see picture. Integrate a ground fault circuit-interrupter (GFCI) in the wiring of the AC output. - Page 13 ENGLISH Remote panel (optional) Optionally the remote panel is connected to the remote port (RS-232). Before using the remote panel, make sure the main switch is at “REMOTE” position before startup. Terminal for remote switch and CAN termination This terminal offers two functions: •...
- Page 14 ENGLISH 7. AC input mode In AC input mode the inverter switches from the default Inverter mode to Bypass mode when an approved mains power supply is detected at the AC input. In Bypass mode the mains are directly connected to the load, saving battery power. The AC input is available on the hard-wire terminal behind the front panel.
- Page 15 ENGLISH Bypass mode...
- Page 16 ENGLISH 8. Configuration Always switch OFF all DC and AC power sources to activate new dipswitch settings. DIP switch functions AC output voltage setting AC input mode AC output frequency setting Power saving or Master/Slave setting Power saving or Master/Slave setting Power saving or Master/Slave setting Power saving mode or Master/Slave mode LCM remote or DIP switch control...
- Page 17 ENGLISH Power Saving mode or Master/Slave mode select Mode DIP switch 7 Power Saving Mode ON Master/Slave mode ON (in a system with multiple units) Power Saving setting The Power Saving mode saves energy from the battery in no load operation. The inverter scans the output and compares the detected load to the set threshold value.
- Page 18 ENGLISH Parallel configuration DIP switch 4 DIP switch 5 DIP switch 6 DIP switch 7 Master Slave 3 phase configuration DIP switch 4 DIP switch 5 DIP switch 6 DIP switch 7 Master (0°) Slave (-120°) Slave (120°) LCM remote or DIP switch control select DIP switch 8 LCM remote control ON DIP switch control ON...
-
Page 19: Operation
ENGLISH 9. Operation LED indicator LED color LED indication Meaning What to do? Green Power OK Normal operation Solid Green Power Normal operation Saving Mode Slow blinking Green Bypass Normal operation Intermittent blinking Orange Warning: DC- Check battery voltage and switch off input voltage charger. - Page 20 ENGLISH Shutdown: Reduce the load and/or check the AC Over Load wiring for possible short circuits. Then Solid (+ audible beep) Protection reset the inverter manually by switching the main switch off and on again. Shutdown: Contact your reseller. Fan failure Intermittent blinking Shutdown: Contact your reseller.
- Page 21 ENGLISH 10. Creating systems with multiple units The AC Master 2500/3500 allows you to create the following systems with multiple units: • Parallel configuration with 2 to 15 units to create more output power. • 3 phase configuration with 3 units to create 3 phase output. Installation guidelines When creating a system with multiple units always make sure that:...
- Page 22 Do not use the AC input mode as described in section 7. Automatically switching between different power sources (e.g. inverter and utility grid) must be achieved by adding an external transfer system (e.g. MASTERVOLT Masterswitch 0). Make sure that the parallel configuration meets the following requirements: •...
- Page 23 ENGLISH...
- Page 24 ENGLISH 3 phase configuration Two configuration options are available for 3 phase usage: 1. Without external AC power sources 2. With an external AC power source WARNING! Do not use the AC input mode as described in section 7. Automatically switching between different power sources (e.g.
- Page 25 ENGLISH...
- Page 26 ENGLISH AC Master 12/2500-230 AC Master 24/2500-230 Product code 28012500 28022500 General specifications Output voltage 230/240 Vac (± 3%) – 230/240 Vac (± 3%) – 50/60 Hz (± 0,1%) 50/60 Hz (± 0,1%) Output waveform True sine True sine Nom. battery voltage...
- Page 27 ENGLISH AC Master 12/3500-230 Product code 28013500 General specifications Output voltage 230/240 Vac (± 3%) – 50/60 Hz (± 0,1%) Output waveform True sine Nom. battery voltage 12 V Cont. power at 40 °C, cos phi 1 3500 W Peak load 4500 W (3 s) ;...
- Page 28 Mastervolt B.V. Snijdersbergweg 93 1105 AN Amsterdam The Netherlands Tel.: +31-20-3422100 Email: info@mastervolt.com Web: www.mastervolt.com...
Need help?
Do you have a question about the AC Master 12/2500-230 and is the answer not in the manual?
Questions and answers