Sign In
Upload
Download
Table of Contents
Contents
Add to my manuals
Delete from my manuals
Share
URL of this page:
HTML Link:
Bookmark this page
Add
Manual will be automatically added to "My Manuals"
Print this page
×
Bookmark added
×
Added to my manuals
Manuals
Brands
Ricoma Manuals
Sewing Machine
RCM-1201TC-7S
Operation manual
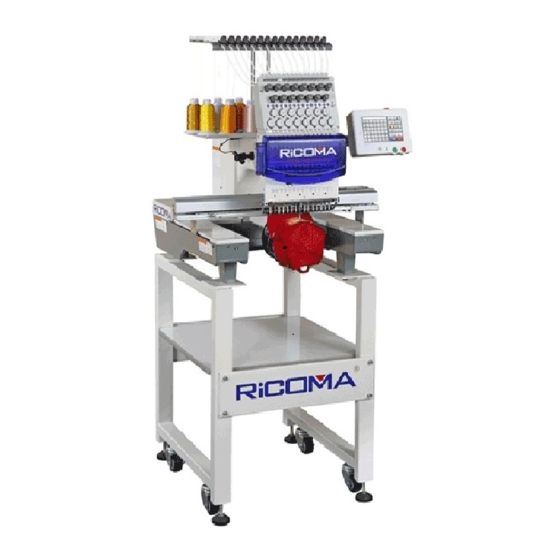
Ricoma RCM-1201TC-7S Operation Manual
Hide thumbs
1
Table Of Contents
2
3
4
5
6
7
8
9
10
11
12
13
14
15
16
17
18
19
20
21
22
23
24
25
26
27
28
29
30
31
32
33
34
35
36
37
38
39
40
41
42
43
44
45
46
47
48
49
page
of
49
Go
/
49
Contents
Table of Contents
Bookmarks
Table of Contents
Table of Contents
Part 1 Control System
System Overview
Precautions
Working Environment
System Power Supply and Grounding
Operation Panel and Key Function
Key Function Introduction
Icons Description of Touch Keys
Function
Part 2 Embroidery Design Input Operation
Input Usb Drive Design to Memory
Delete Designs in Embroidery Design Management
Part 3 Selecting Design in Embroidery Design Management
Select Embroidery Design for Embroidering
Delete Single Embroidery Design
Output Embroidery Design to Usb Drive
Part 4 Embroidery Design
Embroidery Status Mode
Preparation Status
Set Embroidery Design Parameters
Switching Hoops
Operation Status
Embroidery Design Origin Setting (Starting Point)
Offset Point Setting (Highest Point of Hoop Center)
Return to Origin (Starting Point)
Offset Operation
Return to Stop Point
Set Color Changing Setting
6-1 Set Color Changing Sequence
6-2 Appliqué Offset, Low Speed Embroidering and Needle Bar Replacement
6-3 Sequin Design
Change Color Sequence Mode
Embroidering Float Mode Switching
Embroidery Design Trace Operation
10 Returning to Embroidery Origin Point after Power Failure
Embroidery Operation Status
Embroidery Start/Stop Operation
Switch Control and Indicators of Sequin Machine Head
Part 5 Hoop Moving to Generate Embroidery File
Part 6 Letters to Generate Embroidery File
Part V7 Manual Operation for Color Changing
Part 8 Manual Trimming
Part 9 Hoop Origin Operation
Manual Hoop Origin Setting
Automatic Searching for Absolute Origin of Hoop
Set Software Limits
Part 10 Hoop Setting
Part 11 Production Statistics
Part 12 Main Axis Origin Operation
Part 13 Language Switching
Part 14 Embroidery Parameters Settings
Part 15 Machine Parameters Setting
Part 16 User Management
Part 17 Restriction Releasing
Lock Removing
Part 18 System Test
Input Test
Output Test
Main Axis Test
Machine Head Test
Part 19 System Information
System Number and Version Information Checking
System Update
Part 20 Ip Setting
Part 21 System Initialization
Part 22 Appendix
Parameter Table
System Errors and Countermeasures List
Advertisement
Quick Links
1
Part 1 Control System
2
System Overview
3
Operation Panel and Key Function
4
System Errors and Countermeasures List
Download this manual
2014
RiCOMA International
Version 2.2
[PTCS—7S OPERATION MANUAL
RCM-1201TC-7S / RCM-1501TC-7S
]
Table of
Contents
Previous
Page
Next
Page
1
2
3
4
5
Advertisement
Table of Contents
Need help?
Do you have a question about the RCM-1201TC-7S and is the answer not in the manual?
Ask a question
Questions and answers
Related Manuals for Ricoma RCM-1201TC-7S
Sewing Machine Ricoma RCM 1201 PT Owner's Manual
(42 pages)
Sewing Machine Ricoma RCM 1501 PT Owner's Manual
(42 pages)
Sewing Machine Ricoma RCM-1201PT Operating Manual
(116 pages)
Sewing Machine Ricoma RCM-1501TC-7S Operation Manual
(49 pages)
Sewing Machine Ricoma TCS1501 Instruction Manual
Touch screen embroidery machine (32 pages)
Sewing Machine Ricoma CHT2 Quick Start Manual
(72 pages)
Sewing Machine Ricoma EM-1010 Operation Manual
Home embroidery machine (98 pages)
Sewing Machine Ricoma SWD Series Quick Start Manual
(37 pages)
Sewing Machine Ricoma 8S Owner's Manual
Computerized embroidery machine (52 pages)
Sewing Machine Ricoma MT-1502 Quick Start Manual
Multi-head (82 pages)
Sewing Machine Ricoma EM-1010 Operation Manual
(37 pages)
Sewing Machine Ricoma EM-1010 Owner's Manual
Computized embroidery machine (51 pages)
This manual is also suitable for:
Rcm-1501tc-7s
Table of Contents
Save PDF
Print
Rename the bookmark
Delete bookmark?
Delete from my manuals?
Login
Sign In
OR
Sign in with Facebook
Sign in with Google
Upload manual
Upload from disk
Upload from URL


Need help?
Do you have a question about the RCM-1201TC-7S and is the answer not in the manual?
Questions and answers