Table of Contents
Advertisement
Quick Links
Advertisement
Table of Contents

Related Manuals for Electrolux OPEA2550V


Summary of Contents for Electrolux OPEA2550V
- Page 1 OPEA2550V Oven User Manual...
-
Page 2: Table Of Contents
14. ENERGY EFFICIENCY.................. 27 WE’RE THINKING OF YOU Thank you for purchasing an Electrolux appliance. You’ve chosen a product that brings with it decades of professional experience and innovation. Ingenious and stylish, it has been designed with you in mind. So whenever you use it, you can be safe in the knowledge that you’ll get great results every time. -
Page 3: Safety Information
ENGLISH SAFETY INFORMATION Before the installation and use of the appliance, carefully read the supplied instructions. The manufacturer is not responsible for any injuries or damage that are the result of incorrect installation or usage. Always keep the instructions in a safe and accessible location for future reference. -
Page 4: Safety Instructions
WARNING: The appliance and its accessible parts • become hot during use. Care should be taken to avoid touching heating elements. Always use oven gloves to remove or put in • accessories or ovenware. Before carrying out any maintenance, disconnect the •... - Page 5 ENGLISH • Do not use multi-plug adapters and extension cables. Cabinet minimum 590 (600) mm • Make sure not to cause damage to height (Cabinet un‐ the mains plug and to the mains der the worktop cable. Should the mains cable need to minimum height) be replaced, this must be carried out Cabinet width...
- Page 6 – do not put aluminium foil directly on the bottom of cavity of the Total power (W) Section of the ca‐ appliance. ble (mm²) – do not put water directly into the maximum 3680 3 x 1.5 hot appliance.
-
Page 7: Installation
ENGLISH 2.6 Service abrasive cleaning pads, solvents or metal objects. • To repair the appliance contact the • If you use an oven spray, follow the Authorised Service Centre. safety instruction on it's packaging. • Use original spare parts only. •... - Page 8 550 min. 560 3.2 Securing the oven to the cabinet...
-
Page 9: Product Description
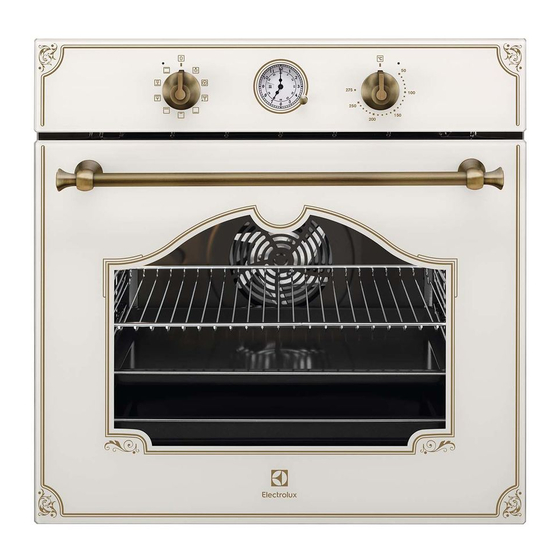
ENGLISH 4. PRODUCT DESCRIPTION 4.1 General overview Control panel Power lamp / symbol Knob for the heating functions Analog Timer Control knob (for the temperature) Temperature indicator / symbol Heating element Lamp Shelf support, removable Shelf positions 4.2 Accessories • Grill- / Roasting pan To bake and roast or as pan to collect •... -
Page 10: Daily Use
6. DAILY USE WARNING! Oven func‐ Application Refer to Safety chapters. tion 6.1 Setting a heating function This function is de‐ signed to save energy 1. Turn the knob for the heating during cooking. For the Moist Fan functions to select a heating function. -
Page 11: Clock Functions
ENGLISH Oven func‐ Application tion To bake and roast food on one shelf position. Conventional Cooking (Top / Bottom Heat) 7. CLOCK FUNCTIONS 7.1 Analog timer A. Window B. Dial The timer has these functions: C. Settings knob • Time of day •... -
Page 12: Using The Accessories
2. Turn the settings knob To cancel the Minute Minder + End of counterclockwise, until the necessary Cooking function, turn the settings knob switch-off time (in minutes) shows in counterclockwise until shows in the the window of the dial. -
Page 13: Additional Functions
ENGLISH 8.2 Telescopic Runners 2. Put the wire shelf on the telescopic runners and carefully push them into Keep the installation the oven. instructions for the telescopic runners for future use. °C With telescopic runners you can put in and remove the shelves more easily. CAUTION! Do not clean the telescopic runners in the dishwasher. - Page 14 10.1 Cooking recommendations Cooking meat and fish Use a deep pan for very fatty food to The oven has five shelf positions. prevent the oven from stains that can be permanent. Count the shelf positions from the bottom of the oven floor.
- Page 15 ENGLISH Food Top / Bottom Heat True Fan Cooking Time Com‐ (min) ments Tempera‐ Shelf po‐ Tempera‐ Shelf po‐ ture (°C) sition ture (°C) sition Jam-tart 2 (left and 30 - 40 In a 26 cm right) cake mould Sponge 50 - 60 In a 26 cm cake...
- Page 16 Food Top / Bottom Heat True Fan Cooking Time Com‐ (min) ments Tempera‐ Shelf po‐ Tempera‐ Shelf po‐ ture (°C) sition ture (°C) sition 12 - 20 In a baking Buns tray Eclairs - 25 - 35 In a baking...
- Page 17 ENGLISH Flans Food Top / Bottom Heat True Fan Cooking Time Com‐ (min) ments Tempera‐ Shelf po‐ Tempera‐ Shelf po‐ ture (°C) sition ture (°C) sition Pasta flan 200 40 - 50 In a mould Vegetable 45 - 60 In a mould flan 50 - 60 In a mould...
- Page 18 Food Top / Bottom Heat True Fan Cooking Time Com‐ (min) ments Tempera‐ Shelf po‐ Tempera‐ Shelf po‐ ture (°C) sition ture (°C) sition Duck 120 - 150 Whole Goose 150 - 200 Whole Rabbit 60 - 80 Cut in...
- Page 19 ENGLISH Food Quantity Time (min) Pieces Quantity 1st side 2nd side (kg) Toasted sandwiches 4 - 6 5 - 7 Toast 4 - 6 2 - 4 2 - 3 10.4 Turbo Grilling Veal Food Tempera‐ Time (min) Use the first or the second shelf position. ture (°C) Beef Preheat the oven.
- Page 20 10.5 Moist Fan Baking Food Tempera‐ Time (min) For best results follow ture (°C) suggestions listed in the Turkey, 2.5 - 160 - 180 120 - 150 table below. 3.5 kg Turkey, 4 - 6 140 - 160 150 - 240...
- Page 21 ENGLISH Food Accessories Temperature Shelf po‐ Time (min) (°C) sition Shashlik, 0.5 baking tray or dripping 40 - 50 Cookies, 16 baking tray or dripping 30 - 45 pieces Macaroons, 20 baking tray or dripping 45 - 55 pieces Muffins, 12 baking tray or dripping 30 - 40 pieces...
- Page 22 Fruit Food Temperature Time (h) Shelf position (°C) 1 position 2 positions Plums 60 - 70 8 - 10 1 / 4 Apricots 60 - 70 8 - 10 1 / 4 Apple slices 60 - 70 6 - 8...
-
Page 23: Care And Cleaning
ENGLISH Food Function Acces‐ Shelf Tem‐ Time (min) Comments sories posi‐ pera‐ tion ture (°C) Fatless‐ True Fan Wire 40 - 50 Use a cake ponge Cooking / shelf mould (26 cm di‐ cake Fan Cook‐ ameter). Preheat the oven for 10 minutes. - Page 24 To clean metal surfaces, use a dedicated CAUTION! cleaning agent. Be careful when you remove Clean the oven interior after each use. the shelf supports. The Fat accumulation or other food remains catalytic panels are not may result in a fire. The risk is higher for attached to the oven walls the grill pan.
- Page 25 ENGLISH Spots or discolouration of the catalytic coating have no effect on Catalytic cleaning. 11.6 Removing and installing door The oven door has two glass panels. You can remove the oven door and the internal glass panel to clean it. Read the whole "Removing and installing door"...
-
Page 26: Troubleshooting
7. Hold the door trim (B) on the top When installed correctly the door trim edge of the door at the two sides and clicks. push inwards to release the clip seal. Make sure that you install the internal glass panel in the seats correctly. -
Page 27: Technical Data
ENGLISH Problem Possible cause Remedy The oven does not heat The Minute Minder + End Set the Minute Minder + of Cooking programmer is End of Cooking program‐ not set. mer. Refer to the chapter "Clock functions". The oven does not heat The fuse is blown. - Page 28 Use metal dishes to improve energy Cooking with fan saving. When possible, use the cooking functions with fan to save energy. When possible, do not preheat the oven before you put the food inside. Keep food warm Choose the lowest possible temperature...
- Page 29 ENGLISH...
- Page 30 www.electrolux.com...
- Page 31 ENGLISH...
- Page 32 www.electrolux.com/shop...
Need help?
Do you have a question about the OPEA2550V and is the answer not in the manual?
Questions and answers