Table of Contents
Advertisement
Quick Links
Advertisement
Table of Contents

Related Manuals for Eastwood HOTCOAT 33273


Summary of Contents for Eastwood HOTCOAT 33273
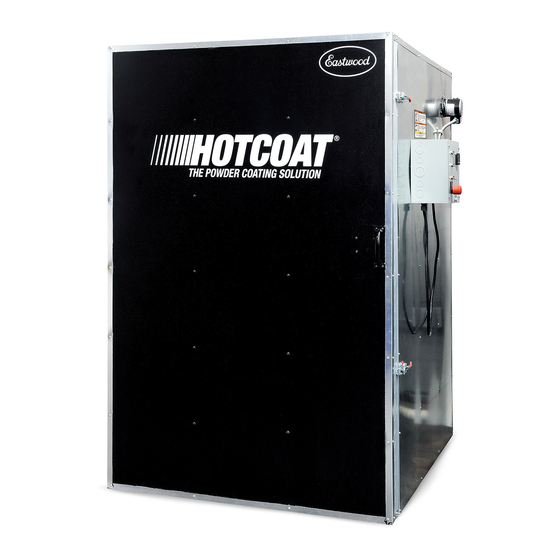
- Page 1 Item #33273 6 240 VOLT POWDER COATING BOOTH INSTRUCTIONS...
-
Page 2: Specifications
• Connect only to a 240VAC, 60Hz, 40 Amp circuit meeting all applicable local electrical codes. ENTRAPMENT HAZARD! • DO NOT allow children, persons or animals access to the oven. The door is latched from the Outside Only and cannot be unlatched from the inside! Eastwood Technical Assistance: 800.343.9353 >> tech@eastwood.com... -
Page 3: Burn Hazard
• Keep all lines, cords, and hoses out of the path between the powder application station and the Oven door to avoid a potential tripping hazard or where damage could occur. To order parts and supplies: 800.343.9353 >> eastwood.com... -
Page 4: Electrical Connection
• Prepare Oven to accept coated parts: - The Use of an Eastwood # 33274 Rolling Rack or Equivalent is Required – Some means of support is required for parts placement in the oven. A Rolling Rack is the preferred method as parts may be placed on a grounded rack for coating and rolled into the Oven for curing. A built-in guide rail system is provided on the floor of the Oven for this purpose and to provide protection for the Heating Elements. -
Page 5: Oven Startup
“SET” Key to lock it in. - Press the ( ▼ ) Key Temperature Controller [D] to lower the temperature set point then press the “SET” Key to lock it in. To order parts and supplies: 800.343.9353 >> eastwood.com... -
Page 6: Shock Hazard
Oven components. The use of heat resistant, electri- cally insulating shrink material or tape is strongly recommended. - Make sure the Element is aligned and secure with the previously removed screws. - Reconnect Oven power and test Heating Element. Eastwood Technical Assistance: 800.343.9353 >> tech@eastwood.com... -
Page 7: Fan Replacement
- Remove mounting screws and the Heating Element Contactor Switch (FIG 9). - Replace the Heating Element Contactor Switch. - Reconnect the terminal connections. - Replace the Cover. - Reconnect Oven power and test Heating Elements. FIG. 8 FIG. 9 To order parts and supplies: 800.343.9353 >> eastwood.com... - Page 8 - Loosen and remove the Phillips head screws attaching the Gasket to the Cabinet. - Pull damaged gasket away. - Set replacement Gasket against cabinet frame referring to the previous pencil marks. - Using previously removed screws and referencing pencil marks, install the replacement Gasket. Eastwood Technical Assistance: 800.343.9353 >> tech@eastwood.com...
- Page 9 #6 sheetmetal screws are used. If screw holes in the Cabinet have become enlarged and will not tighten, #8 sheetmetal screws may be substituted. - Remove the wedging material from under right front corner of the door, check for operation of Door and repeat above procedure, adding shim material if necessary. To order parts and supplies: 800.343.9353 >> eastwood.com...
- Page 10 NOTES Eastwood Technical Assistance: 800.343.9353 >> tech@eastwood.com...
-
Page 11: Troubleshooting And Diagnostics
Replace Oven Controller Heating Ele- A Heating Switch Contactor is faulty and ments Will Not Disconnect Oven from power supply. Replace Heating Switch Contactor. stuck in the closed (ON) position. Shut Off To order parts and supplies: 800.343.9353 >> eastwood.com... -
Page 12: Replacement Parts
If you have any questions about the use of this product, please contact The Eastwood Technical Assistance Service Department: 800.343.9353 >> email: tech@eastwood.com PDF version of this manual is available at eastwood.com The Eastwood Company 263 Shoemaker Road, Pottstown, PA 19464, USA 800.343.9353 eastwood.com © Copyright 2020 Eastwood Automotive Group LLC 6/20...
Need help?
Do you have a question about the HOTCOAT 33273 and is the answer not in the manual?
Questions and answers