Table of Contents
Advertisement
Quick Links
LUXOMAT
B.E.G.
Installation and Operating Instruction for
1. Mounting preparations
Work on the 230 V mains supply
may only be carried out by quali-
fied professionals or by instructed
persons under the direction and
supervision of qualified skilled elec-
trical personnel in accordance with
electrotechnical regulations.
Disconnect supply before installing!
When in Master/Slave mode of
operation, the Master-appliance
must always be installed at the
location where there is least
daylight.
Option:
IR-PD-2C - 92475
Wall bracket for remote control
IR-PD-2C
An adhesive film for the surface of the
IR-PD-2C is included with the device. If
required, this can be used for any B.E.G.
remote control with 27 keys.
In order to benefit from the whole range
of functions of the PD9-M-1C+HVAC,
please order separately the remote
control IR-PD-2C.
6. Exclude sources of
interference
In case the sensing area of the
LUXOMAT
PD9-M-1C+HVAC is too
®
large or areas are being covered that
should not be monitored, the range can
be reduced or limited through use of the
enclosed masking clips.
®
B.E.G.-
2a. Installation
The detector has been
34 mm
designed and developed
specifically for installation
in suspended ceilings.
A circular opening of
diameter min. 34 mm
must be produced in the
ceiling.
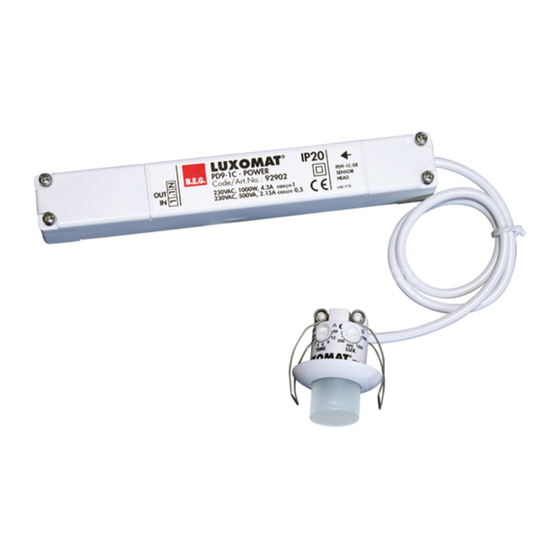
Having connected the
cables in accordance with the regulations, connect the
power supply via the RJ12 plug. Therefore, open the
power supply with the help of the screws and close it
afterwards. After that, put the power supply through the
opening in the ceiling and mount the sensor onto the
ceiling according to figure.
4. Settings by remote control IR-PD-2C
Resetting when
or
open:
Deletes all
values set with
the remote con-
or
trol, light OFF.
After reset the
default settings
to
20
1000
are activated.
(500 Lux, 10 min
light channel and
15 min HVAC
+
channel)
PI R
CdS
��
��
5
���
min
���
to
5
120
min
min
��
���
or
HA
ON/OFF
t < 5 s
7. Range of Coverage
50
1500
Lux
Lux
PD9-M-1C+HVAC
max
RJ
2,50 m
ON
OFF
2
3
1
1
quer zum Melder gehen
Walking across
2
frontal zum Melder gehen
Walking towards
3
Unterkriechschutz
Seated
PD9-M-1C+HVAC
PD9-M-1C+HVAC
Occupancy detectors
2b. Connecting terminals
Unlocking device – Activation of the
programming mode
Daytime operation, detector only
activated by motion
Automatic reading in the current light value as
new luminance set point
Luminance set point for channel 1
20 - 1000 Lux
Increase the current light level by
20 resp 50 Lux
Change between motion detector and
photo electric switch
Follow-up time channel 1 (light)
5 - 30 min. or impuls
Follow-up time channel 2 (HVAC)
5 - 120 min. or impuls
Detection sensitivity reduced or normal
Change between fully automatic and semi
automatic mode (HA)
Light ON/OFF
LED ON/OFF (by holding down the push button)
Locking device – Exit programming mode
The device is not suited for safe disconnection of the
mains supply
white LED flashes
Permanent protection against sabotage
8. Dimensions
PD9-M-1C+HVAC
25
45
2c. Self test cycle
The LUXOMAT
PD9-M-1C
®
+HVAC enters an initial
60-second self-test cycle,
when the supply is first con-
nected. The occupancy detec-
tor is ready for operation.
5. Key functions in closed state
Permanent protection against sabotage
This function blocks the unit perma-
nently. This operating mode can only be
t < 5 sec.
activated during the period of 5 seconds
(white LED flash) after pressing the "Lock"
button. The procedure for leaving this
mode is as follows:
50
1500
Lux
Lux
max
ON
Light ON/OFF during the detection of
motion plus follow-up time; Activation
��
of the 12 h-ON/OFF-function by
OFF
���
holding down the push button
Activation/Deactivation of the test
function
Switches channel off and is immedi-
ately active again, exits all timers,
interruption of light measurement
Confirmation
Changes to "open" state
165 mm
24 mm
24 mm
GB
3. PD9-M-1C+HVAC:
Settings carried out
using remote control
(optional)
Remote control LUXOMAT
®
IR-PD-2C
1. Check Battery:
Open battery compartment
by pressing the plastic springs
together and removing the
battery-holder.
1. Switch off the current
2. Apply current for 31 - 59 seconds
3. Switch off the current again
4. Apply current, wait for selftest
cycle
5. Open detector
Advertisement
Table of Contents

Subscribe to Our Youtube Channel
Related Manuals for B.E.G. LUXOMAT PD9-M-1C+HVAC


Summary of Contents for B.E.G. LUXOMAT PD9-M-1C+HVAC
- Page 1 PD9-M-1C+HVAC LUXOMAT B.E.G. ® B.E.G.- PD9-M-1C+HVAC Installation and Operating Instruction for Occupancy detectors 1. Mounting preparations 2a. Installation 2b. Connecting terminals 2c. Self test cycle 3. PD9-M-1C+HVAC: Settings carried out using remote control Work on the 230 V mains supply The detector has been 34 mm may only be carried out by quali-...
- Page 2 13. Full/Semi automatic mode 9. Explanation of the remote control 10. Switch-off threshold brightness button functions (see functions IR-PD-2C) 1. If the switch-on threshold has been modified by the potentiometer or remote control, the switch-off threshold stored in the EEPROM 9 a.
- Page 3 16. Article / Part-Nr. / Accessory 18. Technical data Type RAL9010 RAL9006 Connection of sensor and power supply by means of R J12 Power supply: 230 V~ ±10 % PD9-M-1C+HVAC (Master) 92976 — Power consumption: < 1W Degree of protection/class: IP20 / II PD9-S-FP (Slave) 92905...
Need help?
Do you have a question about the LUXOMAT PD9-M-1C+HVAC and is the answer not in the manual?
Questions and answers