Advertisement
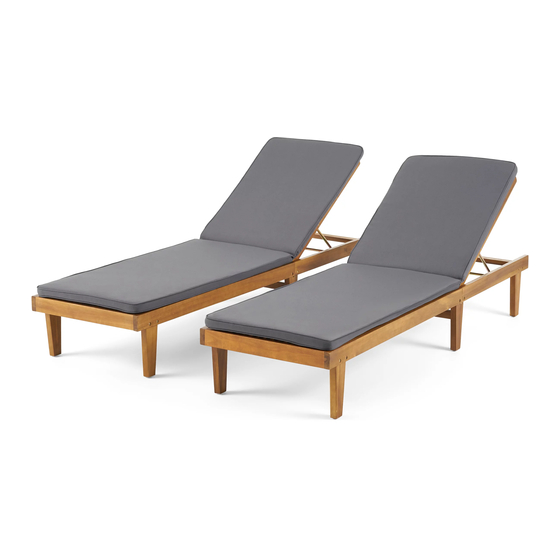
SUNLOUNGER
Caution : You must read this before you proceed
CAUTION : This Sunlounger is NOT a TOY.
Keep your child / children at bay in the process of assembly.
For turning the sunlounger and to prevent damage to the sunlounger 02 people may be
needed to execute this action.
Label
Picture
Description
QTY
A
Foldable seat panel
1
Noble House Home Furnishings LLC
Page 1 of 6
Advertisement
Table of Contents

Related Manuals for Noble House Home Furnishings Sunlounger


Summary of Contents for Noble House Home Furnishings Sunlounger
- Page 1 CAUTION : This Sunlounger is NOT a TOY. Keep your child / children at bay in the process of assembly. For turning the sunlounger and to prevent damage to the sunlounger 02 people may be needed to execute this action.
- Page 2 Leg frame Label Picture Description Bolt (M6x30mm) ① Sleeve Nut ② (M6x13mm) Allen Key ③ Before Beginning Assembly: Noble House Home Furnishings LLC Page 2 of 6...
- Page 3 Leg frames (B) FRONT FACING This Sunlounger has multiple parts and may require up to 30 minutes to assemble. To give you an overview of the Sunlounger parts, the above picture is to help you put the various parts into perspective.
- Page 4 Step 2.1 Step 2.2 2.1) Place the Sunlounger to a flat surface with the seat area up side down to the ground. 2.2) Unfold the backrest as shown in picture above. Step 3 ...
- Page 5 With assistance from your adult partners, turn the Sunlounger right side up. EXERT pressure, floorwards, onto the Seat. This pressure will help the Legs and seat panel reach alignment at all joints. Check for wobbles. In a sequential manner, gradually tighten all Bolts until evenly secured.
- Page 6 Stains may be removed with mild soap solution and damp cloth Dust and pick-up spills using a clean, non-colored, lint-free cloth . Dust and pick-up spills using a clean, non-colored, lint-free cloth . Noble House Home Furnishings LLC Page 6 of 6...
Need help?
Do you have a question about the Sunlounger and is the answer not in the manual?
Questions and answers