Advertisement
EN/CN-A03
Quick Start Guide
WARNING
This guide is only applicable to Flashforge Foto 8.9s 3D printer
1.
Please put on gloves while using photopolymer resin to avoid
direct contact with hands.
2.
To ensure the printing quality, please don't open the light shield
unless it's necessary.
3.
Unused photopolymer resin needs to be stored in a dark, dry ,
and cool place.
4.
Please clean the finished model with anhydrous alcohol.
5.
Please ensure that the platform is installed correctly and no
items before operating to avoid damaging the LCD screen.
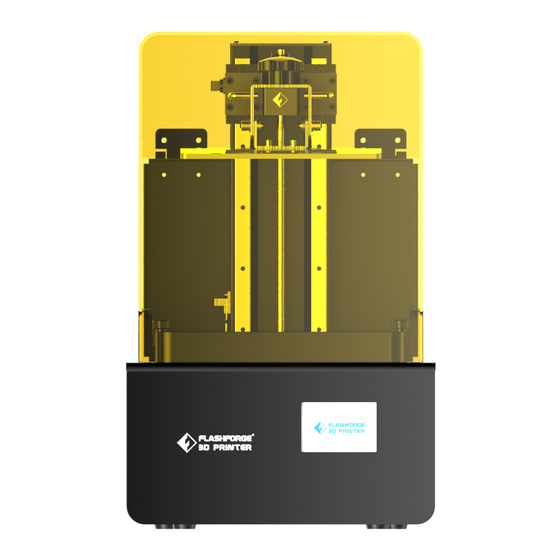
Foto 8.9s
Advertisement
Table of Contents

Subscribe to Our Youtube Channel
Related Manuals for FLASHFORGE 3D PRINTER Foto 8.9s


Summary of Contents for FLASHFORGE 3D PRINTER Foto 8.9s
- Page 1 Please clean the finished model with anhydrous alcohol. Please ensure that the platform is installed correctly and no items before operating to avoid damaging the LCD screen. This guide is only applicable to Flashforge Foto 8.9s 3D printer...
- Page 2 Foreword Note Each 3D printer has undergone a printing test before leaving the factory. If there are residual consumables in the feed resin tank or slight scratches on the printing platform, it is normal and will not affect the use. Dear customer: Thank you for choosing and using the products of Flashforge Technology.
- Page 3 Electrical Requirements Be sure to ground the device; do not modify the plug of the device. (Ungrounded/ incorrectly grounded/modified plugs will inevitably increase the risk of leakage) Do not expose the device to humidity and hot sun. (Wet environment will increase the risk of leakage/exposure will accelerate the aging of plastic parts) Do not abuse the power cord, and be sure to use the power cord provided by Flashforge.
- Page 4 Getting To Know Your 3D Printer 1. Light Shield 2. Platform Tighten Knob 3. Z-axis 4. Leveller 5. Build Plate 6. Resin Box 7. Box Tighten Knob 8. LCD 9. Ethernet 10. USB Stick Port 11. Touched Screen 12. Power switch 13.
-
Page 5: Accessory Box
Accessory Box 3D Printer Power Cable Power Adapter Quick Start Guide After-sales card Metal Scraper Plastic Scraper Build plate set Rubber Gloves USB Stick Wrench Set Filter Paper Wrench Set: Stamping wrench, Screw driver, Screws Build Plate set:Build plate, Leveller, Handle Resin Box Set:Resin Box, FEP Film, Film fixed frame, Box Tighten Knob Resin Box... - Page 6 Leveling Open the carton, take out the printer and accessories carefully, tear off the winding film on the printer, and remove the tape and silicone strip for the upper cover. Power up the printer. 1. Connect the power adapter and power cable. Plug the output end of the power adapter into the power input port on the back of the printer and turn on the switch.
- Page 7 4. To loose the screws on both sides of 5. Make sure it can move free but the build plate by using an inner not to fall. hex wrench. Print Tool System Move Residue WLAN Stop Stop 6. Remove resin box. Put a piece of A4 7.
- Page 8 Press lock the screws 8. Press the top of the build plate with one hand to let four corners of build plate to touch the LCD screen evenly. Pre-tighten the screws on both sides of the platform and then lock them separately during the process. Twitch paper and feel the resistance.
-
Page 9: First Printing
First Printing 1. Make sure the LCD screen, build plate and 2. Tighten the knobs to fix the box. resin box is clear enough. Install the resin box on the LCD screen. 3. After confirm the installation of resin box 4. -
Page 10: Post-Processing
File list Model-01 Model-02 Print Tool System Model-03 Model-04 Model-01 1000 3 h 49 min 0.05 mm 5. Click the [Print] to enter the model list. Click the model file to star the printing. Note Do not open the top cover during printing to avoid eyes hurt. Post-processing Dental Model 1000... - Page 11 3. Remove the model via the metal scraper and clean the model in the cleaning box with anhydrous alcohol to wash off the excess resin. 4. After cleaning, dry the model via a dust-free cloth or an air gun. It would be better to solidify the model again via curing box.
- Page 12 Replace the FEP film in the resin box Please refer to the following steps when install or replace the FEP film. 1. Loose the screws at the bottom of the 2. Align the FEP film with the screw holes resin box to remove the film fixing frame and clamp it between the two fixing and remove the overused FEP film.
-
Page 13: Software Operation
Software Operation FlashDLPrint FlashDLPrint.exe Load Supports Print 1. Install and run the FlashDlprint.exe program. 2. Click Load, select the model file. Print Set Position I want to: Preview Print When Slice Done View 0.00mm Material Type: Grey Standard 0.00mm Save As New Remove Operation: 0.00mm... -
Page 14: Maintenance
Load the model files 1. Copy the ‘.svgx’ file to the USB stick on the computer. It would be better to remove USB stick from computer after ‘Safely Remove USB stick ’ note to avoid file damage. File list Model-01 Model-02 Print Tool... - Page 15 Follow us Zhejiang Flashforge 3D Technology Co., Ltd. Address: No.518 XianYuan Road, Jinhua City,Zhejiang Province, China Service Hotline: +86 579 82273989 support@flashforge.com...
- Page 16 FCC Statement This device complies with part 15 of the FCC rules. Operation is subject to the following two conditions: (1) this device may not cause harmful interference, and (2) this device must accept any interference received, including interference that may cause undesired operation. Changes or modifications not expressly approved by the party responsible for compliance could void the user's authority to operate the equipment.
Need help?
Do you have a question about the Foto 8.9s and is the answer not in the manual?
Questions and answers