Table of Contents
Advertisement
Quick Links
(For microscope operation only. Camera operation covered in separate
HOW TO USE YOUR MICROSCOPE SERIAL NUMBERS
1. Microscope serial number: This number (located on a silver sticker on the
bottom of microscope) is the number under which your warranty is registered.
2. Microscope DM number: This number (located on a white sticker on the bottom
of the microscope) is used for logging on the Motic web site, which gives you
the ability to download free software upgrades.
3. Motic CD DM number: This number is to be used to register the software when
loaded on the computer for the first time.
Copyright © 4/14/06
National Optical & Scientific Instrument Inc.
National Optical & Scientific Instrument Inc.
6508 Tri-County Parkway
Schertz, Texas 78154
Phone (210) 590-9010 Fax (210) 590-1104
INSTRUCTIONS FOR
MODEL DS-2
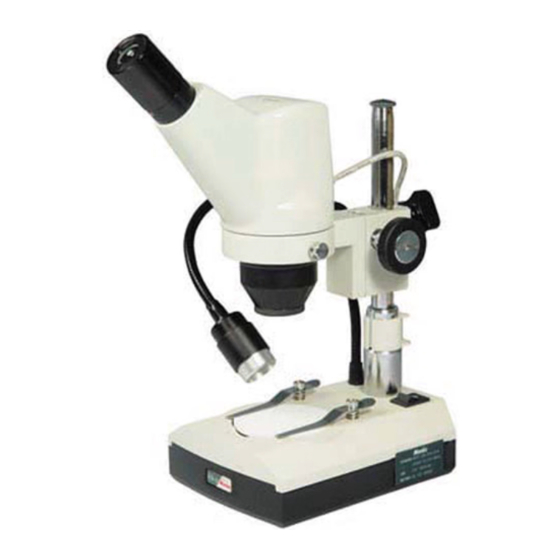
COMPOUND BIOLOGICAL MICROSCOPE
WITH DIGITAL CAMERA
supplement on disc.)
Advertisement
Table of Contents

Subscribe to Our Youtube Channel
Summary of Contents for National DS-2
- Page 1 National Optical & Scientific Instrument Inc. 6508 Tri-County Parkway Schertz, Texas 78154 Phone (210) 590-9010 Fax (210) 590-1104 INSTRUCTIONS FOR MODEL DS-2 COMPOUND BIOLOGICAL MICROSCOPE WITH DIGITAL CAMERA (For microscope operation only. Camera operation covered in separate supplement on disc.) HOW TO USE YOUR MICROSCOPE SERIAL NUMBERS 1.
- Page 2 LED Indicator Eyepiece Light Eyepiece Locking USB Cable Screw Tension Adjustment Collar Post Locking Screw Head Locking Screw Focusing Knob Objective Lens Knurled Trim Ring Top Light Stage Plate Power Switch Stage Clips 2x Auxillary Objective Lens...
- Page 3 About the Digital Microscope Your new digital microscope incorporates a built in camera with data transmission made possible through a simple plug and play USB cable. In order to achieve optimum results, it is important that you carefully read both this and the software instructions before operating your microscope or camera.
- Page 4 11. STAGE PLATE: Reversible black and white 60mm stage plate. 12. STAGE CLIPS: Two locked-on clips hold specimen slide in place on stage 13. POWER SWITCH: Turns power to incidental illuminator on and off. 14. RECHARGER: Automatic switching charger accepts 100v-240v, 50H/60H input and supplies 12VDC power to the microscope for recharging batteries.
- Page 5 National for “warranty repair”, make certain to examine the front lens element with a magnifying glass or eye loupe for the presence of such contaminants. If a microscope is returned to National for warranty repair, and it is determined that such contaminants are the problem, this is not covered under warranty and National will submit a cost estimate for cleaning.
- Page 6 any slight pressure applied to the stage. This will cause the microscope image to move out of focus, and you will need to readjust the tension control. When looking at the back of microscope base (facing on/off switch), the tension adjustment wheel is the small wheel immediately inside the large, coarse focusing knob on the left side of microscope.
- Page 7 TROUBLESHOOTING PROBLEM REASON FOR PROBLEM SOLUTION Light fails to operate. Batteries fully discharged. Recharge batteries. Light switch in off position. Turn light switch on. Image does not remain in focus Head of microscope drops from Adjust tension control. its own weight. Image does not focus Viewing head improperly Raise or lower viewing head by...


Need help?
Do you have a question about the DS-2 and is the answer not in the manual?
Questions and answers