Table of Contents
Advertisement
Quick Links
Advertisement
Table of Contents

Related Manuals for Mark GSX


Summary of Contents for Mark GSX
- Page 1 Technical manual...
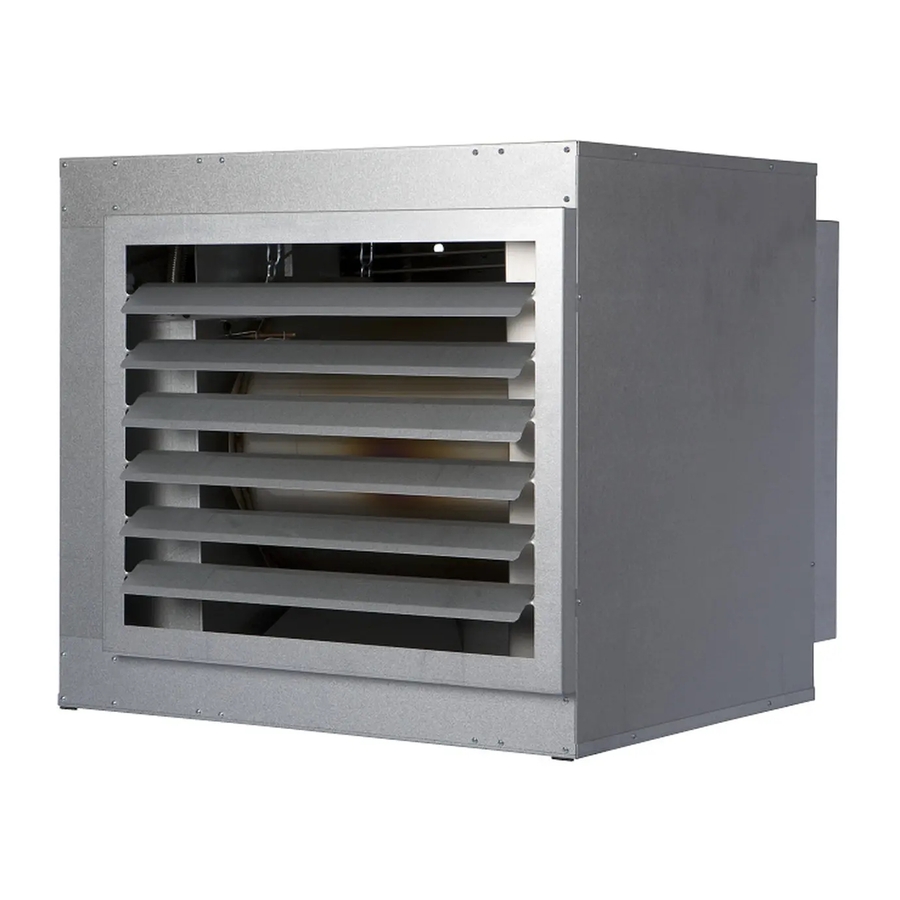
- Page 3 Appliance type GSX is solely suitable for the free and direct intake of the air to be heated and the free discharge of heated air into the room.
-
Page 4: General Warnings
All the types of appliance are listed in table [3]. The various types are shown in the rows, and technical information relating to the appliances is shown in the columns. See the key below. Key to table [3] Nominal load (upper value) Nominal load (lower value) Nominal power Gas consumption for a specified gas type (15°) max/min... -
Page 5: Installation
Install the appliance and any accessories to a sufficiently solid structure [2], taking into account the minimum free space required [1]. For GSX you should use the four M10-sized suspension points [21]. 2.2 Positioning the flue gas exhaust system and air supply The device only has the CE approval in combination with its flue gas system. -
Page 6: Installation Remarks
5990733 gas system is: 5990737 - GSX 20: Stainless steel 5 meter pipe and Extension pipe 2 bends of 90°. L=500 - GSX 35-90: 6 5990201 meter pipe and 2 5990211 bends of 90°. Stainless steel Extension pipe L=1000 5990202... - Page 7 5990736 polyethylene. ALU Bend 45° The maximum 5990734 length of the flue 5990738 system is: ALU Bend 90° - GSX 20: 5990733 2x5 meter pipe 5990737 and 2x2 bends Stainless steel 90°. Extension pipe - GSX 35-90: L=500...
-
Page 8: Combustion Air
Single flue set vertical Combustion air C53: The condensate must 20/35 80/125 5990556 Stainless steel be discharged or ALU efficiently, Extension pipe according to (see above) the applicable 55/75/90 100/150 5990560 national In combination with Polyethylene regulations. single flue set horizontal Extension pipe L=500 20/35... -
Page 9: Gas Connection
Installation must comply with the relevant local and/or national regulations. Ensure that there is a correct connection group with a mains fuse. The electrical diagram is displayed on the appliance. A basic diagram for the GSX appliance can be found in chapter 8 and 9 Electrical diagram. PLEASE NOTE: –... -
Page 10: Check Appliance Operation
[27] – Close the gas stop cock. – In the case of the GSX, check whether the vanes in the air discharge port are set to the open position (open to a min. of 45º). -
Page 11: Shutting Down The Heater
Legend [6] 1 Measuring point for gas pre-pressure 2 Measuring point for offset 3 Offset adjustment screw 4 Throttle adjustment screw Step 1 Set the appliance to run at full operational load by pressing and holding the reset button of the unit for at least 5 seconds. -
Page 12: Description Of Parts
– Removal of the gas transport section provides access to the burner and the ignition/ionisation electrode. It is recommended to replace the ignition/ionisation electrode yearly during regular maintenance. – Check the burner surface for irregularities. Never use a steel brush! –... - Page 13 8.0 Electrical diagram GSX 20 - 75...
- Page 14 9.0 Electrical diagram GSX 90...
- Page 15 10.0 Bracket instructions...
- Page 17 Jmin C≥ D≥ E≥ F≥ G≥ 400 - 2500 1000...
- Page 18 C≥ D≥ E≥ E1*≥ F ≥ - ≤ G≥ J≥ 400 - 4000 1400 400 - 4500 1600 400 - 5000 1800 400 - 5000 2200 * Germany / Deutschland.
- Page 19 1005 1005 18.5 1190 1190 1480 1480 1180 11.5 35.5 GSX 20 GSX 35/55/75/90...
- Page 20 Type 20,0 38,8 18,0 34,9 51,3 72,0 90,0 16,7 32,7 48,4 67,3 83,9 6,19 8,69 10,86 mBar 25,0 25,0 25,0 25,0 25,0 G25.3 6,17 8,65 10,81 mBar 25,0 25,0 25,0 25,0 25,0 5,43 7,62 9,52 mBar 20,0 20,0 20,0 20,0 20,0 kg/h 1,42...
- Page 21 POS.C GSX 20: L = max 5 mtr POS. A GSX 35-90: L = max 6 mtr POS. B GSX 35-90: L1 + L2 + L3 = max 6 mtr POS. C GSX 35-90: L1 + L2 = max 6 mtr...
- Page 22 [5] C43 2,5-3,0 x AV max. 2 0,44 x AV No. of units 1017 1123 1233 1079 1349 1177 1471 1282 1603 1386 1732 1067 1497 1871 1148 1612 2014 1232 1728 2161 1318 1850 2313 1408 1976 2470 1022 1501 2107 2634...
- Page 23 GSX 20/35 G20/G25/G25.3 GSX 55/75/90 G20/G25/G25.3 , 135 GSX 20/35/55/75/90 G30/G31 code AC 06 21 551 06 21 565 06 21 563 (2x) 06 21 565 (2x) 06 21 563 code 20/35 06 00 830 55/75/90 06 00 831...
- Page 24 code 20/35/55/75/90 06 25 360 [11] code 20/35 06 03 405 55/75/90 06 03 410 [12] Gas type code Gas type code G20/G25/G25.3 55/75/90 06 08 076 G20/G25/G25.3 20/35 06 08 094 G20/G25/G25.3 06 08 050 (bypass) G30/G31 25/35/55/ 06 08 050 (bypass) 75/90...
- Page 25 [13] [14] code code 20 - 90 06 29 057 20 - 90 06 29 053 [15] code 19 99 074 35 - 90 19 99 075 [16] [17] code code 30 05 620 04 01 602 04 01 604 30 05 621 55/75 04 01 614...
- Page 26 [20]...
- Page 27 [25]...
- Page 28 [25] [26]...
- Page 29 [27] 0550083 Caution! Check position of the gasket. Always tighten the connection with 2 spanners. Vorsicht! Position der Dichtung prüfen. Ziehen Sie die Verbindung immer mit 2 Schraubenschlüsseln an. Attention! Vérifier la position du joint. Toujours serrer la connexion avec clès. Let op! Controleer de positie van de pakking.
- Page 32 FAX +31 (0)598 624584 TELEFAX +49 (0)2822 97728-10 info@mark.nl info@mark.de www.mark.nl www.mark.de MARK EIRE BV MARK POLSKA Sp. z o.o COOLEA, MACROOM UL. JASNOGÓRSKA 27 CO. CORK 42-202 CZĘSTOCHOWA (POLSKA) P12 W660 (IRELAND) PHONE +48 34 3683443 PHONE +353 (0)26 45334...
Need help?
Do you have a question about the GSX and is the answer not in the manual?
Questions and answers