Table of Contents
Advertisement
Quick Links
INSTAllING AND REMOVING A MODUlE IN ThE 4000 PlATFORM
The 4000 Platform must be switched off and, if operating on mains, its supply cable
must be unplugged.
Installing a module
Turn the instrument face down on the work surface
1
Set the 2 notches on the module part (1a) into the two holes on the Base (1b).
2
1(b)
2(b)
1(a)
Captive screws fixing the module
2(a)
Make flush the 2 connections (2a & 2b), on module and base.
3
Once positioned, fix the module to the base screwing the 2 screws fixing the
4
receptacle
Removing a module
Unscrew the two captive fixing screws of the plug-in completely (up to the stop).
1
Carefully slide the module out of its slot.
2
BATTERY MANAGEMENT
The battery supplied with the 4000 Platform must be fully charged before use.
The instructions below apply to the removable Lithium Ion (LiIon) battery inside
the battery compartment.
Access to the battery
Battery
Kickstand
Stylus for touchscreen
Switch off the 4000 Platform and disconnect the mains supply.
1
Loosen the screws at the left of the instrument using a Philips head screwdriver
2
Remove the cover of the battery, pulling with the help of the screws.
3
The battery can then be removed, taking care not to damage the connector into
4
which it is plugged.
When re-seating the battery, make sure that its connector engages correctly with the
4000 Platform. Then fit the cover back and lock the screws.
T-BERD/MTS-4000 - Getting Started Manual - PN77000002201 Rev002 - November 2015 - Copyright © 2015
Charging the battery
Use only the mains adapter supplied with the MTS/T-BERD 4000. The adapter for some
other electronic device may appear to be identical, but entails a risk of damage to the
MTS/T-BERD 4000.
Connecting the mains adapter
At the top of the MTS/T-BERD 4000 , lift up the power supply socket protector and plug
in the mains adapter.
1(a)
Connect the adapter to the mains. The On indicator lamp starts blinking in green.
Charging
If the instrument is fitted with a battery, on connection to the mains:
- if the user does not press On within 20 seconds, the battery will go on to charge. In
this case, the Charge indicator will be lit in red.
2(a)
- if the user presses the O
charged during use.
Once the battery is fully charged, the Charge indicator lamp is lit in solid green.
It is essential to wait until charging is complete to ensure maximum independent operat-
ing time, which may otherwise be considerably reduced
If you require technical assistance, call 1-844-GO-VIAVI. For the latest TAC informa-
tion, go to
http://www.viavisolutions.com/en/services-and-support/support/technical-
assistance.
5
T-BERD/MTS-4000 - Getting Started Manual - PN77000002201 Rev002 - November 2015 - Copyright © 2015
button, the instrument starts up and the battery will be
n
TEChNICAl ASSISTANCE
4000 PLATFORM
GETTING STARTED MANUAL
USER INTERFACE
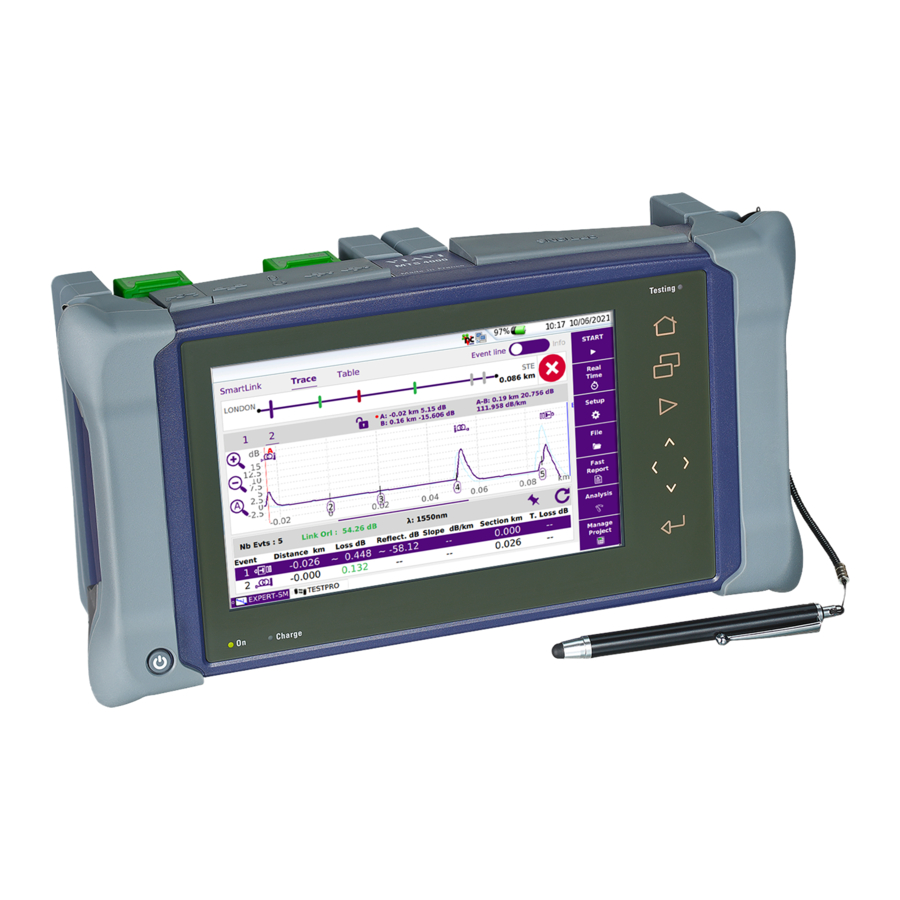
The 4000 Platform includes the controls and display needed for measurement analysis
The Print function is available by pressing simultaneously the left and right direction
keys.
6
T-BERD/MTS-4000 - Getting Started Manual - PN77000002201 Rev002 - November 2015 - Copyright © 2015
1
Advertisement
Table of Contents

Summary of Contents for Viavi T-BIRD-4000
- Page 1 It is essential to wait until charging is complete to ensure maximum independent operat- ing time, which may otherwise be considerably reduced 1(a) TEChNICAl ASSISTANCE If you require technical assistance, call 1-844-GO-VIAVI. For the latest TAC informa- tion, go to http://www.viavisolutions.com/en/services-and-support/support/technical- assistance.
- Page 2 Do not use any mains adaptor or battery other than those supplied with the instrument, VAlIDATING A FUNCTION or supplied by Viavi as an option for this instrument. To configure the unit, proceed as follows: The 4000 Platform uses a Lithium ion (LiIon) rechargeable battery and a lithium coin- Press the H button.


Need help?
Do you have a question about the T-BIRD-4000 and is the answer not in the manual?
Questions and answers