Table of Contents
Advertisement
Available languages
Available languages
Quick Links
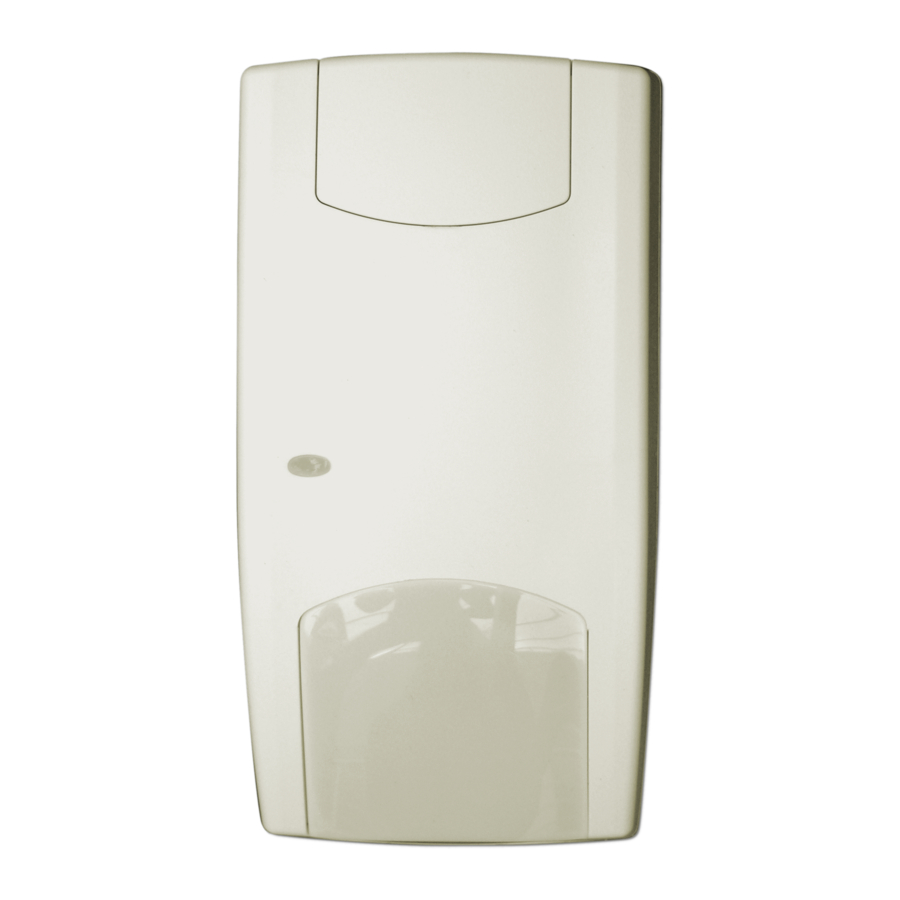
VE1012PI PIR Detector Installation Sheet
EN DE ES FR
IT
NL PL PT SV
1
3
© 2010 UTC Fire & Security. All rights reserved.
GE and the GE monogram are trademarks of the General Electric Company and are under license to
UTC Fire & Security, 9 Farm Springs Road, Farmington, CT 06034-4065
2
4
12 m range (39 ft. 4 in.)
8 m
6 m
4 m
2 m
0 m
2 m
4 m
6 m
8 m
2.4 m (7 ft. 10 in.)
(optimum)
3.67
m
(12 ft.)
1 / 12
1
3
1
2.0 m
(39 ft. 4 in.)
P/N 146413999-2 • REV 1.0 • ISS 20JUL10
2
Advertisement
Table of Contents

Related Manuals for UTC Fire and Security VE1012PI PIR


Summary of Contents for UTC Fire and Security VE1012PI PIR
- Page 1 VE1012PI PIR Detector Installation Sheet EN DE ES FR NL PL PT SV 12 m range (39 ft. 4 in.) 2.4 m (7 ft. 10 in.) (optimum) 3.67 (12 ft.) 2.0 m (39 ft. 4 in.) © 2010 UTC Fire & Security. All rights reserved.
- Page 2 2 / 12 P/N 146413999-2 • REV 1.0 • ISS 20JUL10...
-
Page 3: En: Installation Sheet
J3 J4 J3 J4 J3 J4 J3 J4 Normal 4.7 k Ω larm kΩ Tamper Short Ω J3 J4 Normal 4.7 k Ω larm kΩ Tamper Short Ω EN: Installation Sheet Insert the screw and place the custom insert. For EN 50131 Grade 3 installations, do not use mounting position C. -
Page 4: Specifications
Specifications • Verdecken des Erfassungsbereichs des Melders durch große Objekte, z. B Möbel Detector Signal processing Installation des Melders Range 12 m (39 ft. 4 in.) Nehmen Sie die kundenspezifische Abdeckkappe ab und Optical 9 curtains pet-friendly entfernen Sie die Schraube (Abb. 2, Schritt 1). Memory Öffnen Sie den Melder vorsichtig mit einem Input power... -
Page 5: Es: Instrucciones De Instalación
Rote LED Alarmrelais Zurücksetzen ES: Instrucciones de instalación PIR- Offen (Alarm) Automatisch nach Einbruchalarm 3 Sek. Introducción Ständig Ein Normales Blinken (1 Hz) El VE1012PI es un detector de movimiento IR con opticas antimascotas. Technische Daten Instrucciones para la instalación Melder Signalauswertung La tecnología utilizada en estos detectores resiste riesgos de... -
Page 6: Especificaciones Técnicas
PJ2: PIR que activa el LED 2002/96/EC (Directiva WEEE): Los productos marcados con este símbolo no se pueden eliminar Activado: Activa el LED del detector en todo momento como basura normal sin clasificar en la Unión (programación por defecto). Europea. Para el reciclaje apropiado, devuelva este Desactivado: Pone el LED bajo control del panel de control y producto a su distribuidor al comprar el nuevo equipo desactiva el LED del detector en todo momento (sin función de... -
Page 7: Spécifications Techniques
Figure 8 légende Certification et conformité Numéro Description Fabriquant UTC Fire & Security Americas Corporation, Inc. Connexion standard (défaut usine) 1275 Red Fox Rd., Arden Hills, MN 55112-6943, USA Connexion double boucle Mandataire agréé UE: UTC Fire & Security B.V. Centrale Kelvinstraat 7, 6003 DH Weert, Pays-Bas Test de marche... -
Page 8: Nl: Installatie-Instructies
Inserire la vite e riposizionare al suo posto la chiusura a Peso 120 g incastro. Grado di protezione IP/IK IP30 IK02 Per installazioni l'EN 50131 grado 3, non utilizzare la Per la conformità alle norme CEI 79.2 è obbligatorio l’utilizzo posizione C. -
Page 9: Pl: Instrukcja Instalacji
Verwijder de spiegelsegment afschermingen kapjes Alarmtijd 3 sec maskers en breng de stickers aan, indien nodig (zie fig. 5). Omgevingstemperatuur −10 tot +55°C (14 tot 130°F) Als u de detector aan het plafond wilt bevestigen voor een Afmetingen (H x B x D) 108 ×... -
Page 10: Pt: Instruções De Instalação
Wybierz żądane ustawienia zworek i przełączników DIP Maksymalny pobór prądu 11 mA (rys. 6). Szczegółowe informacje można znaleźć w części Wysokość montażu Od 2.3 do 3.0 m “Ustawienia zworek” niżej. Zakres prędkości celu Od 30 cm/s do 3 m/s Zdejmij przesłony i w razie potrzeby dodaj naklejki Charakterystyka przekaźnika 80 mA, 30 V (stałe) (przykład: rys. - Page 11 Inserindo uma chave de parafusos, abra cuidadosamente Especificações técnicas o detector (consulte a fig. 2, passos 2 e 3). Detector Prenda a base à parede entre 2,3 m e 3,0 m do solo. Para Processamento de sinais montagem normal utilize dois parafusos (DIN7998) na Intervalo 12 m posição A.
- Page 12 • Värmekällor i detektorns täckningsområde Röd LED Larmrelä Återställning • Djur över 35 cm i detektorns täckningsområ de (se bild 7) Låg spänning Öppen Använd rätt • Avskärmning av detektorns täckningsområde med stora (Larm) styrspänning föremål, såsom möbler, skyltar PIR inbrottslarm Öppen Automatiskt efter 3 s (Larm)
Need help?
Do you have a question about the VE1012PI PIR and is the answer not in the manual?
Questions and answers