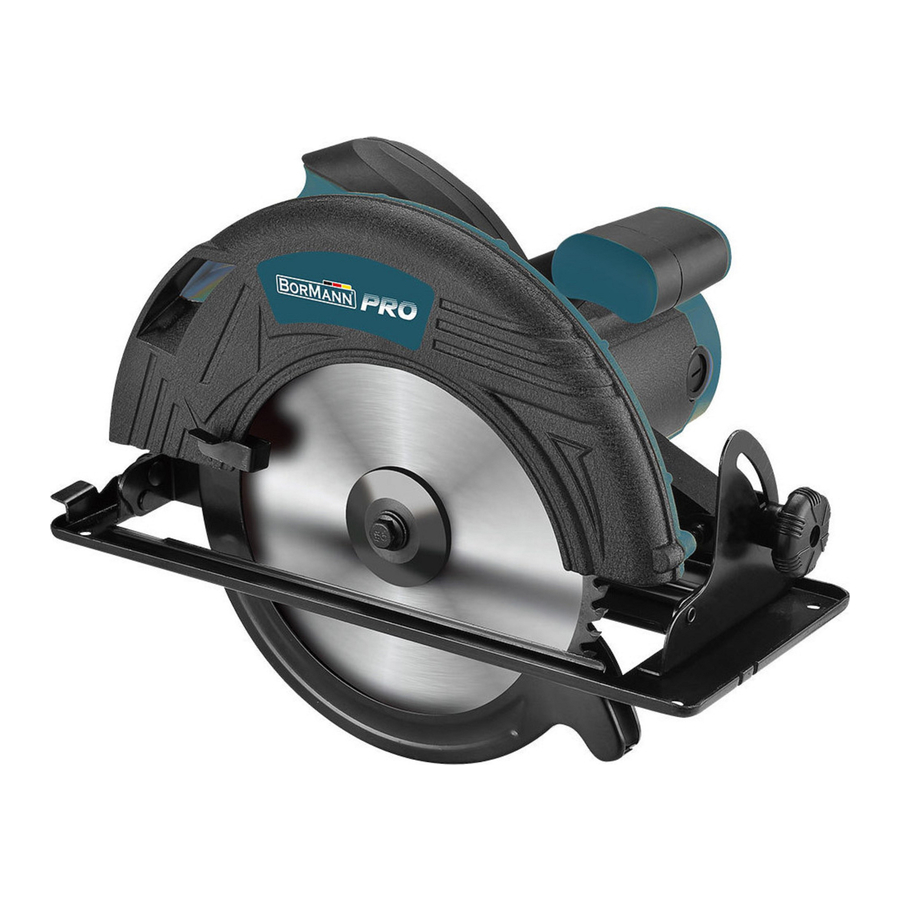
Summary of Contents for BorMann PRO BCS2350
- Page 1 BCS2350 | ΔΙΣΚΟΠΡΙΟΝΟ Μετάφραση του πρωτοτύπου των Owner’s manual οδηγιών χρήσης www.BormannTools.com...
- Page 2 Γενικές οδηγίες ασφαλείας Φυλάξτε όλες τις οδηγίες ασφαλείας για μελλοντική χρήση. 1) Ασφάλεια χώρου εργασίας • Κρατήστε το χώρο εργασίας σας καθαρό και με καλό φωτισμό. Οι ακατάστατοι ή σκοτεινοί χώροι μπορεί να προκαλέσει τραυματισμούς. Μην λειτουργείτε τα ηλεκτρικά εργαλεία σε εκρηκτικές ατμόσφαιρες, όπως σε χώρους με εύφλεκτα υλικά, •...
- Page 3 4) Χρήση και συντήρηση εργαλείου • Μην υπερφορτώνετε το μηχάνημα. Χρησιμοποιήστε το κατάλληλο εργαλείο για την κατάλληλη εργασία. Το σωστό εργαλείο θα κάνει την εργασία πιο αποδοτικά και με μεγαλύτερη ασφάλεια στο ρυθμό για το οποίο σχεδιάστηκε. Μην χρησιμοποιείτε το μηχάνημα εάν ο διακόπτης δεν λειτουργεί. Οποιοδήποτε μηχάνημα που δεν μπορεί •...
- Page 4 Κατά την επανεκκίνηση του εργαλείου, τοποθετήστε το εργαλείο στην ευθεία της εγκοπής της τομής αφού • πρώτα όμως βεβαιωθείτε ότι δεν έρχονται τα δόντια του δίσκου σε επαφή με το υλικό. Αν μπλοκαριστεί δίσκος στο υλικό μπορεί να προκληθούν λακτίσματα και άλλες αντιδράσεις. •...
- Page 5 Βάση Εξωτερική ροδέλα σύσφιξης Βίδα συγκράτησης του δίσκου κοπής Δίσκος κοπής Κινούμενος προφυλακτήρας Λαβή κινούμενου προφυλακτήρα (σε συγκεκριμένα μοντέλα) Έξοδος απομάκρυνσης της σκόνης Μοχλός ρύθμισης του βάθους κοπής Μοχλός ρύθμισης της κλίσης κοπής Κουμπί ασφάλισης της σκανδάλης Διακόπτης ενεργοποίησης/απενεργοποίησης (ON/OFF) Δευτερεύουσα...
- Page 6 Ρύθμιση βάθους κοπής (εικ.5) 1. Ξεσφίξτε τον μοχλό ρύθμισης βάθους κοπής (8) 2. Τοποθετήστε το εργαλείο με την βάση του στην άκρη του υλικού που πρόκειται να κόψετε και ρυθμίστε το βάθος κοπής σύμφωνα με το είδος της εργασίας. Χρησιμοποιήστε την διαγραμμισμένη κλίμακα για να...
- Page 7 Διαμόρφωση εσοχών 1. Αποσυνδέστε το καλώδιο τροφοδοσίας του εργαλείου από την πρίζα παροχής ηλεκτρικού ρεύματος προτού ξεκινήσετε τυχόν ρυθμίσεις. Ρυθμίστε το βάθος κοπής ανάλογα με την επιφάνεια του πάχους του δίσκου και το πλάτος της σχεδιασμένης γραμμής κοπής, στην επιφάνεια του υλικού που πρόκειται να κόψετε, έτσι ώστε να έχετε...
- Page 8 c) Do not expose power tools to rain or wet WARNING:Read all safety warnings conditions. Water entering a power tool will and all instructions. Failure to follow the increase the risk of electric shock. d) Do not abuse the cord. Never use the warnings and instructions may result in electric shock, fire and/or serious injury.
- Page 9 protection used for appropriate conditions better and safer at the rate for which it was will reduce personal injuries. designed. b) Do not use the power tool if the switch c) Prevent unintentional starting. Ensure the switch is in the off-position before does not turn it on and off.
-
Page 10: Specific Safety Rules
straight edge guide. This improves the operations different from those intended could result in a hazardous situation. accuracy of cut and reduces the chance of 5) Service blade binding. Have your power tool serviced by a g) Always use blades with correct size and qualified repair person using only identical shape (diamond versus round) of arbor replacement parts. - Page 11 on the saw and position your arms to produce narrow kerf causing excessive resist kickback forces. Position your friction, blade binding and kickback. Blade depth and bevel adjusting body to either side of the blade, but not in line with the blade. Kick back locking levers must be tight and secure could cause the saw to jump backwards, before making cut.
-
Page 12: Future Use
and as soon as blade enters the Technical Specification: material, the lower guard must be released. For all other sawing, the Rated voltage 230V lower guard should operate Rated frequency 50HZ automatically. Rated power (W) 2300w d) Always observe that the lower guard is No load speed (r/min) 3300rpm covering the blade before placing saw... - Page 13 11. ON/OFF switch outer flange (2). 12. Auxiliary handle 5. Raise the lower guard (5) by using the ASSEMBLY lever for lower guard (6), and then Important: Prior to any assembly and remove the saw blade. adjustment always unplug the tool. 6.
-
Page 14: Operation
Angle adjustment (Fig. 6) 4 To release the trigger and turn the tool off. OPERATION General cutting 1. When starting, always hold the saw handle with one hand and the auxiliary handle (6) with the other hand. Never force the saw but maintain a light and continuous pressure after completing the cut allow the saw to come to a 1. - Page 15 Never pull the saw backward since the blade 2. Motor ventilation vents and switch will climb out of the cut and kickback will levers must be kept clean and free occur. Turn the saw around and finish the of foreign matter. Do not attempt to clean by inserting pointed cut in a normal manner, sawing forward.
- Page 16 battery capacity ,we recommend available through the after-sales the battery to be completely service organization or qualified discharged every one month and professional person. CAUTION: The brushes must always be fully recharged again .Only store with a fully charged battery and replaced in pairs.


Need help?
Do you have a question about the PRO BCS2350 and is the answer not in the manual?
Questions and answers