Advertisement
Quick Links
INSTALLATION INSTRUCTIONS
GUIDE D'INSTALLATION
GUÍA DE INSTALACIÓN
Read all instructions carefully before proceeding.
Lire attentivement toutes les instructions avant de commencer
l'installation.
Leer detenidamente todas las instrucciones antes de comenzar
la instalación.
IMPORTANT
• Record the serial number
IMPORTANT
• Noter le numéro de série
IMPORTANTE
• Registre el número de serie
FOR RIGHT AND LEFT SIDE DOOR INSTALLATION
(LEFT SIDE SHOWN)
POUR INSTALLATION DE PORTE CÔTÉ DROIT ET GAUCHE
(CÔTÉ GAUCHE ILLUSTRÉ)
PARA LA INSTALACIÓN DE LA PUERTA DEL LADO DERECHO E IZQUIERDO
(SE MUESTRA INSTALACIÓN AL LADO IZQUIERDO)
MODEL • MODÈLE • MODELO
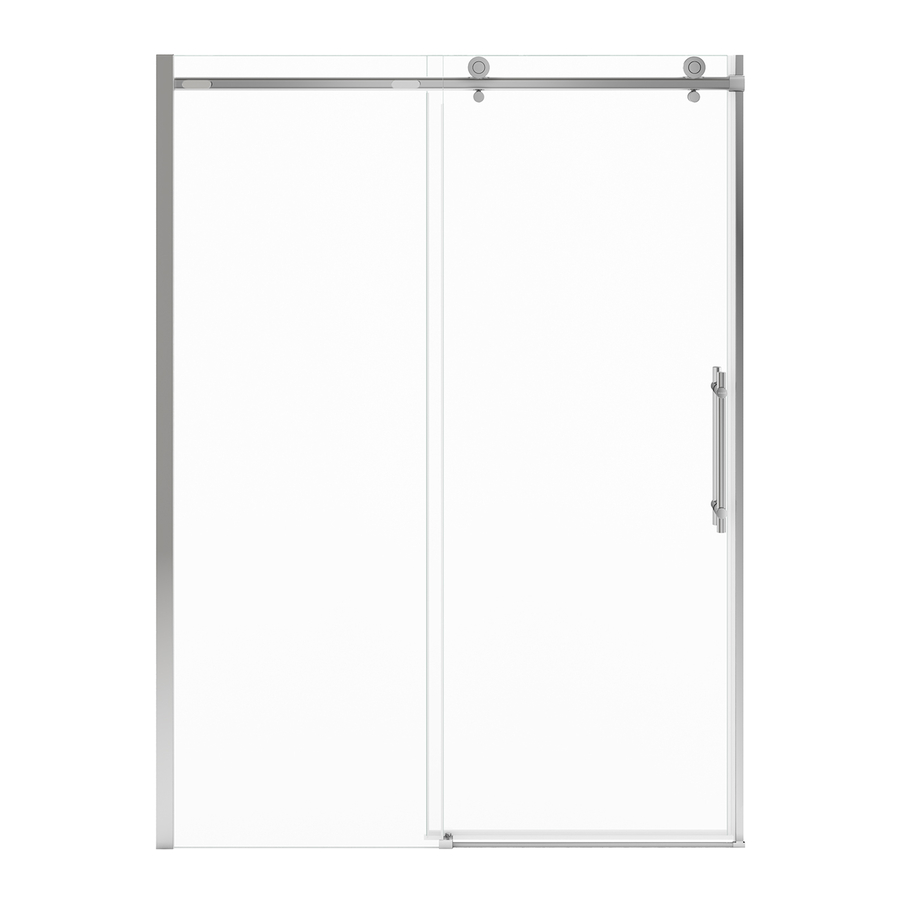
Slider shower door
Porte de douche coulissante
Puerta corrediza de ducha
137420
SAVE THIS GUIDE FOR FUTURE REFERENCE.
CONSERVER POUR UN USAGE ULTÉRIEUR.
CONSERVE ESTE MANUAL COMO REFERENCIA.
Serial number • Numéro de série • Número de Serie
Door
Maintenance guide p.18
Guide d'entretien p.18
Guía de mantenimiento p.18
Advertisement

Subscribe to Our Youtube Channel
Related Manuals for MAAX 137420


Summary of Contents for MAAX 137420
- Page 1 (SE MUESTRA INSTALACIÓN AL LADO IZQUIERDO) MODEL • MODÈLE • MODELO Slider shower door Porte de douche coulissante Puerta corrediza de ducha 137420 Maintenance guide p.18 Guide d'entretien p.18 Guía de mantenimiento p.18 Read all instructions carefully before proceeding. SAVE THIS GUIDE FOR FUTURE REFERENCE.
- Page 2 PARTS PIÈCES PIEZAS AND COMPONENTS ET COMPOSANTES Y COMPONENTES...
- Page 3 PARTS PIÈCES PIEZAS AND COMPONENTS ET COMPOSANTES Y COMPONENTES 2.5mm...
- Page 4 PARTS PIÈCES PIEZAS AND COMPONENTS ET COMPOSANTES Y COMPONENTES DOOR | PORTE | PUERTA Part Nom de la pièce Pieza Cant. Door glass panel Panneau de porte en verre Panel de puerta en vidrio Fixed glass panel Panneau de verre fixe Panel fijo Wall jamb Montant mural...
-
Page 5: Tools Outils
TOOLS OUTILS HERRAMIENTAS REQUIRED REQUIS NECESARIAS Electric drill Level Pencil Perceuse électrique Niveau Crayon Taladro eléctrico Nivel Lápiz ¼'' ceramic drill bit 15/64" drill bit Mèche à céramique Mèche de 15/64po Clear silicone sealant ¼ po. Broca de 15/64" Silicone claire Broca para Hand-file ceramica... - Page 6 Seuil VUE DE CÔTÉ Umbral 1 3/4" VISTA LATERAL Code Description Threshold 137420 Odyssey Slider door 57"-59 1/2" x 78" 57" - 59 1/2" 27 7/8" 24 1/2" - 25" Seuil Umbral - Door wall adjusment = 5/8'' All dimensions are approximate. Structure measurements must be verified against the unit to ensure proper fit.
- Page 7 BEFORE AVANT ANTES YOU BEGIN DE COMMENCER DE COMENZAR Double the studs (2x4) where the wall jambs will be installed. Doubler les montants de bois (2x4) là où les montants muraux seront installés. Duplique los montantes (2x4) en los lugares en los que se instalarán las jambas murales. Doubled stud Montant double Montante doble...
- Page 8 Parts required: Pieces requis: Partes requeridas: WALL JAMB INSTALLATION INSTALLATION DU MONTANT MURAL INSTALACIÓN DEL MONTANTE MURAL A. Place the wall jamb on the the threshold and against the shower wall aligned with the end of the radius of the base. Verify that is leve- led.
- Page 9 Parts required: Pieces requis: Partes requeridas: FIXED PANEL INSTALLATION INSTALLATION DU PANNEAU FIXE INSTALACIÓN DEL PANEL FIJO A. Place the door panel inside the shower. Slide the U-shaped gasket in the wall jamb with the long side facing the outside. Insert glass inside wall jamb.
- Page 10 Parts required: 2.5mm Pieces requis: Partes requeridas: HEADER INSTALLATION INSTALLATION DU RAIL INSTALACIÓN DEL RIEL A. Insert the wall bracket on the header. Temporarily assemble the header to the fixed panel with the header bracket and the tightening block. Verify that the header is leveled. Slide the bracket against the wall.
- Page 11 Parts required: Pieces requis: 2.5mm Partes requeridas: HEADER INSTALLATION INSTALLATION DU RAIL INSTALACIÓN DEL RIEL 100% C. Assemble the header to the fixed panel with the header bracket and the tightening block. Verify that the header is leveled. There is a 2" (50mm) adjustment on the header brackets. Slide the wall bracket against the wall.
- Page 12 Parts required: Pieces requis: Partes requeridas: DOOR INSTALLATION INSTALLATION DE LA PORTE INSTALACIÓN DE LA PUERTA A. Lift the door and mount the rollers on the header. Install two anti-jumps on the lower holes of the door. A. Soulever la porte et monter les roulettes sur le rail. Installer deux anti-sauts sur les trous inférieurs de la porte.
- Page 13 Parts required: Pieces requis: 2.5mm Partes requeridas: HANDLE INSTALLATION INSTALLATION DE LA POIGNÉE OUTSIDE EXTÉRIEUR INSTALACIÓN DE LA MANIJA EXTERIOR A. Install the handle on the door with the logo facing the outside as shown. A. Installer la poignée sur la porte avec le logo face à l'extérieur tel que démontré.
- Page 14 Parts required: Pieces requis: Partes requeridas: DOOR ADJUSTMENT AJUSTEMENT DE LA PORTE AJUSTE DE LA PUERTA A. Open the door and verify it closes seamlessly. Also verify that the gap when opened on bottom and top is equal. If not, slightly loosen the screw on one of the rollers and and anti jump and adjust until the door closes perfectly and the space between the top and the bottom is equal.
- Page 15 Parts required: Pieces requis: Partes requeridas: SOFT CLOSE ADJUSTMENT AJUSTEMENT DU GLISSEMENT EN DOUCE AJUSTE DEL SOFT CLOSE A. When closing the door, if there is a gap between the magne- INSIDE tic seals or if the Soft Close cannot close completely adjust the INTÉRIEUR Soft Close by loosening the screws as shown in A1.
- Page 16 Parts required: Pieces requis: Partes requeridas: FINISHING DETAILS DÉTAILS DE FINITION DETALLES DE ACABADO A. Completely open the door. Remove the tape film under header caps and then Install on the sides of the Soft Close ≥2mm ≥2mm leaving a gap of more or less 2mm (3/32"). A.
- Page 17 Parts required: Pieces requis: Partes requeridas: APPLICATION OF THE SILICONE APPLICATION DU SILICONE APLICACIÓN DE LA SILICONA B. From outside the shower apply a bead of silicone along the wall jambs, the door guide, the threshold on the base and around the threshold bar cap. Also around the bracket at the top as shown.
-
Page 18: Maintenance | Entretien | Mantenimiento
MAINTENANCE | ENTRETIEN | MANTENIMIENTO Right after installation Check me! Juste après l'installation Cochez-moi! Justo después de la instalación Marcarme! 1. Open the door and verify it closes seamlessly. Also verify that the gap when opened on bottom and top is equal. If not, slightly loosen the screw on one of the rollers and and anti jump and adjust until the door closes perfectly and the space between the top and the bottom is equal. - Page 19 MAINTENANCE | ENTRETIEN | MANTENIMIENTO Every 6 months Check me! Chaque 6 mois Cochez-moi! Cada 6 meses Marcarme! 1. Open the door and verify it closes seamlessly. Also verify that the gap when opened on bottom and top is equal. If not, slightly loosen the screw on one of the rollers and and anti jump and adjust until the door closes perfectly and the space between the top and the bottom is equal.
-
Page 20: Limited Warranty - United States
LIMITED WARRANTY — UNITED STATES MAAX Bath Inc. offers express limited warranty on each of its products. This warranty extends only to the original owner/end-user for personal household use. For commercial uses, additional limitations apply. For accessing product Limited warranty please visit: www.maax.com/us-warranty...
Need help?
Do you have a question about the 137420 and is the answer not in the manual?
Questions and answers