Table of Contents
Advertisement
Quick Links
227541
OWNER'S MANUAL AND SAFETY INSTRUCTIONS
SAVE THIS MANUAL: KEEP THIS MANUAL FOR SAFETY WARNINGS, PRECAUTIONS, ASSEMBLY,
OPERATING, INSPECTION, MAINTENANCE AND CLEANING PROCEDURES. WRITE THE PRODUCT'S
SERIAL NUMBER ON THE BACK OF THE MANUAL NEAR THE ASSEMBLY DIAGRAM (OR MONTH
FOR QUESTIONS PLEASE CALL OUR CUSTOMER SUPPORT: (909) 628 4900 MON-FRI 9AM TO 3PM PST
FOR QUESTIONS PLEASE CALL OUR CUSTOMER SUPPORT: (909) 628 4900 MON-FRI 9AM TO 3PM PST
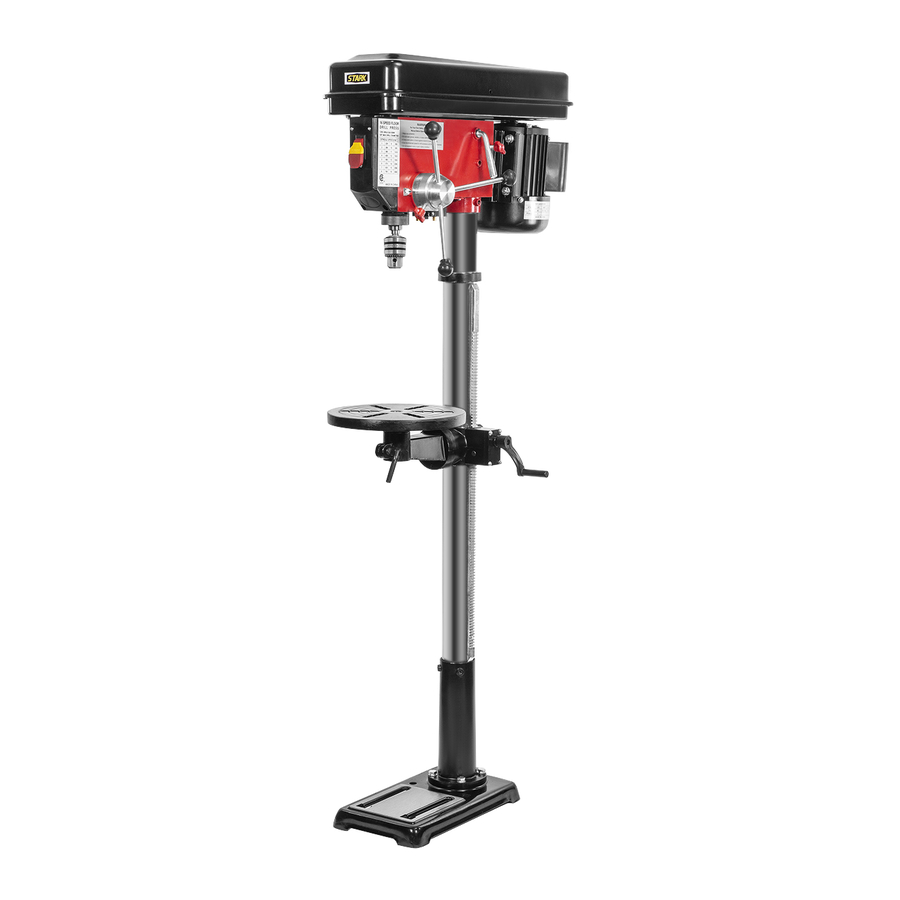
16 SPEED DRILL PRESS
AND YEAR OF PURCHASE IF PRODUCT HAS NO NUMBER).
ITEM: 53500
Advertisement
Table of Contents

Subscribe to Our Youtube Channel
Related Manuals for Stark 53500


Summary of Contents for Stark 53500
- Page 1 16 SPEED DRILL PRESS ITEM: 53500 227541 OWNER’S MANUAL AND SAFETY INSTRUCTIONS SAVE THIS MANUAL: KEEP THIS MANUAL FOR SAFETY WARNINGS, PRECAUTIONS, ASSEMBLY, OPERATING, INSPECTION, MAINTENANCE AND CLEANING PROCEDURES. WRITE THE PRODUCT’S SERIAL NUMBER ON THE BACK OF THE MANUAL NEAR THE ASSEMBLY DIAGRAM (OR MONTH AND YEAR OF PURCHASE IF PRODUCT HAS NO NUMBER).
-
Page 2: Important Safety Information
IMPORTANT SAFETY INFORMATION GENERAL SAFETY WARNINGS Read all safety warnings and instructions. Failure to follow the warnings and instructions may result in electric shock, fire and/or serious injury. Save all warnings and instructions for future reference. SAFETY The warnings, precautions, and instructions discussed in this instruction manual cannot cover all possible conditions and situations that may occur. - Page 3 IMPORTANT SAFETY INFORMATION USE PROPER EXTENSION CORD. Make sure your extension cord is in good condition. When using an extension cord, be sure to use one heavy enough to carry the current your product will draw. An undersized cord will cause a drop in line voltage resulting in loss of power and overheating. Table 1 shows the correct size to use depending on cord length and nameplate ampere rating.
- Page 4 IMPORTANT SAFETY INFORMATION Use Only Accessories Designed For This Drill Press To Reduce The Risk of Serious Injury From Thrown Broken Parts Or Work Pieces When cutting large diameter holes: - Clamp the workpiece firmly to the table. Otherwise the cutting may grab and spin it at high speed. - Use only one piece, cup-type, hole cutters.
- Page 5 IMPORTANT SAFETY INFORMATION To prevent the workpiece from being torn from your hands, spinning of the tool, shattering the tool or being thrown, always properly support your work so it won’t shift or bind on the tool: - ALWAYS position backup material (use beneath the workpiece) to contact the left side of the column. - Whenever possible, position the workpiece to contact the left side of the column –...
-
Page 6: Electrical Safety Information
ELECTRICAL SAFETY INFORMATION NOTE: The adapter illustrated is for use only if you already have a properly grounded 2-prong outlet. NOTE: In Canada the use of a temporary adapter is not permitted by the Canadian Electrical Code WIRE SIZES NOTE: Make sure the proper extension cord is used and is in good condition. -
Page 7: Parts Diagram
PARTS DIAGRAM... -
Page 8: Parts List
PARTS LIST... - Page 9 ASSEMBLY WARNING: For your own safety, never connect plug to power source until all assembly steps are completed. TOOLS NEEDED TO ASSEMBLE 6” or 8” adjustable wrench, #2 Phillips stubby screwdriver, 16 oz rubber mallet and combination square. ASSEMBLY OF BASE/COLUMN 1.
-
Page 10: Installing The Table
ASSEMBLY INSTALLING THE TABLE 1. Locate table (#11) and remove the protective paper. 2. Place the table on the arm of bracket assembly (Fig. 1). 3. Align the table to base. 4. Secure table to arm by tightening clamp bolt. (Fig. 2) INSTALLING THE HEAD ASSEMBLY 1. -
Page 11: Assembly And Operation
ASSEMBLY and OPERATION ADJUSTING THE TABLE TO HEAD 1. Insert a drill bit (1/4” or larger) approximately 3” in length into chuck and tighten with chuck key. 2. With table raised to working height and locked on the column, place combination square flat on the table beside drill bit (Fig. 1). 3. -
Page 12: Operation
OPERATION BELT TENSION ADJUSTMENT For proper belt tension: Use 10 lbs pressure or hand pressure on the belt as shown below. The distance is 1/2” (13mm)+10%. INSTALLING DRILL BIT Insert bit into chuck jaws about 1” (25mm). When using a small bit do not insert it so far that the jaws touch the arbor of the drill. -
Page 13: Operation And Maintenance
OPERATION and MAINTENANCE QUILL RETURN SPRING may be necessary to adjust your quill return spring if the tension is such that the quill returns either too rapidly or too slowly. 1. Disconnect the drill press from power source. 2. Move the stop nuts down to lowest position and lock in place with wrench to prevent quill from dropping while tensioning spring (as figure). -
Page 14: Troubleshooting
TROUBLESHOOTING... -
Page 15: Warranty
WARRANTY PLEASE READ THE FOLLOWING CAREFULLY THE MANUFACTURER AND/OR DISTRIBUTOR HAS PROVIDED THE PARTS LIST AND ASSEMBLY DIAGRAM IN THIS MANUAL AS A REFERENCE TOOL ONLY. NEITHER THE MANUFACTURER OR DISTRIBUTOR MAKES ANY REPRESENTATION OR WARRANTY OF ANY KIND TO THE BUYER THAT HE OR SHE IS QUALIFIED TO MAKE ANY REPAIRS TO THE PRODUCT, OR THAT HE OR SHE IS QUALIFIED TO REPLACE ANY PARTS OF THE PRODUCT.
Need help?
Do you have a question about the 53500 and is the answer not in the manual?
Questions and answers