Table of Contents
Advertisement
Quick Links
Advertisement
Table of Contents

Related Manuals for BRIO CLNLPOU320SCF2


Summary of Contents for BRIO CLNLPOU320SCF2
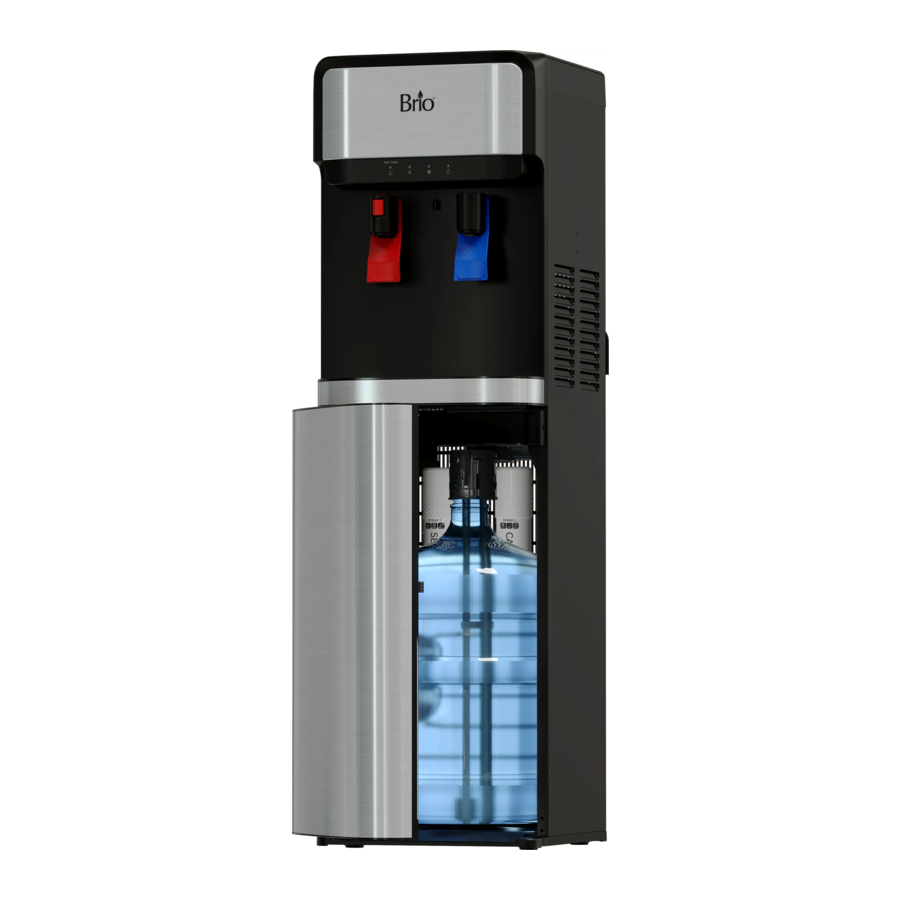
- Page 1 Water Dispenser Installation and Operation Manual Model No.: CLNLPOU320SCF2...
-
Page 2: Table Of Contents
Table of Contents Safety Information � � � � � � � � � � � � � � � � � � � � � � � � � � � � � � � � � � � � � � � � � � � � � � � � � � � � � � � � � � � � � � � � � � � 3 Intended Use �... -
Page 3: Safety Information
Safety Information WARNING: To reduce risk of injury and property damage, you must read this entire manual before assembling, installing, and operating the dispenser. WARNING: This product dispenses water at very high temperatures. Failure to use properly can cause personal injury. When operating this dispenser, always exercise basic safety precautions, including the following: •... -
Page 4: Intended Use
Intended Use This dispenser is intended to be used in household and similar applications such as: • Staff kitchen areas in shops, offices, and other working environments • Farm houses • Hotels, motels, and other types of residential environments • Bed-and-breakfast type environments •... -
Page 5: Indicator Panel Description
Indicator Panel Description 1� Power indicator – When illuminated, indicates that the dispenser is on. Self Clean When blinking, indicates that the self-cleaning feature is operating. 2� Hot water indicator light – When illuminated, indicates that the dispenser is heating water. 3�... -
Page 6: Install The Filters
3� Install the Filters Twist each filter (12 and 13) clockwise into the filter housings located inside the dispenser cabinet. The sediment filter (12) goes on the left, and the carbon filter (13) goes on the right. 4� Connect a Water Bottle IMPORTANT: To prevent dry heating, do NOT turn the red hot-water and green cold-water switches on the back of the unit to the On position until you complete the steps in this procedure. -
Page 7: Flush The Filters
D� Slide the water bottle into the water bottle cabinet, place the funnel beside the water bottle for future use, and close the cabinet door. E� Plug the unit into a wall outlet, turn the green cold-water switch and the red hot-water switch to the On position. Wait 5 minutes for the water tanks to fill with water before using the dispenser. -
Page 8: Dispense Hot Water And Activate Child Safety Lock
switching the red hot-water switch on the back of the unit to the Off position. NOTE: Water will take approximately 15–20 minutes after switching on to reach its hottest temperature. The hot water indicator light will turn off once the water has been fully heated. 1�... -
Page 9: Cleaning And Maintenance
Problem Solution • Ensure the bottle is installed correctly. The bottle is leaking. • Check to see if the bottle is cracked or broken. If so, replace the bottle with a new one. • Check to see if the bottle is empty and refill if necessary. The dispenser is not •... -
Page 10: Filter Replacement Schedule
Filter Replacement Schedule Filter Type Replacement Schedule Function Performs a coarse filtration of original water. Removes Sediment 6 months or 950 gallons (3596 liters) mud, sand, iron, rust, suspensions, and impurities. Carbon 6 months or 950 gallons (3596 liters) Reduces chlorine taste and odor, lead, and cysts. Replace the Filters IMPORTANT: Only replace the filters with new filters designed for this dispenser. -
Page 11: Warranty
Empty and clean the drip tray and grid as needed. Warranty Brio (“Vendor”) warrants to the original purchaser of the Brio Water Coolers (the “Product”), and to no other person, that if the Product is assembled and operated in accordance with the printed instructions accompanying it, then for a period of one (1) year from the date of purchase, all parts in the Product shall be free from defects in material and workmanship. - Page 12 Contact Us Call: +1 844-257-4103 ©2021 DTWUSA...
Need help?
Do you have a question about the CLNLPOU320SCF2 and is the answer not in the manual?
Questions and answers