Table of Contents
Advertisement
Quick Links
Advertisement
Table of Contents

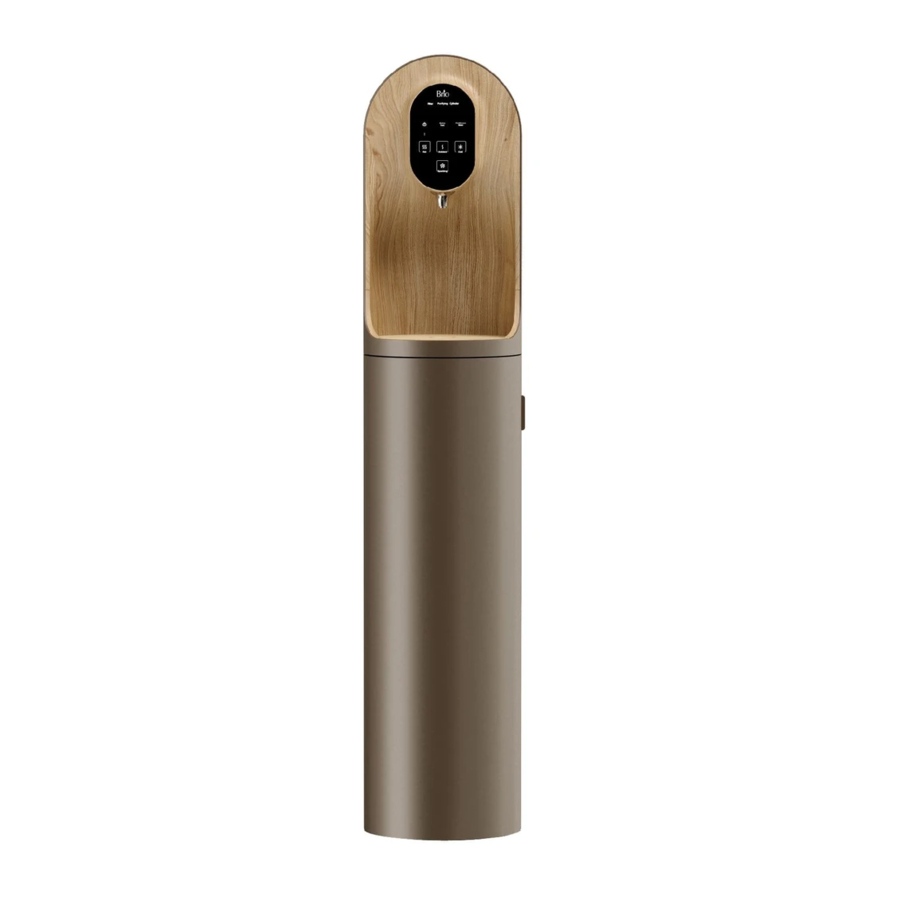
Summary of Contents for BRIO G20
- Page 1 Point of Use Water Dispenser Setup Manual Model No.: CLOG20RO...
-
Page 2: Table Of Contents
Table of Contents Safety Information . . . . . . . . . . . . . . . . . . . . . . . . . . . . . . . . . . . . . . . . . . . . . . . . . . . . . . . . . . . . . . . . . . . . .3 Intended Use . -
Page 3: Safety Information
Safety Information WARNING: To reduce risk of injury and property damage, you must read this entire guide before assembling, installing and operating the dispenser . WARNING: This product dispenses water at very high temperatures . Failure to use properly can cause personal injury . -
Page 4: Intended Use
Intended Use This appliance is intended to be used in household applications with 3 - 5 people (RO unit) and 5 - 10 people (UV unit) such as: • Staff kitchen areas in small shops and offices Farm houses • •... -
Page 5: Indicator Panel Description
Indicator Panel Description Filter indicator light – When illuminated, indicates the all-in-one filter needs to be changed . Filter Purifying Cylinder Purifying indicator light – When illuminated, indicates that the UV cleaning feature is cleaning the dispenser . Reheat Continuous Water Cylinder indicator light –... -
Page 6: Materials Needed
Materials Needed Wrench Electric drill with 3/8 in . drill bit Installation 1 . Determine Installation Location Place the dispenser upright . Locate the dispenser on a hard and level surface in a cool shaded location near a grounded wall outlet . NOTICE: Do NOT plug in the power cord until the entire installation section is completed . -
Page 7: Make The Reverse Osmosis Waste Connections
Insert the shut-off valve with tube (B) straight into the quick connector piece of the feed water adapter (E) . Gently tug on the tube (B) to ensure a secure connection with the feed water adapter (E) . 3 . Make the Reverse Osmosis Waste Connections The “RO”... -
Page 8: Install/Replace The Carbon Cylinder
To make the Reverse Osmosis (RO) drain connections: Determine the location for your drain saddle (F) and then make a mark on the drain pipe for the opening (1) . Use your drill and a 1/4 in . drill bit to drill a hole at the mark, ensuring you only drill through one side of the drain pipe . -
Page 9: Install A Carbon Tank
5 . Install a Carbon Tank For a longer lasting supply of sparkling water, you can opt to connect a CO tank to your dispenser . Simply connect the CO tank to the gas inlet connection (12) at the back of the dispenser . Sparkling Water Specifications Sparkling Capacity (<10℃): ≥... -
Page 10: Operation
Operation IMPORTANT: This unit has been tested and sanitized prior to packing and shipping . During transit, dust and odors can accumulate in the tank and lines . Dispense and dispose at least one quart of water prior to drinking any water . Turn the Dispenser On/Off IMPORTANT: Before you activate the hot and cold switches, ensure water has filled the tanks inside the... -
Page 11: Troubleshooting
Troubleshooting Problem Solution Make sure the power cord is properly connected to a working • outlet . • Make sure the back of the dispenser is at least 20 cm from a wall The cold water is not and there is free airflow on all 20 cm sides of the dispenser . cold . -
Page 12: Replace The Filters
Replace the Filters IMPORTANT: Only replace the filters with new filters designed for this dispenser . Any other type of filter will damage the machine and void any warranty . When a filter is approaching the end of its life (approximately 12 months), the filter indicator light starts to blink . When the filter has reached the end of its life, the indicator light remains red . -
Page 13: Warranty
Warranty Brio (“Vendor”) warrants to the original purchaser of the Brio Water Coolers (the “Product”), and to no other person, that if the Product is assembled and operated in accordance with the printed instructions accompanying it, then for a period of one (1) year from the date of purchase, all parts in the Product shall be free from defects in material and workmanship . - Page 14 Contact Us Call: +1 844-257-4103 ©2020 DTWUSA...


Need help?
Do you have a question about the G20 and is the answer not in the manual?
Questions and answers