Advertisement
Available languages
Available languages
Quick Links
HEATIT Z-TRM3
Quick Guide
Ver 2020-A
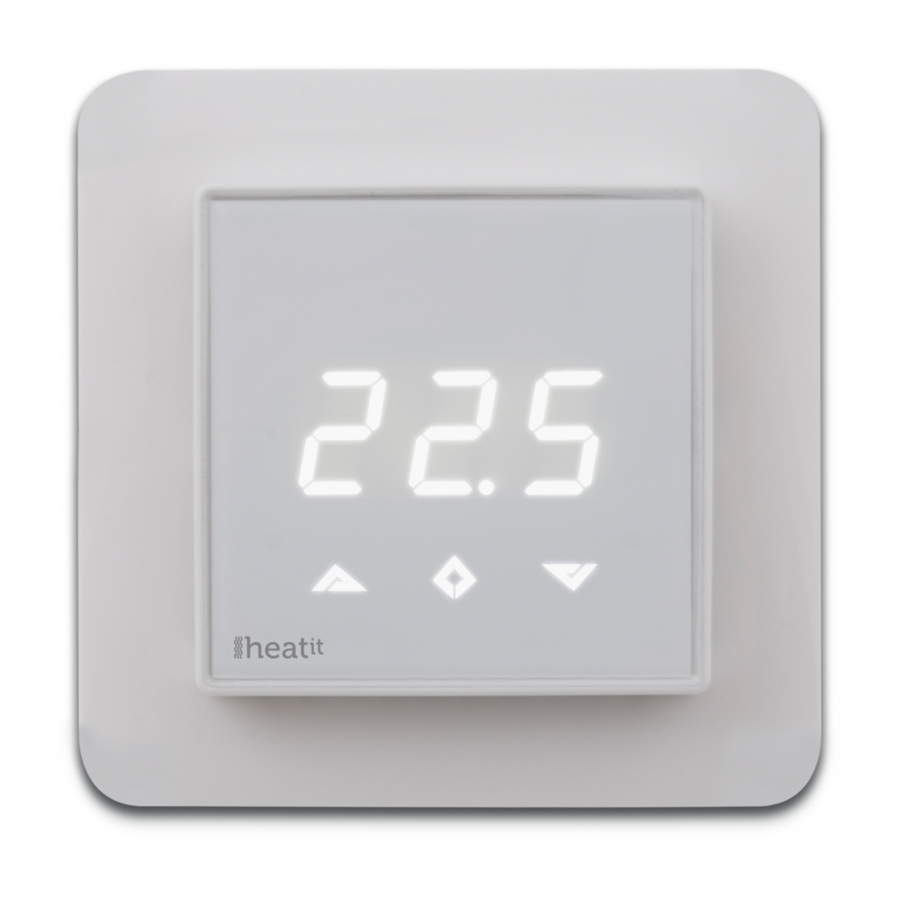
INTRODUCTION
Heatit Z-TRM3 is an electronic thermostat for electrical floor
heating, designed to be mounted in a standard flush box. The
thermostat has a built-in Z-Wave chip that can be connected with
Home Automation systems. Heatit Z-TRM3 is equipped with a
single pole relay and fits into System 55 frames. The thermostat
can withstand a load of max 16A /3600W at 230V. The thermostat
may be used for water based heating if the thermostat is linked
with the Heatit Z-Water.
NB! If the sensor mode is changed to A or AF mode then a room
sensor compensation process will start, which limits maximum
power output to 75%. The thermostat adapts to the environment
within a few days. No internal sensor calibration should be
performed during the first few days.
INSTALLATION
Use e.g. a small slotted screwdriver. Start by carefully removing the
front cover by pushing the release springs. The front cover and the
5
4
3
frame may now be removed. Connect the wires to the thermostat
terminals: Use 1,5mm² or 2,5mm² according to load.
49,5mm
Read the full manual at:
manuals.heatit.com
HEATING (N)
N
L
HEATING (L)
FLOOR SENSOR
EXTERNAL SENSOR NTC type (10, 12, 15, 33 or 47kΩ). Standard 10kΩ.
Next, position the thermostat and fasten it onto the wall
mounting box using 2-4 screws. Position the frame, then position
and carefully press the front cover until it snaps in place. Check
that the front cover has snapped in place properly on both left
and right side. The front cover should now be firmly fixed on all
sides. To be able to to read the Power Metering, the load needs to
be connected to both heating L + N.
2
1
F
E
D
C
51,1mm
21,3mm 15,6mm
Heating cable connection (Neutral)
Power connection (Neutral) 230V
Power connection (Live) 230V
Heating cable connection
NTC type (10, 12, 15, 33 or 47kΩ). Standard 10kΩ.
51,1mm
Release spring
MULTIREG® Z-WAVE
1: Left 2: Center 3: Right
87mm
ADD/REMOVE
1.
Press Center (confirm) for 10 seconds. The display will show OFF.
2.
Press Right (down) 5 times till you see Con in the display.
3.
Now start the add/remove device process in your home
automation software.
4.
Start adding/removing mode by pressing Center (confirm)
for approximately 2 seconds.
Adding/removing mode is indicated in the display by rotating LED
segments in the display until the timeout occurs after 90 seconds,
or if the module has been added/removed in the network.
Confirmation will show Inc/EcL in the display. Leave programming
mode by choosing ESC in the menu. Your thermostat is now ready
for use with default settings.
TECHNICAL DATA
Protocol
Z-Wave - 868,4MHz
Chip
Z-Wave 500 chip
Rated voltage
230V 50/60Hz
Max load
3600W (resistive load)
750W self-limiting heating cable
Max current
16A
Power consumption
<2,0W
Ambient temperature
0°C to 40° (during operation)
Temperature range
5°C to 40°C
Hysteresis
0,3°C to 3,0°C (default 0,5°C)
Compatible with NTC
sensors with values
10, 12, 15, 22, 33 og 47 kΩ @ 25°C
IP Code
IP 21
Approvals
Z-Wave Plus, CE,
EN 60730-1
EN 60730-2-9
EMC 2014/30/EU
RoHS 2011/65/EU
LVD 2014/35/EU
Approved for use in bathrooms.
Heatit Controls AB can not be held liable for typographical errors, other errors or
omittances in our information. Product specifications may change without further notice.
All electrical installations must be carried out by a licensed electrician. The product must
be installed in accordance with national building codes and our installers manual.
Heatit Controls AB l Läkarvägen 4, 454 31 BRASTAD, SWEDEN
Phone: +47 61 18 77 77 l post@heatit.com – www.heatit.com
Advertisement

Related Manuals for Heatit Z-TRM3


Summary of Contents for Heatit Z-TRM3
- Page 1 Approved for use in bathrooms. MULTIREG® Z-WAVE Heatit Controls AB can not be held liable for typographical errors, other errors or omittances in our information. Product specifications may change without further notice. All electrical installations must be carried out by a licensed electrician. The product must be installed in accordance with national building codes and our installers manual.
- Page 2 (ikke krav om to-polet brudd). MULTIREG® Z-WAVE Heatit Controls AB tar forbehold om typografiske feil, andre feil eller mangler i vår informasjon. Det tas forbehold om feil oppgitte priser på produktene. Produkt- spesifikasjoner og priser kan endres uten forvarsel. Alle elektriske installasjoner 1: Venstre 2: Senter 3: Høyre...
Need help?
Do you have a question about the Z-TRM3 and is the answer not in the manual?
Questions and answers