Advertisement
Quick Links
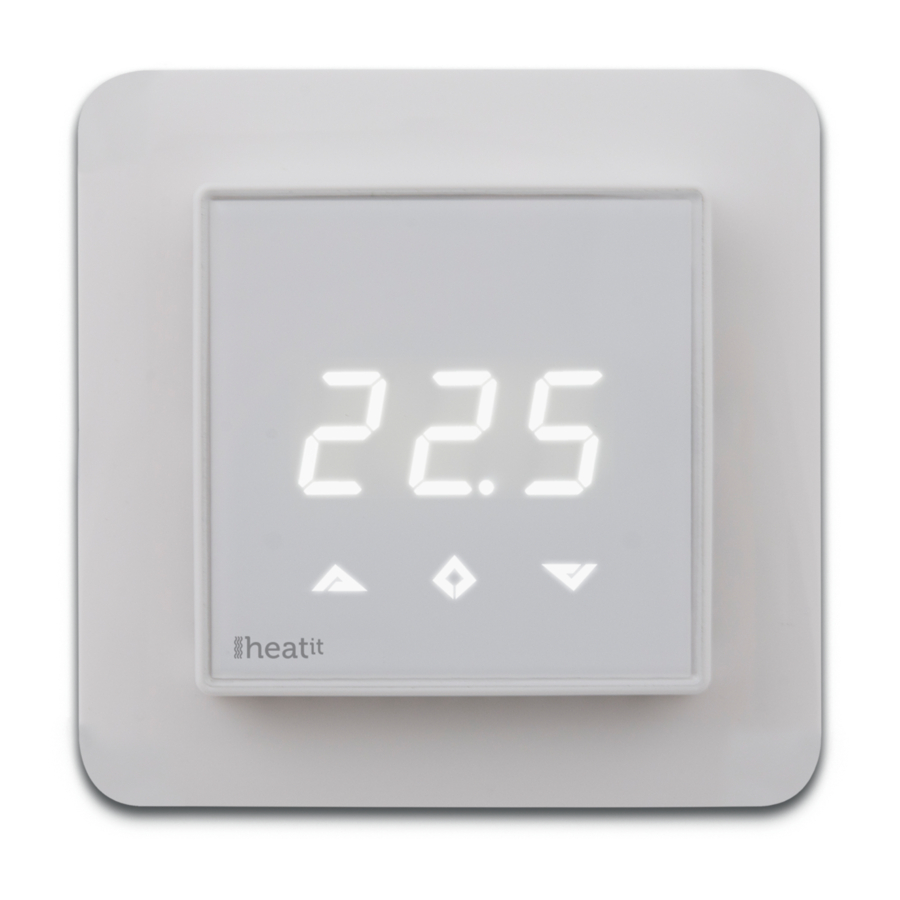
HEATIT
Z-TRM3
Installers manual
TABLE OF CONTENTS
1 Introduction
2 Statement regarding products from multiple manufacturers
3 Behavior within the Z-Wave™ network
4 Quick Start
5 Installation
5.1 Controls
6 Add/Remove
6.1 Method 1: Standard (Manual)
6.2 Method 2: SmartStart (Automatic)
7 Factory Reset
7.1 Startup
8 Principles of regulation
9 Programming thermostat
10 Temperature shown in display
11 Standby and main screen
12 Choice of sensor
13 Selecting the right Ohm value for your external floor sensor
14 Calibration
15 Brightness
16 Hysteresis (dIF)
17 Min/Max temperature settings
18 Fast functions from Standby / Main Screen
18.1 Display on/off (don/doF)
18.2 Child lock (Loc)
19 Error codes
20 QR-Code placement (DSK)
21 Security
22 Node Information Frame
23 Associations
23.1 Setting and removing associations
23.2 Multichannel support
23.3 No multichannel support
23.4 Association groups
24 Configuration parameters
25 Command class specifications
26 Product information
1. INTRODUCTION
Firmware 4.0
Heatit Z-TRM3 is an electronic thermostat for electrical floor heating,
designed to be mounted in a standard flush box. The thermostat has
01.01.2021
a built-in Z-Wave chip that can be connected with Home Automation
Ver 2021-B
systems. Heatit Z-TRM3 is equipped with a single-pole relay and fits
into System 55 frames. The thermostat can withstand a load of max
16A /3600W at 230VAC.
NB! If the sensor mode is changed to A or AF mode then a room
sensor compensation process will start, which limits maximum power
output to 75%. The thermostat adapts to the environment within a
few days. No internal sensor calibration should be performed during
the first few days.
2. STATEMENT REGARDING PRODUCTS FROM MULTIPLE
Please read this before installation
This device may be used with all devices certified with the Z-Wave
Plus™ certificate and should be compatible with such devices
produced by any manufacturer. Every primary controller is different
depending on the manufacturer, their target audience and intended
use/application. Please review the functionalities implemented by the
primary controller you intend to use with our Z-Wave Plus certified
device to ensure that it provides the necessary controls to take full
advantage of our product's capabilities.
3. BEHAVIOR WITHIN THE Z-WAVE™ NETWORK
This device may be operated within any Z-Wave network with
Z-Wave-certified devices from other manufacturers. All non-battery-
operated nodes within the network will act as repeaters regardless of
manufacturer to increase the reliability of the network. On delivery, the
device does not belong to any Z-Wave network.
The device needs to be added to an existing network to communicate
with the other devices within it. Devices may also be removed from
a network. The add/remove processes are initiated by the primary
controller of the Z-Wave network.
4. QUICK START
1. Switch off the mains supply (disable the fuse).
2. Open the wall switch box.
3. Connect wires according to the labeling described in
4. After verifying the connections, switch the mains supply back on.
5. Set the primary controller in add mode (security/non-security).
6. Press and hold the center button until "OFF" is shown on the display
7. Press down button until you reach "CON", press and hold until the
8. The thermostat will display "INC" when the thermostat is successfully
NB! If adding/removing fails, Err (error) will appear.
MANUFACTURERS
chapter 5 "Installation".
(approx. 10 seconds).
display shows a rotating light pattern.
added.
Advertisement

Related Manuals for Heatit Z-TRM3


Summary of Contents for Heatit Z-TRM3
- Page 1 01.01.2021 a built-in Z-Wave chip that can be connected with Home Automation Ver 2021-B systems. Heatit Z-TRM3 is equipped with a single-pole relay and fits Installers manual into System 55 frames. The thermostat can withstand a load of max 16A /3600W at 230VAC.
-
Page 2: Installation
The device may only be added or removed from the network if the primary controller is in add/ remove mode. When the device is removed from the network, it will Z-TRM3 TF 058 NOT revert to factory settings. - Page 3 8. PRINCIPLES OF REGULATION The display brightness may be adjusted in this menu. Using Floor / External sensor (F, A2 or A2F-Mode) Con Activation of inclusion/exclusion mode. The thermostat uses temperature readings retrieved from the internal Hysteresis. ALo Setting lowest allowed temperature (limitation). sensor or external wired sensor to regulate heating.
- Page 4 23.2 Multichannel support By pressing the Left and Right (up and down) buttons for 10 seconds, Heatit Z-TRM3 has support for the Multichannel Command Class. This child lock will be activated, and no changes can be made. Trying to allows the thermostat to be perceived as many devices by the primary make changes causes the LOC text to appear on the display.
- Page 5 23.4 Association Groups PARA SHORT SIZE DESCRIPTION / DESCRIPTION With Multichannel support: (BYTE) NAME COMMENT VALUE OF VALUE Operation Device turned on mode or off THERMOSTAT DEVICE 1 THE MAIN THERMOSTAT DEVICE Heating mode Group 1 Lifeline. (Normally used by the Z-Wave Controller) Sends: Sensor Chooses which F-mode, floor sensor mode...
- Page 6 Besides the mandatory command classes, Heatit Z-TRM3 has support PARA SHORT SIZE DESCRIPTION / DESCRIPTION for the following command classes: (BYTE) NAME COMMENT VALUE OF VALUE Display Configures the 0-100 0 to 100% Basic command class brightness- brightness of the...
-
Page 7: Product Info
Plastic kit for Heatit (front and frame) Black RAL 9011 Heatit Controls AB can not be held liable for typographical errors, other errors or omittances in our information. Product specifications may change without further notice. All electrical installations must be carried out by a licensed...
Need help?
Do you have a question about the Z-TRM3 and is the answer not in the manual?
Questions and answers