Table of Contents
Advertisement
Quick Links
HEATIT
Z-TEMP2
Installers manual
TABLE OF CONTENTS
1.
Introduction
2.
Statement regarding products from multiple
manufacturers
3.
Behavior within the Z-Wave™ network
4.
Quick Start
5.
Installation
6.
7.
8.
9.
10.
11.
Child lock - Lock
12.
13.
14.
15.
16.
17.
18.
19.
20.
Firmware 1.2
01.12.2020
Ver 2020-B
1. INTRODUCTION
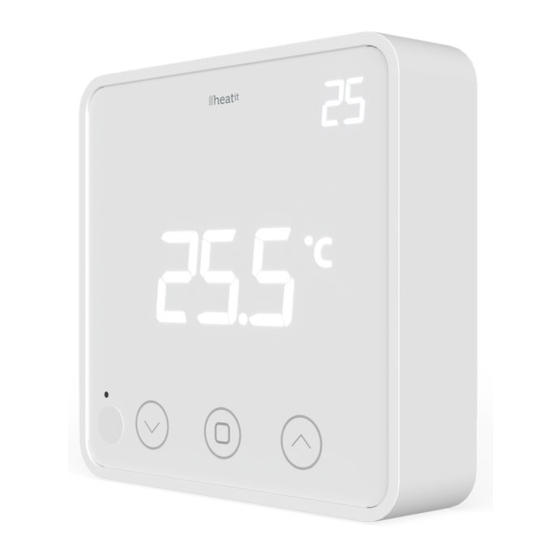
Heatit Z-Temp2 is a battery-operated thermostat designed for
use with water-based heating systems. Used in combination with
the Heatit Z-Water regulator, you can control your heating system
with a Z-Wave primary controller/gateway using Heatit Z-Water in
combination with one or several Heatit Z-Temp2.
2. STATEMENT REGARDING PRODUCT FROM MULTIPLE
MANUFACTURERS
Please read this before installation
This device may be used with all devices certified with the Z-Wave
Plus™ certificate and should be compatible with such devices
produced by other manufacturers. Every primary controller is different
depending on the manufacturer, their target audience and intended
use/application. Please review the functionalities implemented by
the primary controller you intend to use with our Z-Wave Plus
certified device to ensure that it provides the necessary controls
to take full advantage of our product's capabilities.
3. BEHAVIOR WITHIN THE Z-WAVE NETWORK
This product can be used in any Z-Wave network with other
Z-Wave certified devices from other manufacturers. All non-battery-
operated nodes within the network will act as repeaters regardless of
manufacturer to increase the reliability of the network. On delivery,
the device does not belong to any Z-Wave network. The device needs
to be added to an existing network to communicate with the devices
of this network. You can also remove devices from a network. Both
adding and removing processes are initiated by the primary controller
of the Z-Wave network.
This controller will enter a mode for adding or removing devices.
Please refer to your primary controller/gateway manual on how to set
your controller to add or remove mode. The device can only be added
or removed from the network if the primary controller is in add/
remove mode. When the device is removed from the network, the
device will revert to factory default settings.
4. QUICK START
1.1.
Install the batteries (as stated in the technical specification).
1.2.
Install the device on a flat vertical surface using screws or
double-sided tape
1.3.
Set the controller/gateway in add mode (security/non-
security).
1.4.
Press the link button 3 times in a rapid sequence.
1.5.
The thermostat will display "INC" when the thermostat is
successfully included.
NB! If adding/removing fails, Err (error) will appear.
5. INSTALLATION
Use a large flathead screwdriver to remove the back cover.
Fix the unit to the wall with double-sided tape, screws or installed on
top of a Euro wall box.
Make sure the mounting surface is clean and dry.
Then install 3x AA batteries (alkaline) in the device's battery holder.
NB! Be careful when installing batteries, ensuring the polarity of
the batteries are in accordance with the printing in plastic.
Advertisement
Table of Contents

Subscribe to Our Youtube Channel
Related Manuals for Heatit Z-Temp2


Summary of Contents for Heatit Z-Temp2
-
Page 1: Table Of Contents
Used in combination with Z-TEMP2 Ver 2020-B the Heatit Z-Water regulator, you can control your heating system with a Z-Wave primary controller/gateway using Heatit Z-Water in Installers manual combination with one or several Heatit Z-Temp2. -
Page 2: Add/Remove
Electrical heating Please refer to your primary controller/gateway manual on how to Heatit Z-Temp2 could also be used in situations where a traditional enter add/remove mode. The device can only be added or removed electrical thermostat is not suited. The battery-operated thermostat from the network if the primary controller is in add/remove mode. -
Page 3: Hysteresis (Dif)
128-bit encryption of the wireless Z-Wave communication to prevent hacking and man-in-middle attacks on the home network. The Heatit Z-Temp2 supports S2 and has a Z-Wave DSK QR-Code label that may be used when the module is added to the Z-Wave home network. -
Page 4: Configuration Parameters
Temperature 19. OPERATING THE DEVICE and humidity No Multi Channel support/ Multichannel support: reports. Besides the mandatory command classes, Heatit Z-Temp2 has Tempera- Reporting ture delta (1.0°C) temperature support for following command classes: value based on change... -
Page 5: Supported Command Classes
All electrical installations must be carried out by a licensed electrician. The product must be installed in accordance with national building codes and our installers manual. Heatit Controls AB l Läkarvägen 4, 454 31 BRASTAD, SWEDEN Phone: +47 61 18 77 77 l post@heatit.com – www.heatit.com...
Need help?
Do you have a question about the Z-Temp2 and is the answer not in the manual?
Questions and answers